Your Tech Story

tips and tricks

Two Ways to Reset Your Forgotten Apple Watch Passcode

Two Ways to Reset Your Forgotten Apple Watch Passcode

Forgetting your Apple Watch passcode can be troublesome, but don’t worry, resetting it is easier than you think. This article guides you about the top two methods to reset your forgotten Apple Watch passcode.

Understanding Apple Watch Passcode

The Apple Watch passcode is a security measure to protect your data. This is required for features like Apple Pay and unlocking your watch.

Method 1: Using Paired iPhone

Two Ways to Reset Your Forgotten Apple Watch Passcode

Image Source: business-standard.com

The easiest way to reset your passcode is through your paired iPhone. Go to the Apple Watch app, select the ‘My Watch’ tab, and tap ‘General’ > ‘Reset’. Select ‘Erase Apple Watch Content and Settings’ to perform a reset.

Method 2: Without Paired iPhone

If you don’t have your iPhone, you can still reset your Apple Watch. Press and hold the Side button until you see the Power off slider. Press the Digital Crown, then select ‘Erase all content and settings’.

Preparation for Resetting Passcode

Before resetting, ensure your Apple Watch is charged and near your iPhone, if using Method 1.

Troubleshooting Common Issues

If you encounter any problems, restarting your Apple Watch and iPhone may help. Make sure Bluetooth is enabled on your iPhone for connectivity.

Data Backup Considerations

Resetting your Apple Watch will erase all data. Make sure your data is backed up on your iPhone or iCloud.

Restoring Apple Watch Post Reset

After the reset, pair your Apple Watch with your iPhone to restore data and settings from your backup.

Setting a New Passcode

Choose a passcode that is secure but easy to remember. Avoid common numbers like 1234 or 0000.

Apple Support and Assistance

If you are unable to reset your passcode, contact Apple Support for further assistance.

Security Implications of Resetting Passcode

Resetting your passcode ensures that your data will remain safe, especially if your watch is lost or stolen.

Conclusion

Resetting your forgotten Apple Watch passcode is easy. Follow these steps to regain access to your device and maintain its security.

How to Clean Your AirPods the Right Way?

How to Clean Your AirPods the Right Way?

AirPods, Apple’s revolutionary wireless earbuds, have become a must-have accessory for many people. Keeping them clean not only extends their life but also ensures optimal audio quality. This guide provides the correct techniques to effectively clean your AirPods.

Understanding AirPods' Design

AirPods have a unique design with complex components that require careful handling during cleaning. It is important to understand their structure to avoid damage.

Gathering the Right Tools

How to Clean Your AirPods the Right Way?

Image Source: 9to5mac.com

Safe cleaning starts with the right equipment. Gather a soft, lint-free cloth, a soft-bristle brush, cotton swabs, and isopropyl alcohol.

Pre-Cleaning Precautions

Before cleaning, make sure your AirPods are disconnected from your device and turned off. Avoid using water or other liquids that may get into the earbuds.

Cleaning the Earbuds

Wipe the earbuds gently with a soft cloth. Use dry cotton swabs for the microphone and speaker mesh. Be careful to prevent debris from being pushed further in.

Cleaning the Charging Case

The case requires special attention. Clean the outer shell with a cloth dampened with isopropyl alcohol. Avoid getting moisture in the charging ports.

Drying Your AirPods

After cleaning, let your AirPods air dry completely before using or charging them.

Avoiding Common Cleaning Mistakes

Never use sharp objects or excessive moisture. These can damage the AirPods and impair their functionality.

Maintaining AirPods After Cleaning

Regular maintenance can prevent the buildup of dirt and earwax. Store your AirPods in their case when not in use to keep them clean.

Conclusion

Properly cleaning and maintaining your AirPods can significantly enhance their performance and lifespan. Follow these guidelines to keep your AirPods in top condition.

How to Stop Facebook and Instagram From Spying on Your Internet Activity

How to Stop Facebook and Instagram From Spying on Your Internet Activity

The piece acknowledges Facebook and Instagram’s status for monitoring the activities of users online while offering tips on how to improve privacy on these networks. Even when a person isn’t engaged with Facebook or Instagram, the parent firm, Meta, provides tools such as “Your Activity Off Meta Technologies” to handle and detach the information gathered about their online behaviour.

Recognising Your Meta-Technology Activity:

How to Stop Facebook and Instagram From Spying on Your Internet Activity

Image Source: pcmag.com

Meta has access to more than just what users do on its social platforms. Users can check, remove, and stop data relating to their off-Meta actions on other websites from being saved by using this tool. This includes any data that websites, applications, or businesses provide with Facebook or Instagram about the online activities of their users, such as going to websites or completing transactions. According to consumer choices, this data is used to customise targeted advertisements.

Managing and Accessing Off-Meta Activity:

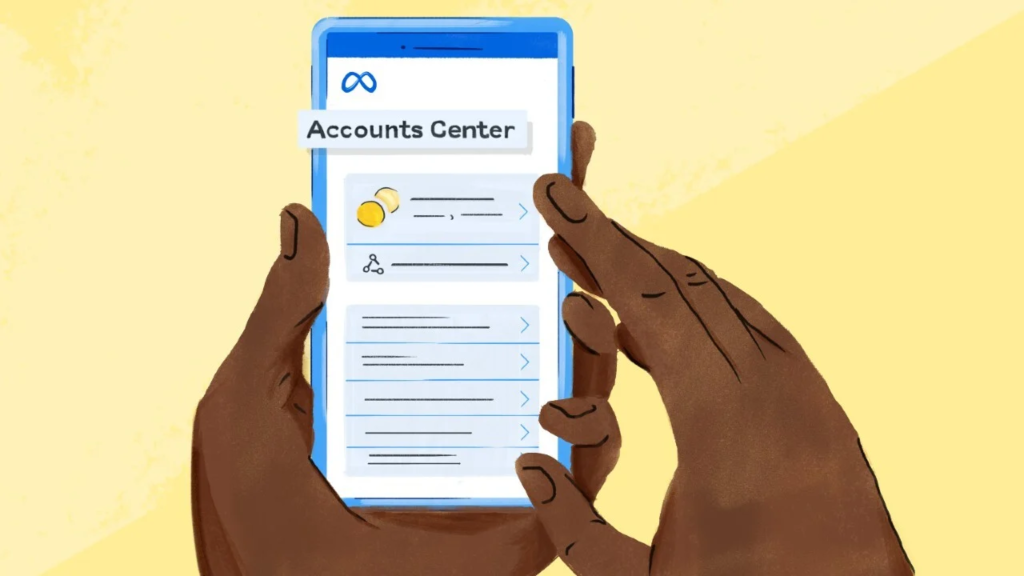
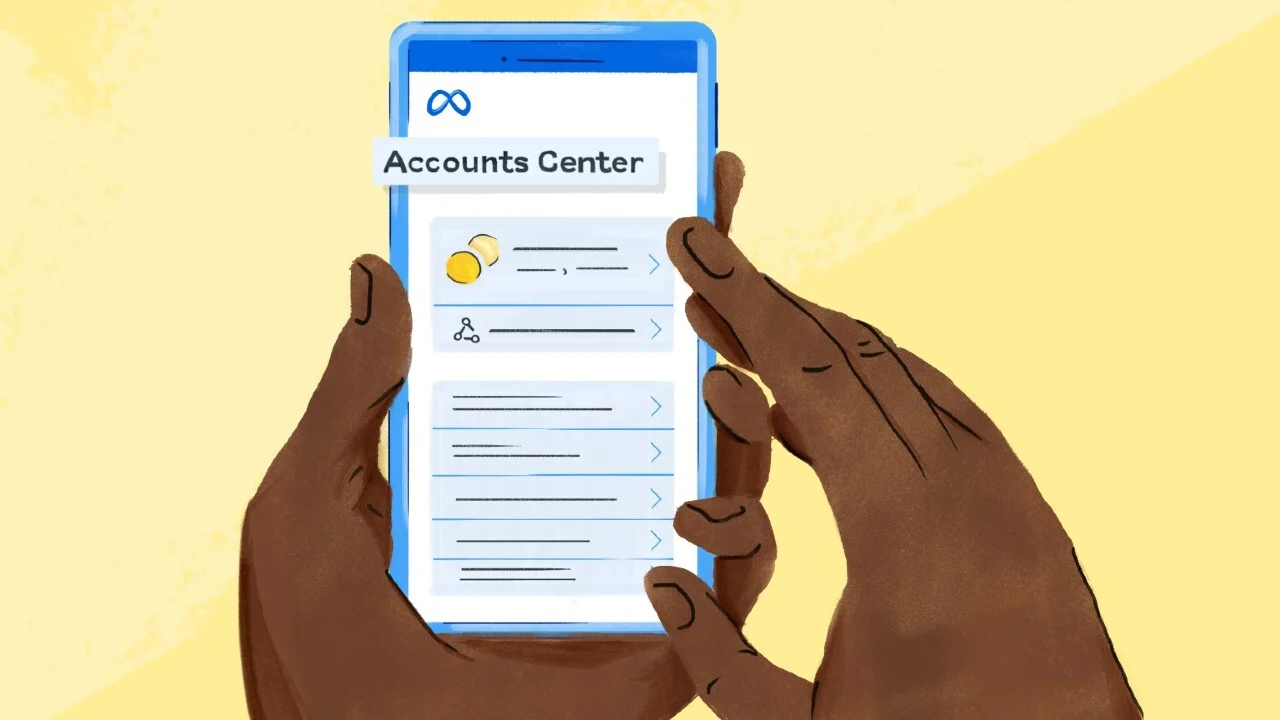
Facebook or Instagram settings allow users to view and manage their off-Meta activity. Go to Settings & Privacy > Settings > Your Information > on Facebook. Outside of Facebook. Navigate to Settings & Privacy > Accounts Centre > your information and permissions > on Instagram. Your use of non-Meta technology.

Handling Off-Meta Activity:

Users can observe current activity, erase past activity, disconnect certain activities, and control upcoming activity via the Accounts Centre page. Users have the option to delete all of their previous activity or unplug particular actions that Facebook has gathered from various sources. Users can disable gathering information for actions taken on both platforms in the future by selecting the Manage Future Activity feature.

Off-Meta Data Downloading:

Users can save and evaluate their off-Meta action data. The Instagram app or the Facebook page can be used for this. Users may specify which profiles to download, how many details to download, and which categories of data to save by choosing the “Download your information” option in the settings. On the user’s PC, the downloaded data is available as a zip file.

Using the Facebook Security Checkup:

To improve account security, Facebook offers a Privacy Checkup tool. Users may evaluate and modify their privacy settings by tapping on the user’s profile icon and going to Settings & Privacy > Privacy Checkup. With the tool’s coverage of subjects such as “Who can see what you share,” people may manage the exposure of their data.

What to do When Your External Hard Drive Doesn't Show Up?

What to do When Your External Hard Drive Doesn’t Show Up?

It’s a common and frustrating problem: You connect your external hard drive to your computer, but it doesn’t show up. This article provides a comprehensive guide on how to troubleshoot and resolve this issue.

Understanding External Hard Drives

External hard drives are portable storage devices used to back up data. They suffer from problems like not being recognized due to various reasons.

Common Reasons for Non-Detection

Drives not showing up can also be caused by hardware problems, outdated drivers, or software conflicts.

Initial Checks and Quick Fixes

What to do When Your External Hard Drive Doesn't Show Up?

Image Source: windowsreport.com

Start with basic troubleshooting: check the USB port, try a different cable, and restart your computer.

Checking Connection and Power Supply

Make sure the drive is properly connected and receiving power, especially for drives that require an external power source.

Updating and Installing Drivers

Detecting outdated or missing drivers can be prevented. Updating or reinstalling the drivers may solve the problem.

Using Disk Management Tool

Windows Disk Management tool helps locate and manage drives. This can be used to identify whether the system recognizes the drive or not.

Checking for Disk Errors

Using a tool like CHKDSK can help identify and repair disk errors that may be causing the problem.

Formatting the Drive

If the drive is detected but not accessible, formatting may be necessary. Note that this will erase all data on the drive.

Recovering Data from Unrecognized Drives

If the drive contains important data, it is recommended to use data recovery tools or services before formatting.

Preventive Measures and Care

Regularly updating software, properly ejecting the drive, and avoiding physical damage can prevent problems.

Conclusion

Dealing with an external hard drive not showing up can be challenging, but following these steps can help resolve the issue in most cases.

Is AppleCare+ Worth Buying for Your iPhone?

Is AppleCare+ Worth Buying for Your iPhone?

The iPhone is a significant investment in the smartphone world. Protecting this investment often leads users to consider AppleCare+, Apple’s extended warranty and support plan. But is it worth the extra cost?

What is AppleCare+?

AppleCare+ extends the standard warranty and support for your iPhone, covering accidental damage and adding additional services like 24/7 technical support.

Cost of AppleCare+

The price of AppleCare+ varies depending on the iPhone model. It can be paid in advance or in monthly installments.

Coverage Details

AppleCare+ covers damage to the iPhone’s screen, battery, and other components. It also includes a maximum of two occurrences of accidental damage protection every 12 months.

Comparison with Standard Warranty

While the standard warranty covers manufacturing defects, AppleCare+ goes further by covering accidental damage and offering lower repair costs.

Limitations of AppleCare+

Is AppleCare+ Worth Buying for Your iPhone?

Image Source: macrumors.com

However, AppleCare+ doesn’t cover everything. Loss or theft of the iPhone is not covered, and there is a limit to how much accidental damage is covered.

User Experiences

Many users find peace of mind in AppleCare+, especially those who have to use it for repairs. Online forums and reviews provide countless evidence of its benefits.

Impact on Resale Value

Having AppleCare+ can also increase the resale value of your iPhone, as it assures potential buyers that the device is in good condition.

Alternatives to AppleCare+

For those who find AppleCare+ too expensive, there are options like carrier-provided insurance plans or third-party insurance.

How to Purchase and Activate

AppleCare+ can be purchased with your new iPhone or within 60 days of purchase. Activation is usually automatic when purchased with an iPhone.

Expert Opinions

Tech experts often recommend AppleCare+ to provide additional protection, especially considering the cost of iPhone repairs.

Conclusion

In conclusion, whether AppleCare+ is worth it depends on your circumstances and how you use your iPhone. If you’re prone to accidents or want the assurance of extended support, this is a valuable investment.

How to Download Videos from X (Formerly Twitter)?

How to Download Videos from X (Formerly Twitter)?

Although Twitter debuted as a micro-blogging platform, it has evolved into a massive social media platform that offers a wide variety of information in many formats. The platform, which is now called X, is a hub for original producers who only provide content as well as viral videos. If you frequent X, you have probably seen a video you liked and wanted to show your friends even if they don’t use the platform. Take a look at these short ways to download a 2023 X/Twitter video. 

Use the App itself to Download Videos from X (Twitter).

How to Download Videos from X (Formerly Twitter)?

Image Source: lifewire.com

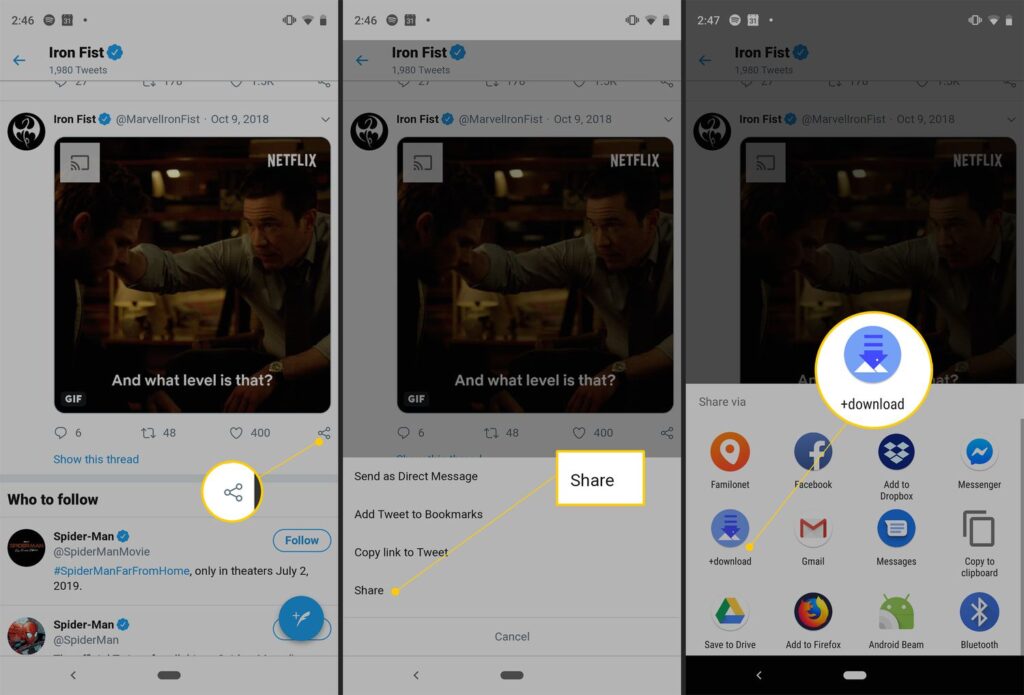
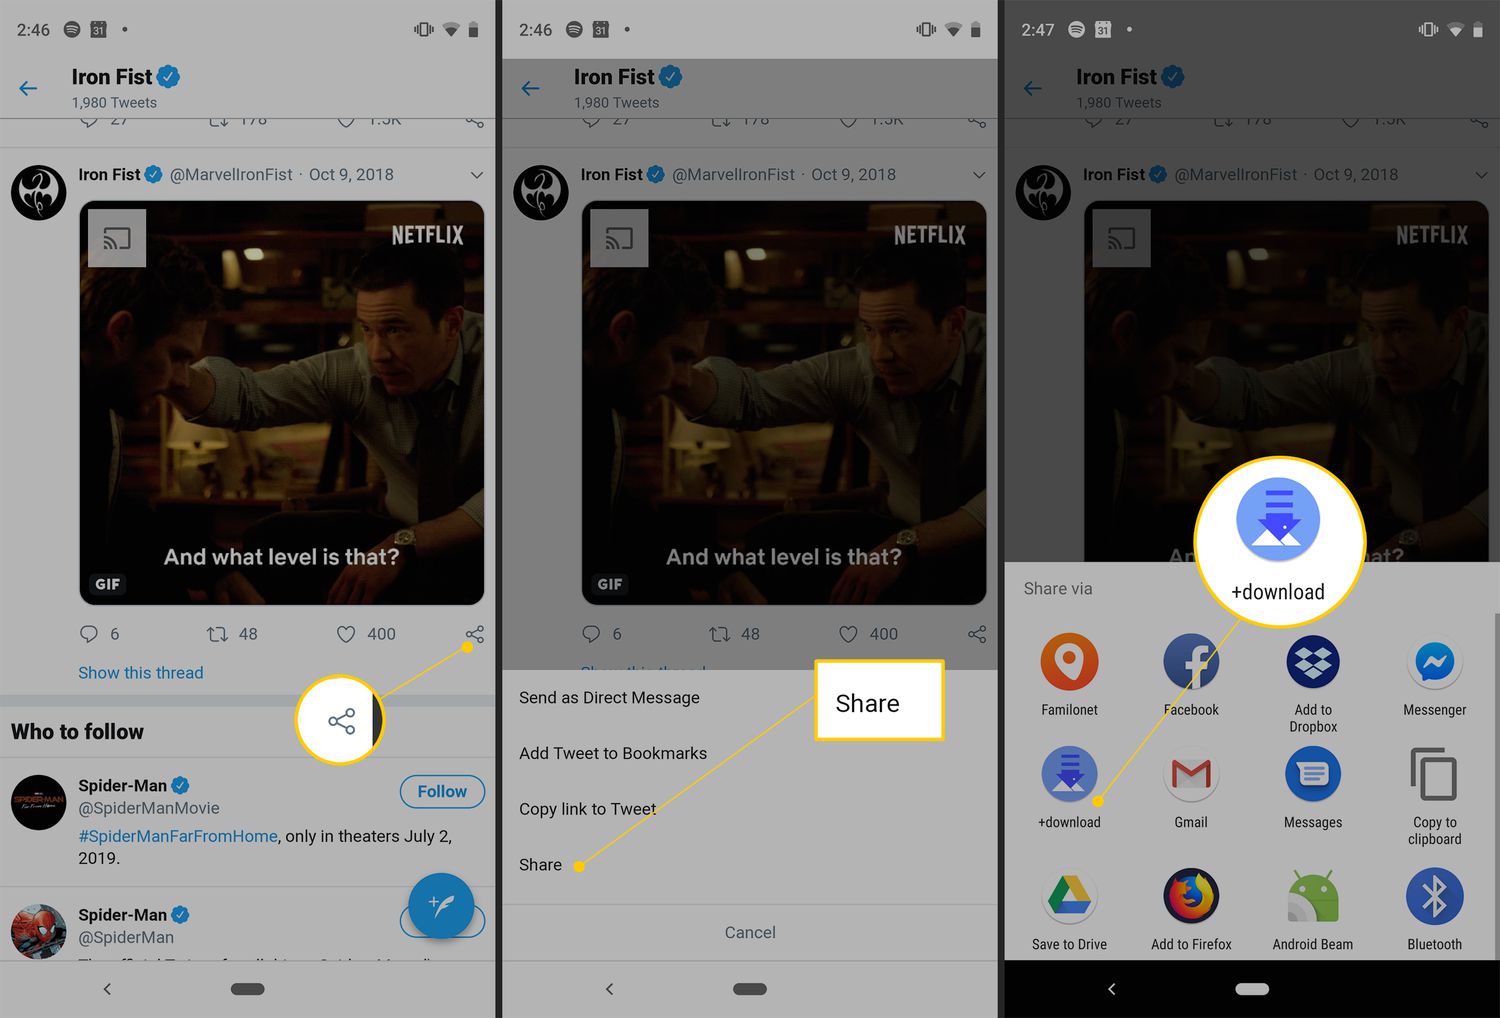
Only Blue members have the ability to download videos from Twitter natively. It’s possible that not every video on the site can be downloaded, though.

Video owners have the authority to determine if other people who use the app are permitted to save the video to their respective devices.

Step 1: On your smartphone, open the X app and choose the video you wish to download.

Step 2: Verify that the video is playing in its entirety.

Step 3: In the upper-right corner of the screen, press the ellipses in step three. 

Step 4: Choose Download video in step four. 

Your device will save the video.

Another Approach is to Download a Video Straight From the X App

A different method exists for downloading a video from X that does not need fullscreen mode. Although there is nothing inappropriate with this strategy, users may occasionally decide not to view videos, particularly if they are in the public eye and also do not have headsets on. Fortunately, X lets you download a video without ever viewing it. This is the method.

Step 1: Open the post with the clip on your phone by using the X app.

Step 2: Hold down the video for a prolonged period of time until a menu appears.

Step 3: Select “Download video.”

Make use of a Third-Party Tool

Even for Twitter Blue members, downloading videos from Twitter to a Desktop is not possible natively, therefore you will want the assistance of a third-party software. Here’s the way to use the Twitter Vid tool to accomplish that.

To Download Movies from X, Use a Chrome Extension.

It might be time-consuming to constantly switch to a third-party software if you frequently save Twitter videos to your computer. You’d be better off with a Chrome addon. You may download any video from Twitter using the extremely useful addon provided by Twitter Vid, the third-party utility we previously highlighted.