Your Tech Story

tips and tricks

The Ultimate Guide to Connecting Your Surface Pro to a Monitor

The Ultimate Guide to Connecting Your Surface Pro to a Monitor

Connecting the Surface Pro to a monitor is a straightforward process that significantly expands your visual workspace. Whether for increased productivity, better multitasking, or better entertainment experiences, connecting your Surface Pro to an external monitor is a game-changer. This simple but impressive process involves identifying the correct port on your device (such as USB-C or Mini DisplayPort), selecting a compatible monitor, and using the appropriate cable or adapter. Once connected, you can easily adjust display settings like resolution and orientation to suit your needs. Ideal for professionals, creative people, and tech enthusiasts, this setup unlocks the full potential of your Surface Pro, turning it into a more powerful and versatile workstation.

Understanding Surface Pro Ports

Understanding the ports on your Surface Pro is key to maximizing its functionality, especially when it comes to connecting external devices like a monitor. Here’s a description of the common ports you’ll find on the various Surface Pro models.

Choosing the Right Monitor

The Ultimate Guide to Connecting Your Surface Pro to a Monitor

Image Source: gechic.com

Not all monitors are created equal. When selecting a monitor for your Surface Pro, it’s important to consider a variety of factors to ensure you get the most out of your dual-screen setup. Consider size, resolution, and port compatibility.

Types of Cables and Adapters

You’ll probably need a cable or adapter to connect. We’ll explore HDMI, DisplayPort, and USB-C options.

Configuring Display Settings on Windows

Once you’ve successfully connected your Surface Pro to a monitor, the next step is to fine-tune your display settings to ensure an optimal viewing experience. Here’s how to adjust key settings like resolution, orientation, and others.

Benefits of a Dual Monitor Setup

Discover the transformative power of a dual monitor setup! Embrace the vastness of extended screen space that not only doubles your digital workspace but also boosts your productivity. Whether for professional work, creative projects, or even to enhance your entertainment experience, learn why upgrading to two monitors could be a game-changer in your daily digital life.

Customizing Your Workspace

Organize your digital workspace effectively. Here’s how to manage Windows and apps on multiple screens.

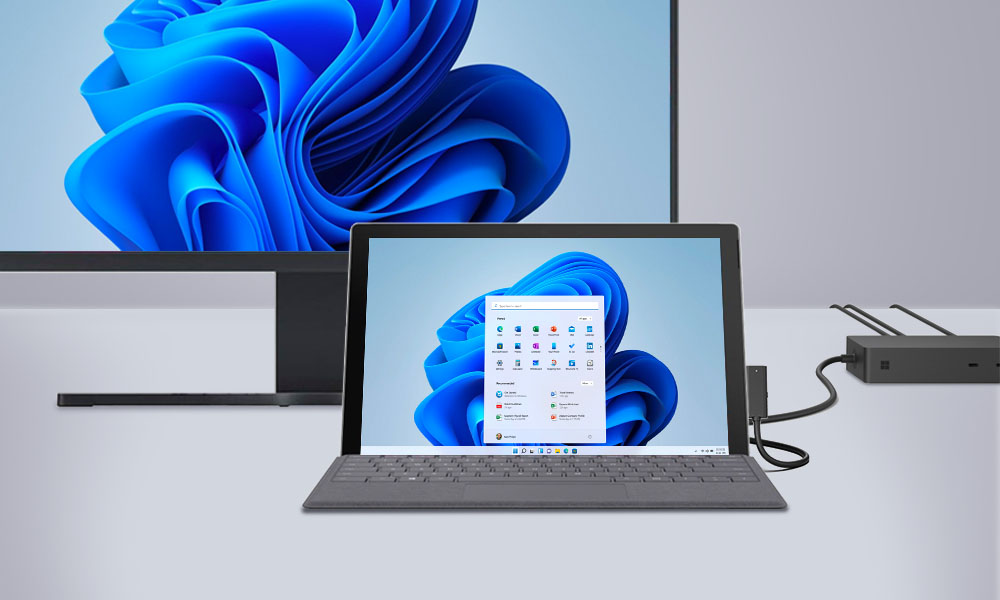
Surface Pro Docking Station: Expanding Your Options

For even more connectivity, consider using the Surface Pro Docking Station.

Wireless Display Options

Prefer to go wireless? We’ll discuss Miracast and other wireless display methods.

Surface Pro in Professional Environments

The Surface Pro shines in professional environments, offering a seamless blend of portability, power, and versatility. Its lightweight design and robust performance make it an ideal choice for business professionals on the go. With features like a high-resolution touchscreen, detachable keyboard, and stylus support, it easily adapts to different work scenarios. The compatibility of the Surface Pro turns it into a desktop-like experience when needed.

Conclusion

Extending your Surface Pro’s display to a monitor opens up a world of possibilities. Whether for work or play, this is a simple but effective upgrade.

Apps Not Downloading on Smart TV? Here are 10 Quick Solutions

Apps Not Downloading on Smart TV? Here are 10 Quick Solutions

With their plethora of applications, smart TVs offer an entry point to an endless supply of entertainment. However, running across problems like not being able to download new applications can be a frustrating obstacle. Don’t worry; we’ve got a thorough tutorial with 10 easy solutions to help you get your Smart TV to start downloading apps again.

Determine the Problem

Determining the underlying reason is essential. Is the issue with your TV’s operating system, your WiFi, or the Play Store app? then dive into the solutions.

Check Your WiFi Connection

Make sure your home WiFi is working before tinkering with TV settings. Restarting your WiFi network briefly might solve any issues with your Smart TV’s video streaming.

Restart Your TV

Downloads may be hampered by an unusual background issue. Frequently, these problems may be resolved with a straightforward restart using the power outlet or the remote.

Update the Operating System on Your TV

Apps Not Downloading on Smart TV? Here are 10 Quick Solutions

Though it might not be evident, faults might be caused by out-of-date firmware or an operating system. To keep the operating system on your TV up to date, go to Settings > Support > Software Update.

Inspect the Storage on Your TV

When storage runs low, app downloads may be hampered. To see the breakdown, navigate to Settings > Device Preferences > Storage. Apps may be deleted to make space available.

Install Apps Utilising Your Android Phone

Use your Android phone to install apps if the Play Store on your Smart TV isn’t working properly. Install applications from your phone and make sure both devices are logged in with the same Google account.

Delete the cache from the Google Play Store

Go to TV Settings > Apps > Google Play Store and delete the cache. This frequently fixes problems with temporarily stored data.

Turn the Google Play Store on and off

Try turning off the Play Store and then turning it back on. Go to TV Settings > Apps > Google Play Store, turn it off, give it a minute, and then turn it back on.

Remove Google Play Store Upgrades

There’s a chance that the recent upgrades are to blame. To test whether it fixes the problem, go to TV Settings > Apps > Google Play Store and delete any recent upgrades.

Sideload Apps on Your TV

As a last resort, you could choose to sideload apps. Install the app APK from a reliable third-party source on your smartphone, move it to your TV, and then enable unknown sources for app installation in Settings.

Factory Reset Your TV

This can be your final option if the other solutions don’t work. To reset your TV, go to TV Settings > General > Reset, but note that doing so will remove all data and applications.

To sum up, these ten simple solutions address a variety of possible problems with downloading Smart TV apps. Whether the issue is related to storage capacity, connection, or a bug in the Play Store app, you may use the tools in this tutorial to troubleshoot and have a flawless Smart TV experience.

How to Troubleshoot an Epson Printer Not Printing After Refilling Ink

How to Troubleshoot an Epson Printer Not Printing After Refilling Ink?

Encountering the challenge of an Epson printer not printing after an ink refill can be both perplexing and inconvenient. In this guide, we will delve into effective troubleshooting steps to identify and resolve the issue, ensuring a seamless printing experience with your Epson printer.
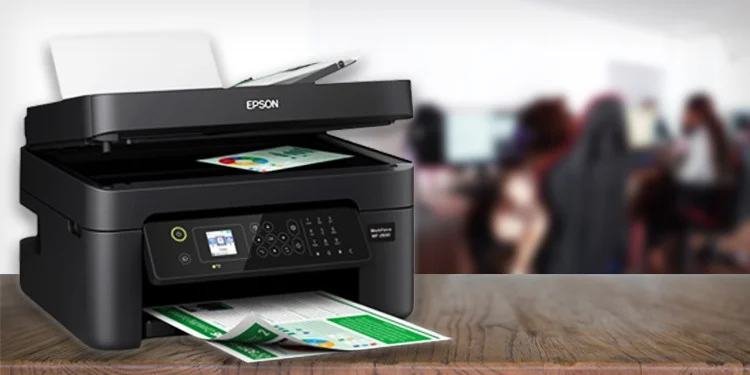
Image Source – technewstoday.com

Check Ink Levels

Begin your troubleshooting journey by verifying the ink levels in your Epson printer. Low ink levels could be a potential hindrance to printing. Check the ink status through the printer settings on your computer or the printer display panel.

Ensure Proper Ink Refill

Confirm that the ink cartridges were refilled correctly. Ensure each cartridge is securely in place without leaks or spills. Incorrectly refilled cartridges can disrupt the printing process and cause issues.

Run Printer Self-Test

Initiate a self-test on your printer to determine its operational status. Refer to your printer manual for specific instructions on how to run a self-test. This step aids in pinpointing whether the issue lies with the printer or the computer.

Check for Air Bubbles

Air bubbles in the ink cartridges can impede the printing process. Conduct a nozzle check and head cleaning through the printer software to eliminate air bubbles and ensure a smooth ink flow.

Update Printer Drivers

Outdated or incompatible printer drivers may contribute to the problem. Visit the official Epson website to download and install the latest printer drivers compatible with your operating system. This ensures optimal functionality.

Clean Print Heads

Unclean print heads can result in poor print quality or complete printing failure. Use the printer’s utility software to perform a thorough print head cleaning. Follow the on-screen instructions for a meticulous cleaning process.

Reset Printer Settings

Resetting the printer to default settings can resolve configuration issues. Access the printer settings through the control panel or computer and perform a factory reset. Note that this action may erase customized settings.

Inspect for Paper Jams

Paper jams are common culprits for disrupted printing. Open the printer and inspect for any stuck or crumpled paper. Carefully remove obstructions and ensure the paper path is clear for smooth printing.

Check for Error Messages

Keep an eye out for error messages on the printer display panel or computer. Error messages provide insights into the nature of the problem. Address the specific issues indicated in the messages for effective troubleshooting.

Perform a Test Print

Initiate a test print from your computer to assess whether the issue persists. opt for a simple document or image for testing purposes. This step helps identify whether the problem lies with the printer, computer, or specific files.

Also Read: How To Connect Your Phone to Smartwatch: A Comprehensive Guide

Conclusion

By systematically following these troubleshooting steps, you can effectively resolve the issue of your Epson printer not printing after an ink refill. For model-specific instructions, consult your printer manual, and if the problem persists, consider reaching out to Epson customer support for tailored assistance.

How to Connect Your Phone To Your Smartwatch

How To Connect Your Phone to Smartwatch: A Comprehensive Guide

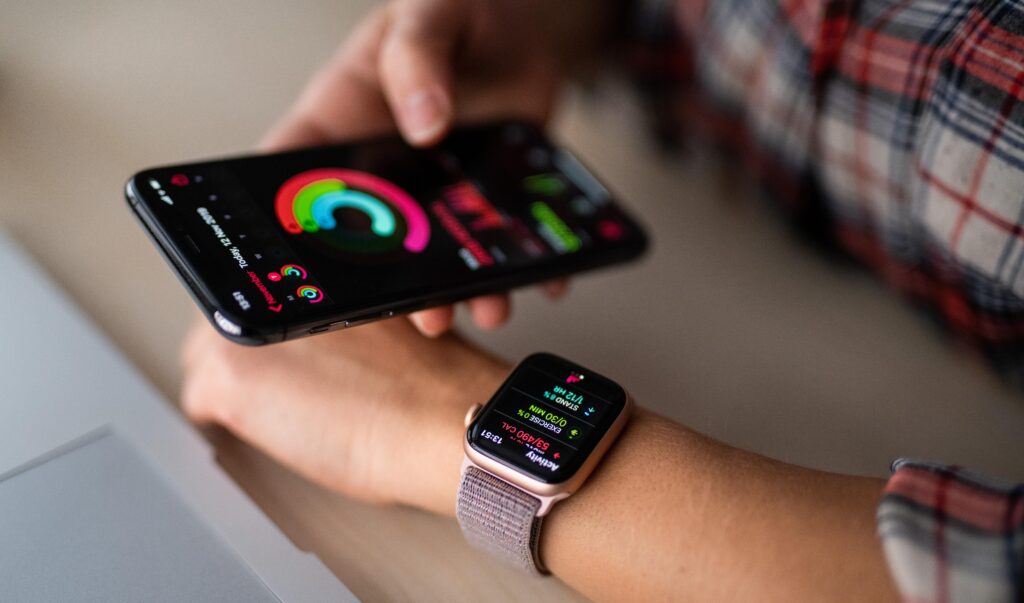
Connecting your phone to your smartwatch is a straightforward process, typically involving Bluetooth technology. This guide will walk you through the steps for both Android and iOS devices.
How to Connect Your Phone To Your Smartwatch
Image Source – currys.co.uk

For Android Devices:

Enable Bluetooth on Your Phone:

Click The “Settings” icon on your Android device.

Navigate to “Connections” or “Connected Devices.”

Turn on Bluetooth.

Enable Bluetooth on Your Smartwatch:

Access the settings menu on your smartwatch.

Look for “Bluetooth” or “Connectivity” and enable Bluetooth.

Pairing the Devices:

In your phone’s Bluetooth settings, find your smartwatch in the list of available devices.

Select your smartwatch and confirm any pairing prompts that appear on both devices.

Install Companion App (if required):

Some smartwatches may require a companion app. Visit the Google Play Store, download the app, and follow on-screen instructions.

Follow On-Screen Prompts:

Finish the setup process by adhering to any further on-screen instructions.

For iOS Devices (iPhone):

Enable Bluetooth on Your iPhone:

Open the “Settings” app on your iPhone.

Tap on “Bluetooth” and turn it on.

Enable Bluetooth on Your Smartwatch:

Access the settings menu on your smartwatch.

Look for “Bluetooth” or “Connectivity” and enable Bluetooth.

Pairing the Devices:

In your iPhone’s Bluetooth settings, find your smartwatch in the list of available devices.

Select your smartwatch and confirm any pairing prompts on both devices.

Install Companion App (if required):

Some smartwatches may need a companion app. Download it from the App Store and follow on-screen instructions.

Also Read: How to Connect 2 Monitors to One PC?

Follow On-Screen Prompts:

Finish the setup by following any additional on-screen instructions.

In conclusion, the key to successfully connecting your phone to your smartwatch is enabling Bluetooth, pairing the devices, and potentially installing a companion app. Always refer to the specific user manuals for your devices for accurate and detailed instructions. Enjoy the seamless integration of your smartwatch with your phone!

How to Connect 2 Monitors to One PC?

How to Connect 2 Monitors to One PC?

Have you ever felt cramped on your single monitor, struggling to juggle multiple applications? The solution is simpler than you think: connecting two monitors to your PC. This manual will guide you step by step, guaranteeing a smooth and effortless setup.
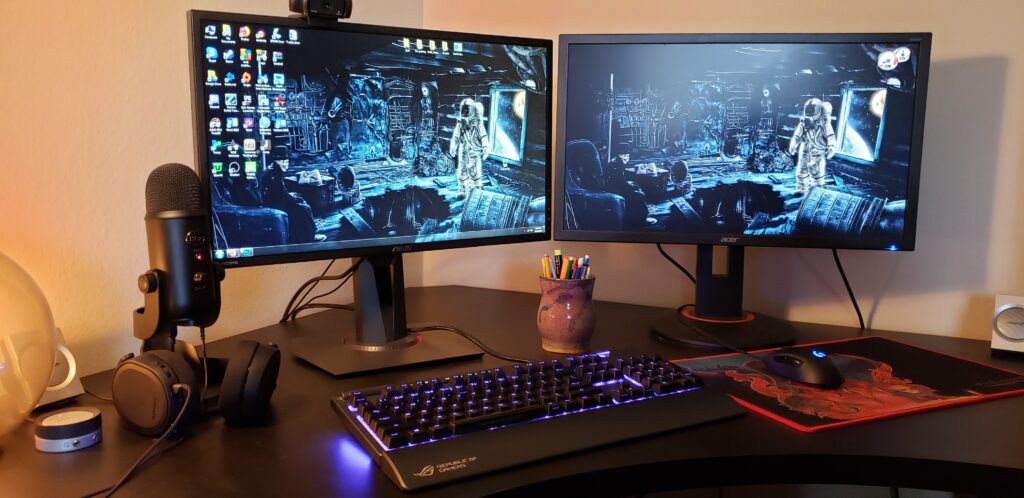
Image Source – pcgamer.com

Understanding Your PC’s Graphics Capabilities

First things first, let’s dive into your PC’s capabilities. Can it support dual monitors? Check your graphics card details and available ports – this will dictate what you can do.

Types of Monitor Connections

Monitor connectivity options encompass a range of ports, including HDMI, DisplayPort, VGA, DVI, and USB-C/Thunderbolt. HDMI is renowned for high-definition multimedia, while DisplayPort offers versatility. VGA and DVI, though older, remain viable for certain setups. USB-C/Thunderbolt is a modern, multifunctional choice, providing power and data transfer alongside video capabilities. Each port boasts unique strengths, catering to diverse user preferences and device compatibility.

Step-by-Step Guide to Connecting Two Monitors

Ready to set up? Here’s a step-by-step guide:

Prepare Your Monitors: Ensure they have compatible ports.

Make the Connections: Plug each monitor into your PC.

Configure Display Settings: Tailor the settings to your needs in your operating system.

Troubleshooting Common Issues

Ran into a snag? Below are a few typical challenges and their solutions:

Monitor Not Detected: Check connections and reboot.

Resolution Issues: Adjust settings in your operating system.

Performance Considerations: Ensure your PC can handle the extra load.

Maximizing Productivity with Dual Monitors

Dual monitors are about more than just extra screen space. They’re a gateway to enhanced productivity. Learn how to effectively use them for multitasking.

Also Read: How To Fix If Your Samsung Tablet Is Running Slow?

Advanced Setups

For those wanting more, explore advanced setups like docking stations and multi-graphics card configurations.

Conclusion

Embracing a dual monitor setup can revolutionize your computing experience. It’s not just about more screen space; it’s about transforming how you work and play.
How To Fix If Your Samsung Tablet Is Running Slow?

How To Fix If Your Samsung Tablet Is Running Slow?

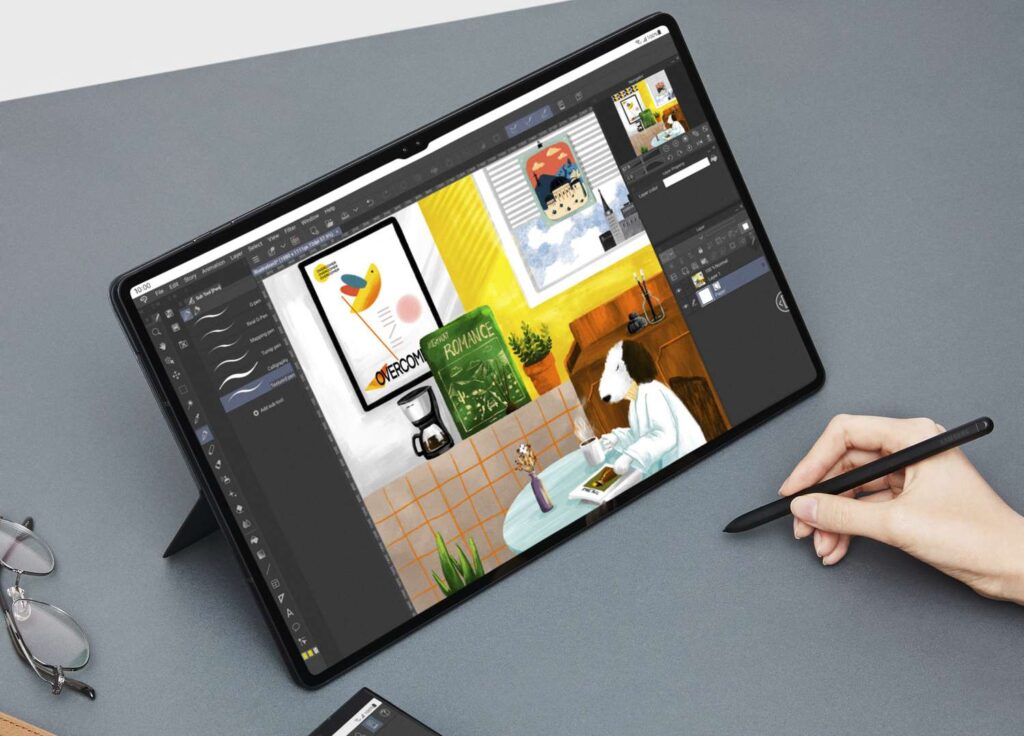
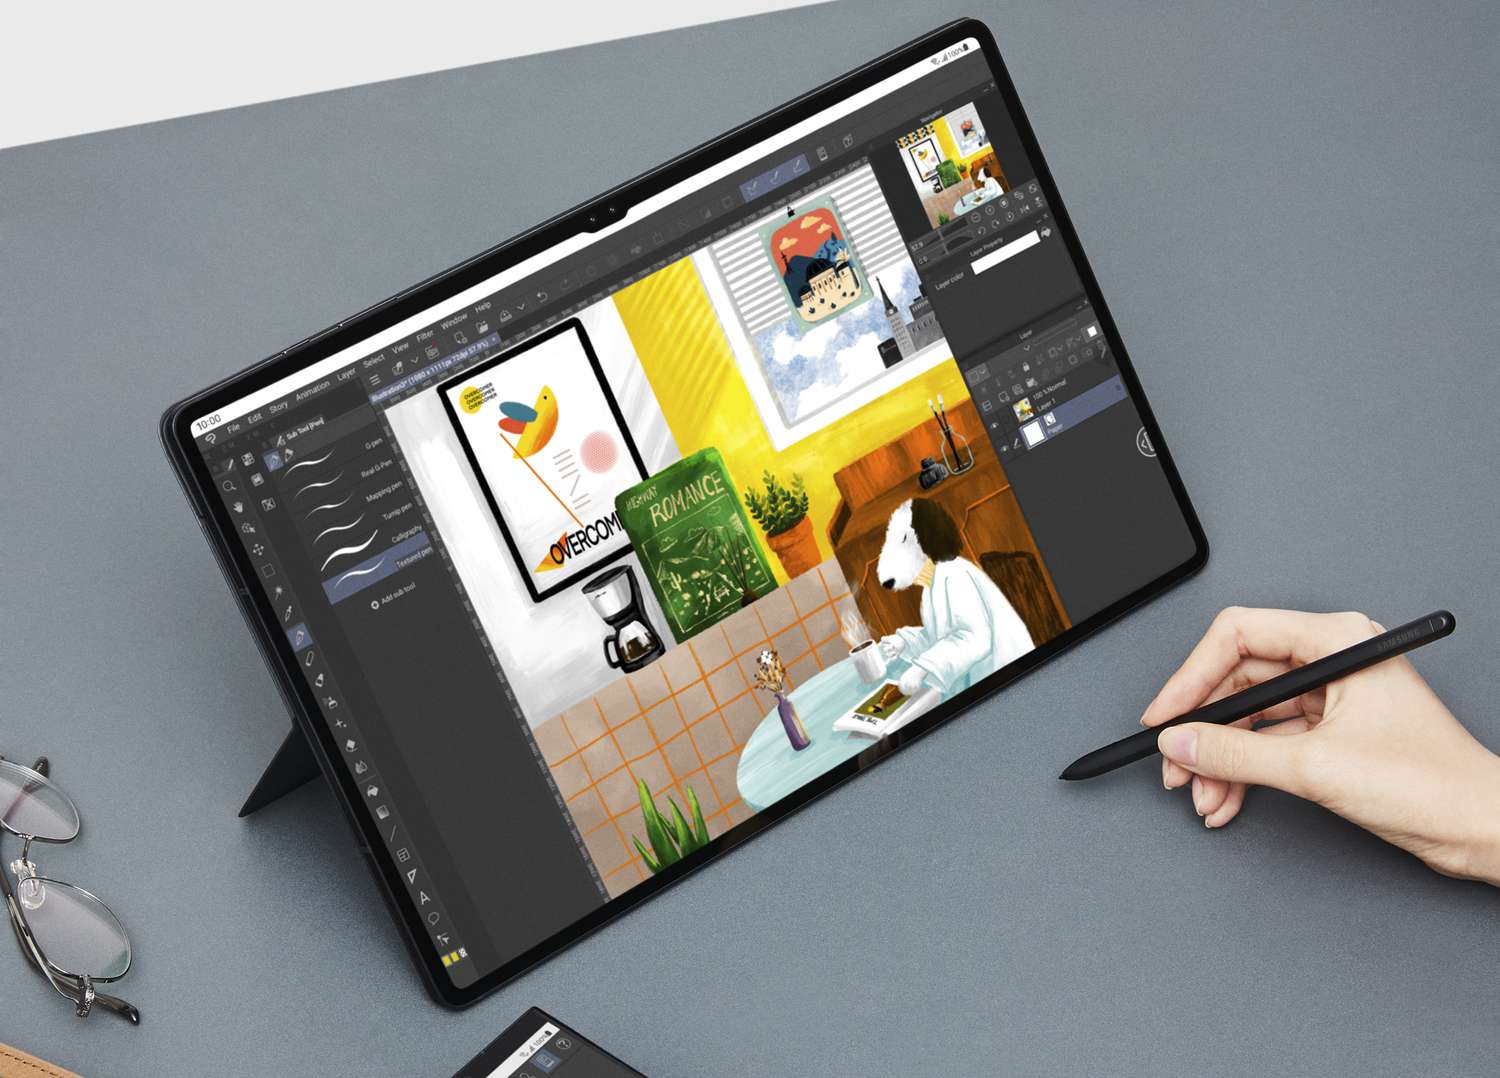
To fix a slow-running Samsung tablet, start by restarting the device to clear temporary files. Update the operating system and apps to their latest versions for optimal performance. Clear cache and delete unnecessary files to free up storage space. Finally, manage background apps to ensure they don’t consume excess resources. These steps can significantly improve the speed and efficiency of your Samsung tablet. This article provides practical solutions to increase the performance of your tablet.

Understanding the Causes

Many factors contribute to a slow Samsung tablet, including outdated software, overloaded storage, and background apps.

Restarting Your Tablet

A simple but effective solution is to restart your tablet. It can clear temporary files and refresh the system.

Clearing Cache and Unnecessary Data

How To Fix If Your Samsung Tablet Is Running Slow?

Image Source: lifewire.com

Clearing cache and unnecessary data is a simple yet effective way to enhance your device’s performance. It involves removing temporary files and data that accumulate over time, freeing up storage space, and improving overall speed and efficiency. Regularly clearing cache can also resolve potential glitches and keep your device running smoothly.

Updating the Operating System

Updating the tablet’s operating system is a crucial process that involves installing the latest software version on your device. This not only brings new features and enhancements but also patches security vulnerabilities, improves performance, and fixes known bugs.

Managing Applications

Regularly updating apps and uninstalling those that are not in use can prevent performance delays.

Optimizing Battery Settings

Optimizing battery settings involves adjusting your tablet’s power usage for enhanced battery life and tablet’s performance. This can include reducing screen brightness, disabling background apps, and activating power-saving modes.

Expanding Storage

Using external storage solutions like SD cards or cloud storage may free up internal memory.

Reducing Screen Brightness and Animations

Lowering screen brightness and reducing animations can speed up the tablet.

Factory Reset

In some cases, a factory reset may be necessary to speed up your tablet. Back up the data before proceeding with this option.

Latest Trends in Tablet Performance

The latest trends in tablet performance focus on enhancing processing speed, improving display quality, and extending battery life.

Conclusion

Regular maintenance and these troubleshooting steps can greatly improve the speed and efficiency of your Samsung tablet.