Your Tech Story

tips and tricks

How to Set ChatGPT as Your Android's Voice Assistant

How to Set ChatGPT as Your Android’s Voice Assistant

In the era of virtual assistants, having the flexibility to choose your preferred option is crucial. While many default voice assistants come pre-installed on Android devices, you can now opt for ChatGPT as your primary voice assistant. With its advanced language capabilities and personalized interactions, ChatGPT offers a unique experience tailored to your needs. Follow these simple steps to set up ChatGPT as your default voice assistant on Android.

Before diving into the setup process, let’s briefly explore what ChatGPT offers. Developed by OpenAI, ChatGPT is an artificial intelligence model trained to generate human-like text based on the input it receives. It excels in understanding context, maintaining conversations, and providing relevant responses across various topics. By integrating ChatGPT as your default voice assistant, you can leverage its natural language processing abilities for tasks ranging from answering queries to scheduling reminders.

Enabling ChatGPT Accessibility
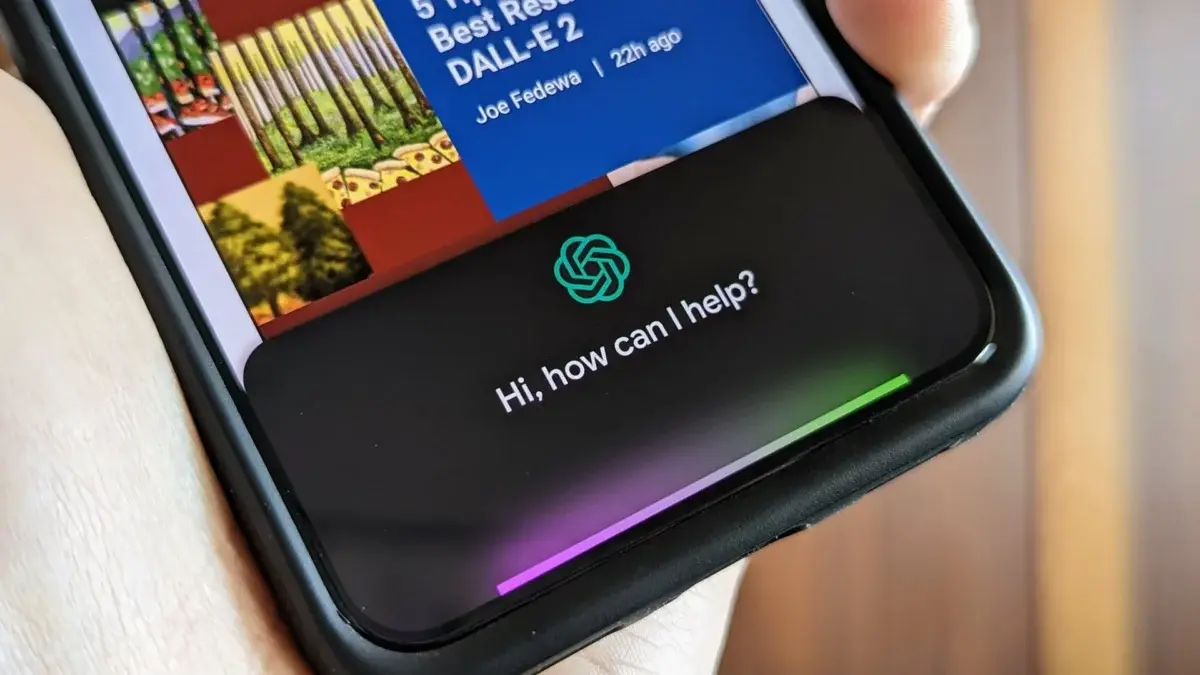
How to Set ChatGPT as Your Android's Voice Assistant

Image Source: gizchina.com

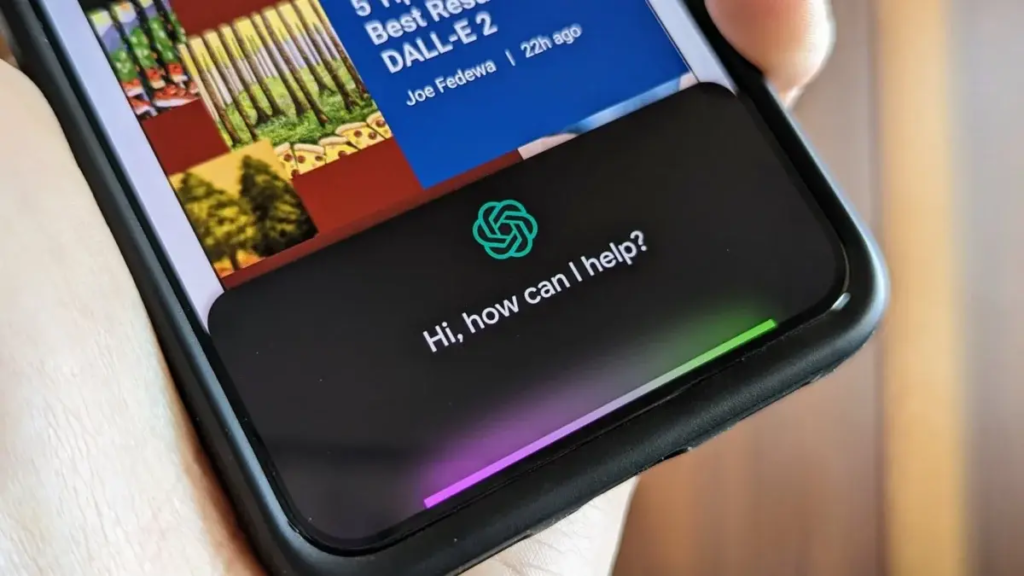
To begin, ensure that you have the ChatGPT app installed on your Android device. If you haven’t already done so, download it from the Google Play Store and complete the setup process. Once installed, navigate to your device’s settings and select the “Accessibility” option. Here, you’ll find a list of installed accessibility services. Locate ChatGPT and toggle the switch to enable it. This grants ChatGPT the necessary permissions to function as your default voice assistant.

Setting ChatGPT as Default

After enabling ChatGPT accessibility, return to the main settings menu and select “Apps & notifications.” From the list of installed apps, choose your current default voice assistant (e.g., Google Assistant). Within the app settings, look for the “Open by default” option and tap on it. Here, you’ll see a prompt asking if you want to clear the default settings for the selected app. Confirm this action to reset the default voice assistant.

Configuring ChatGPT Preferences

With the default settings cleared, trigger ChatGPT by pressing the designated voice assistant button or using the voice command, “Hey ChatGPT.” ChatGPT will prompt you to set it as your default voice assistant. Follow the on-screen instructions to grant ChatGPT the necessary permissions and customize its preferences according to your preferences. You can specify language preferences, personalize wake words, and configure other settings to enhance your ChatGPT experience.

Testing ChatGPT Integration

Once configured, it’s time to put ChatGPT to the test. Activate ChatGPT using the designated trigger phrase and interact with it as you would with any other voice assistant. Ask questions, request assistance with tasks, or engage in casual conversation to experience ChatGPT’s capabilities firsthand. As you continue to use ChatGPT, it will adapt to your preferences and provide more personalized responses over time.

By setting ChatGPT as your default voice assistant on Android, you gain access to a powerful AI-driven companion capable of understanding and responding to your needs with human-like accuracy. Whether you’re seeking information, managing tasks, or simply engaging in conversation, ChatGPT offers a seamless and intuitive experience tailored to you. Follow the steps outlined above to integrate ChatGPT into your Android device and elevate your virtual assistant experience.

The Ultimate Guide to Choosing the Perfect Gaming Laptop

The Ultimate Guide to Choosing the Perfect Gaming Laptop

The Ultimate Guide to Choosing the Perfect Gaming Laptop

Choosing the right gaming laptop can be as important to your success as choosing the right armor or weapon in a game. With the vast range of options available, identifying the ideal machine that balances power, performance, and portability requires understanding the key features that impact your gaming experience. This article explores the essential aspects to consider when looking for a gaming laptop, ensuring that you make an informed decision that enhances your virtual adventures.

Performance: The Heart of Gaming

CPU Power

A strong central processing unit (CPU) is important for gaming. Look for recent generation Intel i7 or i9 processors, or their AMD Ryzen counterparts to handle complex game mechanics smoothly.

Graphics Prowess

The graphics processing unit (GPU) is your gaming lifeline. NVIDIA’s GeForce RTX series and AMD’s Radeon RX series are top choices, providing powerful performance to render your games in stunning detail.

RAM Requirements

Adequate random access memory (RAM) ensures that your games and background applications run without interruption. Aim for at least 16GB of RAM, although 32GB may provide a more future-proof solution.

Immersive Display: See Every Detail

Screen Size & Resolution

While larger screens provide an immersive experience, they can add bulk. The 15-inch display with a 1920×1080 resolution strikes a good balance as a solid baseline. For sharper images, consider a QHD (2560×1440) or 4K (3840×2160) display.

Refresh Rate

A high refresh rate is the key to a smooth visual experience. 144Hz is becoming increasingly common and provides smooth gameplay, but 240Hz panels provide even better speeds for fast-paced games.

Storage: Quick Access to Your Arsenal

SSD vs. HDD

Solid state drives (SSD) provide faster boot and load times than hard disk drives (HDD), making them the preferred choice for gamers. Opt for at least a 512GB SSD, or consider a smaller SSD for your operating system and games, complemented by a larger HDD for additional storage.

Design and Build: Durability Meets Style

Robust Build

A sturdy chassis can withstand the rigors of travel and intense gaming sessions. Metal casings provide durability, while some high-quality plastics can provide flexibility without the added weight.

Cooling System

Effective cooling prevents overheating during long gaming marathons. Look for a laptop with an advanced cooling system, with multiple fans and dedicated heat pipes.

Keyboard and Controls: Your Command Center

Responsive Keyboard

A keyboard with good key travel and tactile feedback can increase your gaming precision. Backlit keyboards not only look great but also help you play games in low-light conditions.

Customizable Controls

Programmable keys or macros can give you an edge over the competition, allowing you to execute complex commands with ease.

Connectivity: Stay in the Game

Ensure your laptop has enough ports for your peripherals, including USB, HDMI, and Ethernet. Thunderbolt 3 or USB-C ports provide fast data transfer and connectivity options.

Battery Life: Play Without Limits

While gaming laptops aren’t known for their battery life, choosing a model that offers at least a few hours of playtime can be beneficial for those times when you’re away from a power outlet.

Conclusion

Choosing a gaming laptop is a balance between power and portability, display quality, and price. By prioritizing the features most important to your gaming style and needs, you can find a laptop that offers the best gaming experience within your budget. Remember, the right gaming laptop not only enhances your gameplay but also serves as a portal to new worlds, adventures and conquests.

How to Transform an Old Smartphone into a Security Camera

How to Transform an Old Smartphone into a Security Camera

How to Transform an Old Smartphone into a Security Camera

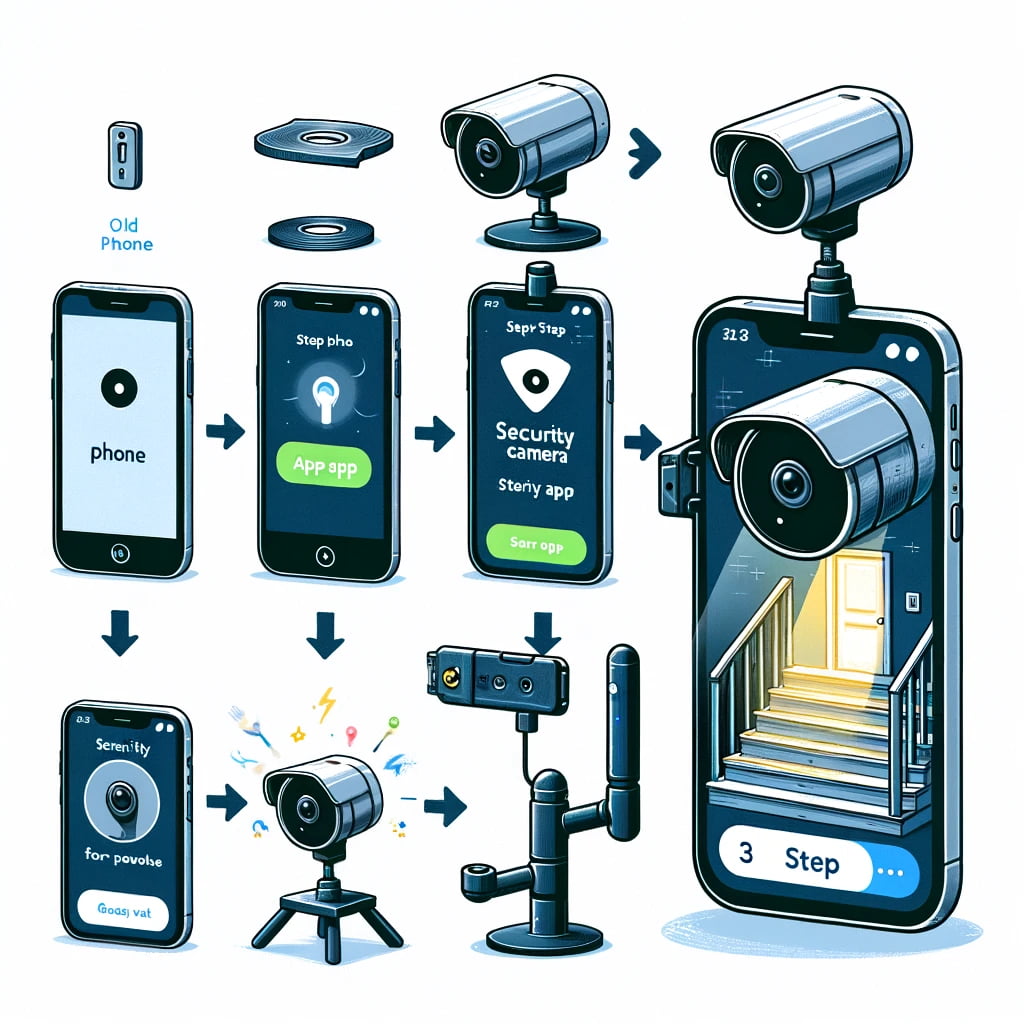
It’s time to make use of those outdated smartphones that are collecting dust in a drawer. Rather than just letting them sit there, think about using some of the many useful apps available for iOS and Android devices to transform them into a temporary surveillance camera. We’ll walk you through turning your old phone into a security camera in this post so you can monitor your house while you’re gone.

Selecting the Proper App

Your outdated smartphone may become a security camera with a variety of programs, each with unique features and functionalities. Here are some good options to think about:

Alfred: If you want to turn your old phone into a security camera, Alfred is a great option because it has features like two-way communication, motion detection, and live streaming. It even has a “trust circle” function that lets pals use the camera when necessary.

AtHome Camera: AtHome has capabilities including two-way communication, night vision, and artificial intelligence that can identify moving objects. Additionally, for fast observation, it features a 24-hour time-lapse mode.

Manything: You may use the free iOS app Manything to convert your iPhone or iPad into a security camera that is connected to Wi-Fi. It has capabilities like IFTTT connectivity with other smart home devices and motion detection.

Dormi: With the help of the Android software Dormi, you can use any Android device as a security camera or baby monitor. It has functions like remote monitoring from your primary phone and automated warnings.

Cloud Baby Monitor: It is a multipurpose program that can be used as a home security camera and a baby monitor. It provides remote monitoring through iOS devices and Mac PCs, motion detection, and high-quality video streaming.

Configuring Your Safety Camera

It’s time to configure your security camera after selecting the ideal app for your requirements. To set up your old smartphone as a camera, install the app and follow the prompts. After everything is set up, you may use a mounting system to put your old phone in the perfect spot or hold it up on a sturdy surface.

Keep an Eye on Your House

Now that your security camera is installed, you may use your primary smartphone or tablet to remotely watch your house. Utilising features like two-way communication, motion detection warnings, and live streaming, the majority of apps let you monitor your house and interact with people nearby.

Conclusion

One inexpensive approach to maintain the safety and security of your house is to turn your old smartphone into a security camera. You may revitalise your outdated electronics and feel secure knowing that your house is safe with the aid of these helpful apps, without going over budget.

 
How To Stop Contact Sharing On iPhone iOS 17

How To Stop Contact Sharing On iPhone iOS 17

In an era where data privacy is more important than ever, it is essential to understand how to manage your personal information on devices like the iPhone. iOS 17 introduces various features to enhance user experience and privacy controls, including the ability to manage contact sharing. This guide will walk you through the steps to turn off contact sharing on your iPhone, ensuring that your data will remain private and secure.

Understanding Contact Sharing on iOS 17

What is Contact Sharing?

How To Stop Contact Sharing On iPhone iOS 17

Image Source: beebom.com

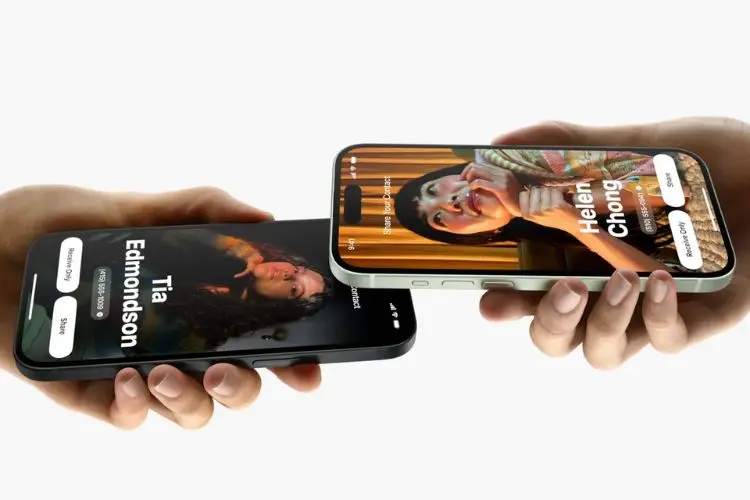
Contact sharing on iOS 17 allows users to seamlessly share their contact information with other iOS devices. The feature is designed to facilitate an easy exchange of information, but raises privacy concerns for many.

How Does It Work?

The feature uses Apple’s ecosystem to sync contact information across devices owned by the user or shared with family and friends. While convenient, this can inadvertently lead to over-sharing of personal data.

The Importance of Managing Contact Sharing

Privacy Concerns

With the increasing risk of data breaches, managing who has access to your contact information is important. Turning off contact sharing can be a proactive step toward protecting your privacy.

Data Management

Controlling contact sharing helps manage your digital footprint, ensuring that only intended recipients have access to your contact details.

Step-by-Step Guide to Turn Off Contact Sharing

  1. Open the ‘Settings’ app on your iPhone.

  2. Scroll down and select ‘Contacts’.

  3. Tap on ‘Share My Contact Info’.

  4. Toggle the switch to ‘Off’ to disable contact sharing.

Ensure the changes are saved before exiting Settings. Your contact information will no longer be shared automatically.

Troubleshooting Common Issues

If you encounter any issues, restarting your device or checking for iOS updates may help resolve the issue. Turning off contact sharing may impact convenience but significantly increases privacy and security.

Conclusion

Controlling contact sharing on your iPhone is an important aspect of managing your privacy and security in the digital age. iOS 17 provides tools to customize these settings, ensuring users can take advantage of connectivity without compromising their personal information. Remember, taking charge of your digital footprint is not only about protecting your data, but also protecting your peace of mind.

The Ultimate Guide to Using Galaxy AI for Real-Time Language Translation

The Ultimate Guide to Using Galaxy AI for Real-Time Language Translation

In an increasingly globalized world, the ability to communicate across linguistic barriers is more important than ever. Enter Galaxy AI, a cutting-edge tool designed to break down these barriers by translating spoken conversations in real time. This article explains how to leverage Galaxy AI for seamless communication, ensuring that linguistic differences no longer hinder personal or professional interactions.

Understanding Galaxy AI

What is Galaxy AI?

Galaxy AI is a sophisticated language translation application that uses artificial intelligence to provide instant spoken language translations. It is designed to facilitate clear and accurate communication between speakers of different languages, making it an invaluable tool for travelers, business professionals, and anyone looking to bridge the language divide.

The Technology Behind Galaxy AI

The Ultimate Guide to Using Galaxy AI for Real-Time Language Translation

At the heart of Galaxy AI is a powerful AI engine that combines speech recognition, machine learning, and natural language processing technologies. This allows it to not only recognize and translate spoken words, but also understand context, idioms, and cultural nuances, providing translations that are both accurate and meaningful.

Setting Up Galaxy AI for Translation

Downloading and Installing

Getting started with Galaxy AI is straightforward. First of all, download the app. Installation is quick and once complete, you will be asked to select your primary language and the languages ​​you want to translate.

Configuring Galaxy AI Settings

After installation, take a moment to explore Galaxy AI’s settings. Here, you can adjust preferences for voice speed, level of translation accuracy, and whether you want the translation to be read aloud. Tailoring these settings to your needs improves the translation experience.

How to Use Galaxy AI for Spoken Conversations

Starting a Conversation

Starting a translated conversation with Galaxy AI is as simple as pressing the microphone button and speaking. The app will automatically detect the spoken language and provide a translation in the chosen language, either textually or audibly, based on your settings.

Real-Time Translation Features

Galaxy AI’s real-time translation capability is its standout feature. As you speak, the app instantly translates your words, allowing smooth, natural conversations. It can handle complex sentences and specialized terminology with impressive accuracy.

Tips for Clear Communication

To ensure the best possible translation:

  • Speak with clarity and at a moderate pace.

  • Avoid slang and idiomatic expressions unless necessary.

  • Use simple sentences to convey complex ideas.

Advanced Features of Galaxy AI

Customizing Translation Preferences

Galaxy AI offers the ability to customize translation settings for different scenarios such as formal meetings or casual conversations. This customization ensures that the tone and formality of the translation matche the context of your conversation.

Utilizing Offline Translation

One of the most practical features of Galaxy AI is its ability to translate without an internet connection. Although the range of languages ​​in offline mode may be limited, it is incredibly useful for communicating in areas with poor or no connectivity.

Troubleshooting Common Issues

Dealing with Misinterpretations

No translation tool is perfect, and misinterpretations may occur. If a translation doesn’t seem right, try rewriting your sentence or speaking more clearly. Often, a slight adjustment can significantly improve accuracy.

Connectivity Problems

For online translation in real-time, a stable Internet connection is important. If you encounter any problems, check your connection and switch to offline mode if necessary, taking into account the limitations mentioned earlier.

Conclusion

Galaxy AI represents a significant leap forward in overcoming language barriers. By understanding its capabilities and making the most of its features, users can communicate more effectively and confidently in different languages. As AI technology continues to advance, the possibility of even more accurate and nuanced translations is on the horizon, promising a future where linguistic differences are no longer a barrier.

The Ultimate Guide to Recovering Deleted Posts on Facebook

The Ultimate Guide to Recovering Deleted Posts on Facebook

Facebook, with its billions of users, is a treasure trove of memories, moments, and messages. Whether it’s a heartfelt post, a beloved photo, or a lively discussion, the content we share on Facebook often holds significant emotional value. But what happens when a post you love gets accidentally deleted? Is it gone forever, or is there any hope for recovery? Let’s look at the possibilities and find out how to recover deleted posts on Facebook.

Understanding Facebook's Data Policy

The Ultimate Guide to Recovering Deleted Posts on Facebook

Image Source: pipiads.com

First, it’s important to understand what happens behind the scenes when you delete a post on Facebook. According to the platform’s data policy, deleting a post removes it from your profile, timeline, and Facebook’s servers. This action is generally considered permanent, with Facebook saying that once a post is deleted, it cannot be recovered.

Steps to Attempt Recovery of a Deleted Post

While the official stance might seem discouraging, there are a few avenues you can explore in your quest to recover lost content.

Checking the Activity Log

Your Activity Log is a comprehensive record of your activities on Facebook, including posts, comments, and likes. Although this will not allow you to directly recover deleted posts, it may provide clues or remains of lost content.

Exploring the Archive Feature

Facebook offers an archive feature for posts that you no longer want to appear on your timeline but aren’t ready to delete permanently. If you’ve used this feature, recovering your content is as simple as accessing your archive and restoring the post.

Downloading Your Facebook Data

Downloading your Facebook data from time to time can serve as a preventive measure, ensuring that you have a backup of all your content, including posts. If you did this before deleting a post, you may still find the content in your downloaded files.

Utilizing Third-Party Tools

Although there is no official tool for post recovery, some third-party applications claim to recover deleted social media content. However, use caution and do thorough research, as their use raises privacy and security concerns.

Preventive Measures

Prevention is better than cure. Backing up your Facebook data regularly and using the Archive feature judiciously can help you avoid the regret of accidentally deleting valuable content.

The Role of Customer Support

In cases where you suspect that your content has been removed due to a glitch or unauthorized access, reaching out to Facebook Support may provide clarity or assistance. Although they usually can’t recover deleted posts, they can provide assistance with account security and related issues.

Conclusion

The digital sphere is fleeting, and our interactions on platforms like Facebook are more fragile than we imagine. Although recovering deleted Facebook posts is challenging and often not possible through official methods, understanding your options can provide some solace and a path forward. More importantly, this journey highlights the importance of digital responsibility and the need to take proactive steps to protect our online memories.

FAQs

  1. Can I recover a post deleted from Facebook after 30 days?

    • Once a post is deleted from Facebook, it is considered permanently deleted regardless of the time frame.

  2. Does Facebook keep copies of deleted posts?

    • Facebook’s policy states that deleted posts are removed from their servers and cannot be recovered.

  3. Can I use third-party apps to recover deleted Facebook posts?

    • While some apps claim to recover deleted content, their effectiveness is unverified, and they may pose security risks.

  4. What is the difference between archiving and deleting a post on Facebook?

    • Archiving a post hides it from your Timeline without removing it from Facebook, allowing future retrieval, while deleting a post permanently removes it.

  5. How often should I download my Facebook data for backups?

    • It depends on how often you post the content you want to keep. A regular schedule, such as monthly or quarterly, is recommended for active users.