Your Tech Story

tech tips

Why is the MacBook Pro Better than the MacBook Air?

Why is the MacBook Pro Better than the MacBook Air?

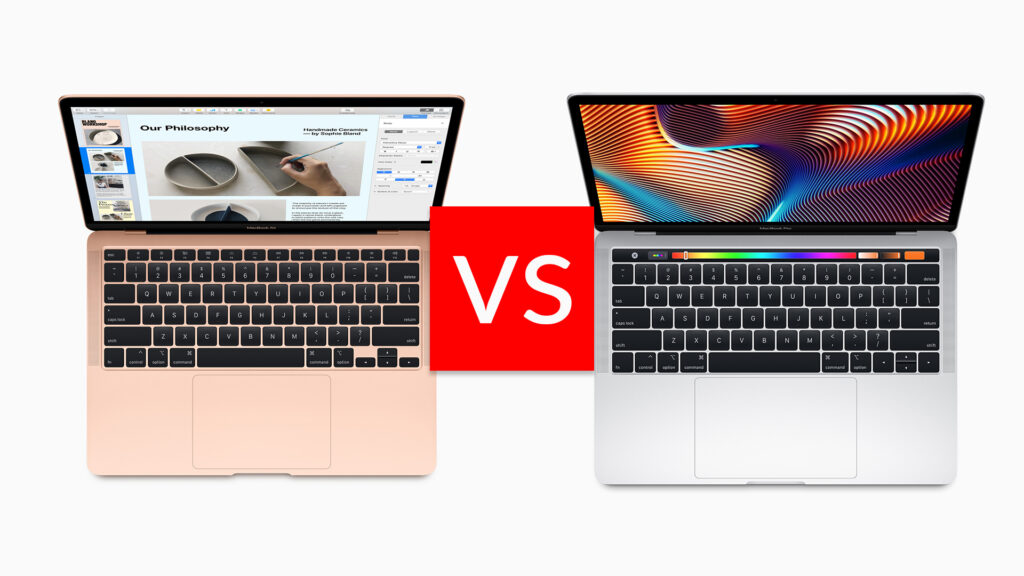
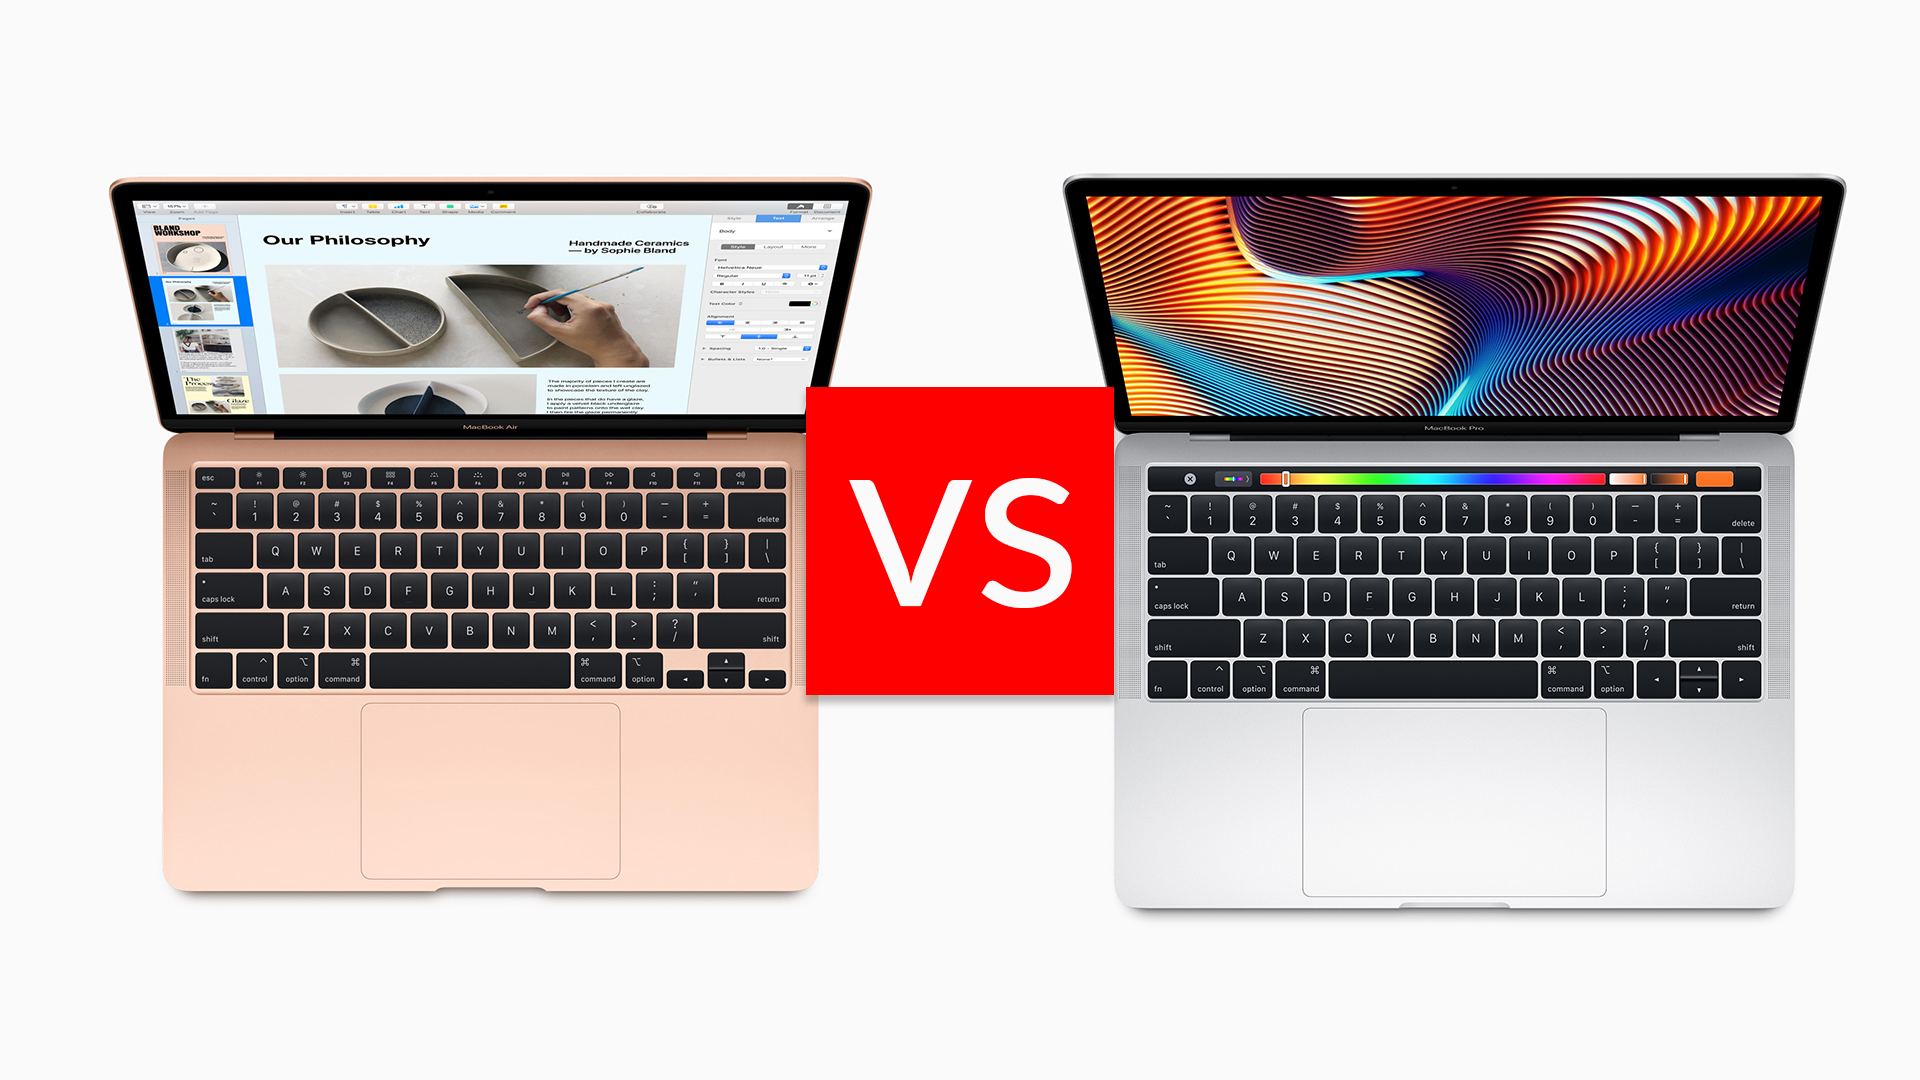
With Apple offering so many different configurations and choices, choosing between the MacBook Pro and the MacBook Air might be difficult. It is crucial that you take into account aspects like pricing, display size, and processing power while weighing your options. Both versions are good, but for those looking for more performance and adaptability, the MacBook Pro is the better choice.

Major Variations

Why is the MacBook Pro Better than the MacBook Air?

Image Source: t3.com

The main differences between the MacBook Pro and MacBook Air are their cost and processing capability. With its cutting-edge M3 CPUs, the MacBook Pro is more efficient and performs better than the Air. Better multitasking, longer battery life, and more performance on demanding jobs like video editing and 3D rendering are all results of these increased capabilities.

Features of the MacBook Pro

Several characteristics distinguish the MacBook Pro from the Air. The Pro versions provide larger screen real estate for immersive computing experiences, with options for 14- and 16-inch panels. They also have a variety of connectors, including as SD card slots and HDMI, to meet the connectivity requirements of business customers. The Pro is perfect for demanding creative jobs because of its updated internals, which include improvements to the CPU and GPU.

Aspects of Pricing

Despite having better performance than the MacBook Air, the MacBook Pro costs more. The 14-inch model starts at $1,599, while the 16-inch model costs $2,499; further improvements can drive up the price of the Pro. However, the Pro’s unparalleled performance and productivity advantages make the cost worthwhile for customers who need its advanced features.

The Reasons for Selecting a MacBook Pro

The MacBook Pro is the best option if you’re a power user or creative professional in need of powerful processing power for jobs like graphic design, audio creation, or video editing. Its robust M3 processors and cutting-edge features handle taxing workloads with ease, guaranteeing dependability and flawless performance.

Taking the MacBook Air into Account

Conversely, anyone looking for a thin, lightweight gadget for daily activities like emailing, online surfing, and media streaming would find the MacBook Air appealing. The Air is a well-liked choice for students and casual users despite lacking the Pro’s sophisticated features and processing power. Its small shape and low cost also contribute to its appeal.

In summary, the choice between a MacBook Pro and MacBook Air ultimately comes down to your unique requirements and use habits. The MacBook Pro delivers unparalleled power and capabilities if performance and adaptability are your top priorities. But if cost and mobility are your top concerns, the MacBook Air offers a stylish and light alternative for routine computer work. Whichever model you select, Apple’s premium-build quality and seamless ecosystem integration will provide a superior user experience across all of your devices.

ย 
The Complete Guide to X Premium: Features, Benefits, and How to Subscribe

The Complete Guide to X Premium: Features, Benefits, and How to Subscribe

In a move that signals a major change in the way social media platforms monetize their services, X (formerly known as Twitter) has launched its own premium subscription service, X Premium. This new tier aims to enhance the user experience by offering exclusive features, improved functionalities, and a more personalized way of interacting with the platform. Here’s everything you need to know about X Premium, including its benefits and how to get the most from your subscription.

What is X Premium?

The Complete Guide to X Premium: Features, Benefits, and How to Subscribe

Image Source: techadvisor.com

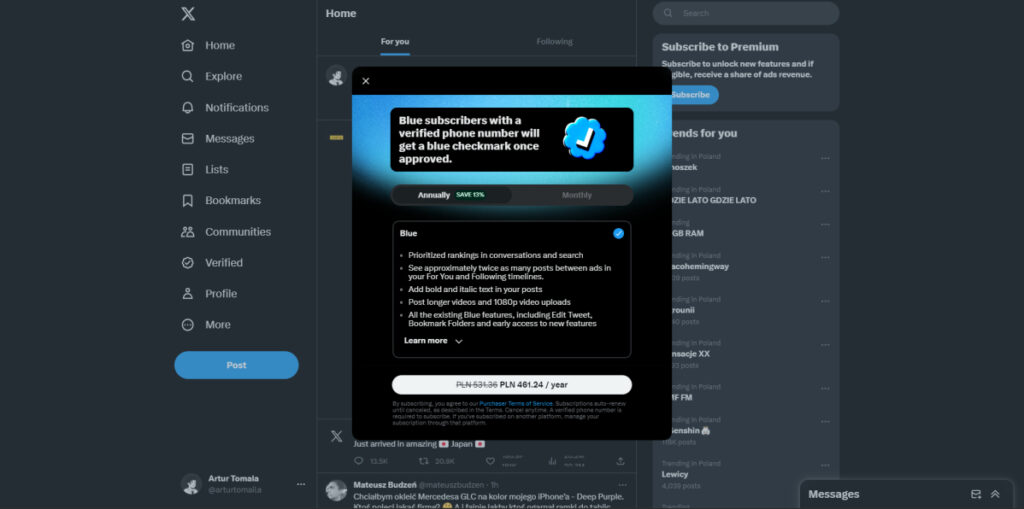
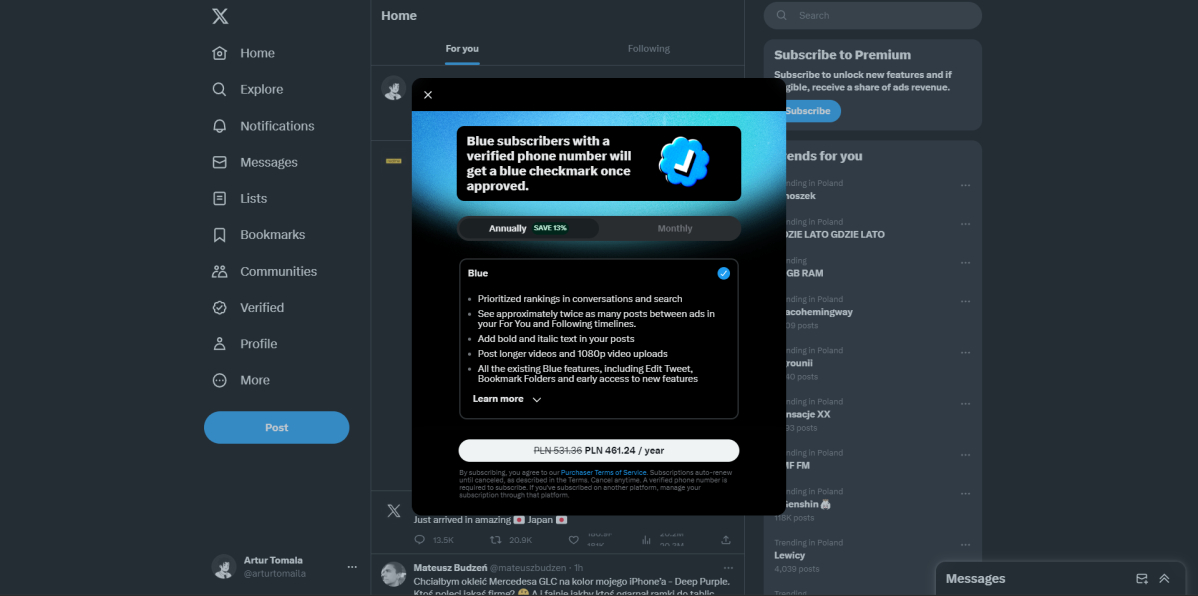
X Premium is a subscription-based service offered by the social media giant, designed for users who want an enhanced experience on the platform. By subscribing to X Premium, users unlock features and benefits that are not available to free account holders. These enhancements range from an ad-free browsing experience to more sophisticated analytics tools, aimed at both regular users and professionals who use the platform for business and content creation.

Key Features and Benefits

  1. Ad-Free Experience: One of the most sought-after benefits of X Premium is the ability to browse the platform without any interruptions from ads. This ensures a cleaner and more focused user experience.

  2. Enhanced Analytics: Subscribers gain access to advanced analytics tools that provide in-depth information about their account performance, audience engagement, and content reach. This feature is especially useful for creators and businesses who want to optimize their social media strategy.

  3. Exclusive Content: X Premium members have exclusive access to premium content from popular creators and influencers, including articles, videos, and live streams that are not available to non-subscribers.

  4. Priority Support: Subscribers benefit from priority customer support, ensuring that any issues or queries are resolved promptly.

  5. Customization Options: Additional customization options allow users to personalize their feed, notifications, and overall app appearance, giving them control over their browsing experience.

How to Subscribe to X Premium

Subscribing to X Premium is straightforward. Users can sign up directly through the X app or website by navigating to the settings menu and selecting the X Premium option. From there, follow the on-screen instructions to complete the subscription process. Payment can be made using various methods, including credit card, PayPal, or other digital wallets, depending on the region.

Making the Most Out of Your Subscription

To fully benefit from X Premium, users should explore all the features and customization options available. Engaging with exclusive content and using advanced analytics tools can provide valuable insights and grow your social media presence. Additionally, taking advantage of the ad-free experience and priority support can significantly improve your overall experience on the platform.

Conclusion

X Premium represents a significant evolution in how users interact with social media platforms, offering a more refined, personalized, and enhanced experience. Whether youโ€™re a social media enthusiast, a content creator, or a business professional, X Premium provides a suite of features designed to cater to your needs. As the digital landscape continues to evolve, services like X Premium underscore the importance of user experience in the competitive world of social media.

The Ultimate Guide to Managing Your WhatsApp Community

The Ultimate Guide to Managing Your WhatsApp Community

The Ultimate Guide to Managing Your WhatsApp Community

Image Source: nas.io

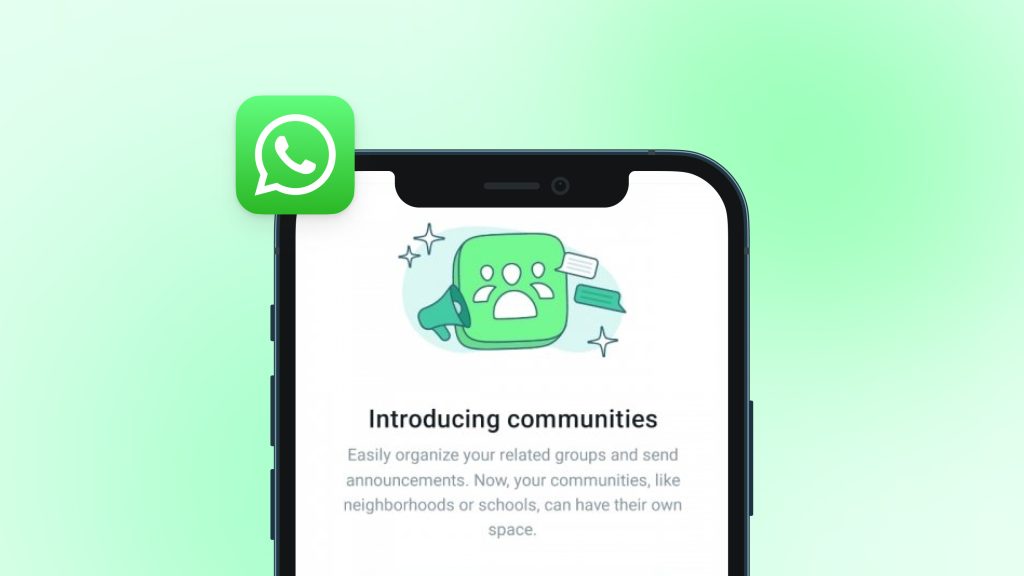
Compared to conventional WhatsApp Groups, WhatsApp Communities give users the chance to interact with a larger audience. Here’s a detailed instruction on managing your WhatsApp group membership, whether you want to leave the group or deactivate it.

Rumors have Surfaced After Muskโ€™s Takeover

Compared to conventional WhatsApp Groups, WhatsApp Communities give users the chance to interact with a larger audience. Here’s a detailed instruction on managing your WhatsApp group membership, whether you want to leave the group or deactivate it.

Deactivating a Community

1. Deactivate a Desktop and Web Community:

  • To deactivate a community, open it.

  • Select the name of the community by clicking.

  • Locate yourself near the screen’s bottom.

  • Select “Deactivate community” > “Deactivate” .

2. Deactivate an Android Community:

  • To deactivate a community, open it.

  • Select “More options” > “Community info” .

  • Locate yourself near the screen’s bottom.

  • Select “Deactivate community” > “Deactivate” .

3. Deactivate a community on iOS:

  • To deactivate a community, open it.

  • Click “More Info.”

  • Select “Deactivate community” > “Deactivate” after swiping down.

  • Tap “Continue” > “Deactivate” to confirm.

Exiting a Community

1. Exit a Web and Desktop Community:

  • Navigate to the Communities menu.

  • If you want to leave the community, open it.

  • Select the name of the community by clicking.

  • Select “EXIT” under “Exit community”.

2. How to Leave an Android Community:

  • If you wish to leave the community, open it.

  • Select “More options” > “Community info” .

  • Press “Exit community” > “Exit”

3. On iOS, Leave a Community:

  • If you wish to leave the community, open it.

  • Click “More info.”

  • Press “Exit Community” > “Exit” to exit.

Additional Things to Remember

  • Deactivating the community for everyone can only be done by the community creator.

  • All groups located within a deactivated community will become normal groups under the Chats menu.

  • Your related groups and communities will be deleted along with your WhatsApp account.

  • A deactivated community cannot be reactivated.

How to Remove Yourself from a WhatsApp Community as a Creator or Member

1. For Members:

  • Open the information page for the WhatsApp Community.

  • After swiping down, select “Exit Community”.

  • Click “OK” to confirm your action.

2. For creators:

  • Open the information page for the WhatsApp Community.

  • After swiping down, select “Exit Community”.

  • Choose between assigning a new manager or dissolving the group entirely.

  • Verify your choice and leave the community.

Keeping your WhatsApp Communities involvement under control is crucial to a pleasant and clutter-free chatting experience. You may easily traverse the procedure by following the steps listed above, regardless of whether you want to leave or deactivate a community.

Recall that it is your duty as a community creator to see to it that your group runs well. It’s important to think about how your decisions will affect your members, whether you decide to completely shut down the community or assign management responsibilities to someone else. Members can withdraw from talks that no longer interest them by leaving a community, which makes room in your chat list for more pertinent chats.

Knowing how to control your involvement in WhatsApp Communities gives you the ability to customise your messaging experience to your liking in the ever-changing world of online communication. These stages provide a road map to reach your objectives, whether you’re a creator hoping to cultivate a lively community or a member looking for a more efficient chat experience.

Through the use of WhatsApp’s features, such leave and deactivation choices, you can guarantee that your conversations stay pertinent and important. Thus, take control of your WhatsApp experience right now and make the most of your involvement in the groups that are important to you.

How to Send or Receive Money using WhatsApp: Step-by-step guide for Android and iOS

How to Send or Receive Money using WhatsApp: Step-by-step guide for Android and iOS

How to Send or Receive Money using WhatsApp: Step-by-step guide for Android and iOS

Image Source: newslivetv.com

WhatsApp has become more than just a messaging platform; it’s now a convenient way to send and receive money seamlessly. Whether you’re splitting bills or paying someone back, WhatsApp’s integration with UPI (Unified Payments Interface) makes transactions quick and effortless. Here’s a comprehensive guide on how to send or request money using WhatsApp on both Android and iOS devices.

Sending or Requesting Money Using UPI ID

To Request Money

  • Open the WhatsApp app on your Android device or iPhone.
  • Tap the three vertical dots (Android) or Settings (iOS).
  • Select Payments.
  • Tap Send Payment.
  • Choose “Enter a UPI ID or UPI number” and input the details.
  • Tap Verify and select the Request option.
  • Enter the amount and tap Next.
  • Finally, tap Request Payment.

To Send Money

  • Follow the same initial steps to access Payments.
  • Select Send Payment.
  • Enter the recipient’s UPI ID or number.
  • Verify/Proceed and input the amount.
  • Tap Next, then Send Payment.
  • Confirm the transaction with your UPI PIN.

Sending or Requesting Money Using QR Code

To Request Money

For Android:

  • Tap the three dots > Payments > New Payment.
  • Select Scan QR Code and proceed.
  • Enter the amount and tap the Arrow icon.

For iOS:

  • Go to Settings > Payments > Request Payment.
  • Scan the payment QR code and proceed with the request.

To Send Money

For Android:

  • Access Payments > New Payment > Scan QR Code.
  • Enter the amount and proceed with payment.

For iOS:

  • Navigate to Settings > Payments > Send Payment.
  • Scan the QR code and enter the amount to proceed.

Sending Money Directly from WhatsApp Chat

  • Open WhatsApp and navigate to the chat of the recipient.
  • Tap the Payments icon.
  • Enter the amount.
  • Proceed to send the payment.
  • Confirm the transaction with your UPI PIN.

With these simple steps, WhatsApp users can effortlessly manage their finances directly within the app. Whether it’s splitting bills or paying someone back, sending and receiving money has never been easier, thanks to WhatsApp’s seamless integration with UPI.

How to Restore a Corrupt File from USB?

How to Restore a Corrupt File from USB?

How to Restore a Corrupt File from USB?

Restoring a corrupt file from a USB drive can be a critical task, especially if the file contains important information. Here’s a structured approach to attempt the restoration or recovery of a corrupt file from your USB drive:

1. Check the USB Drive for Errors

On Windows:

  • Connect the USB drive to your computer.
  • Go to “This PC” or “My Computer”.
  • Right-click on the USB drive and select “Properties”.
  • Go to the “Tools” tab and click “Check” under the Error Checking section. It can help fix system errors and bad sectors that can cause file corruption.

On macOS:

  • Plug the USB drive into your Mac.
  • Open “Disk Utility” from the Applications > Utilities folder.
  • Choose your USB drive from the sidebar.
  • Click on “First Aid” and then “Run” to repair the USB drive.

2. Use File Recovery Software

There are various data recovery software available that can help recover deleted or corrupted files from a USB drive. Some popular options include Recuva (Windows), Disk Drill (Mac and Windows), and PhotoRec (cross-platform). Use these tools to scan your USB drive for recoverable files.

3. Open the File with an Alternative Program

Sometimes, the issue might be with the application trying to open the file rather than the file itself. Try opening your corrupt file with a different application that supports the format. For example, if a Word document won’t open, try opening it with Google Docs, LibreOffice, or another word processing software.

4. Use Online File Repair Tools

For certain file types (e.g., Word, Excel, PDF), there are online tools available that can attempt to repair corrupt files. Upload your corrupt file to one of these services, and it will attempt to fix and return a repaired version. Make sure to use a reputable service to ensure your data’s privacy and security.

5. Convert the File to Another Format

If the file is partially readable, converting it to another format might help. For instance, if you have a corrupt JPEG image, try converting it to a PNG format using an image editor. Similarly, a Word document (.docx) can be saved as an RTF or TXT file to recover some of its content.

6. Recover Previous Versions (Windows)

Windows has a feature called “Previous Versions” that can be useful:

  • Right-click the corrupt file on the USB drive.
  • Select “Properties” and then the “Previous Versions” tab.
  • If there are any listed previous versions, you might be able to restore one.

7. Seek Professional Help

If the file is extremely important and none of the above methods work, consider seeking help from a professional data recovery service. These services can be costly but may be worth it for valuable data.

General Tips:

Always make regular backups of important files to avoid data loss.

Do not write any new data to the USB drive before attempting recovery; this can overwrite the corrupt files and make them unrecoverable.

Handle the USB drive carefully and avoid physical damage.

Restoring a corrupt file can be challenging, and the success largely depends on the extent of the corruption and the methods used for recovery.

Hacked Apple ID? Here's How to Secure Your Account Now

Hacked Apple ID? Here’s How to Secure Your Account Now

Hacked Apple ID? Here's How to Secure Your Account Now

Image Source: hacked.com

In today’s digital age, your Apple ID is more than just an account; It is the gateway to a vast ecosystem of devices, data and services. But what happens when this vital part of your digital identity falls into the wrong hands? Hacking incidents can be distressing, but taking quick and decisive action can help minimize potential damage.

Signs Your Apple ID Has Been Compromised

The first step to addressing a hacked Apple ID is recognizing the signs of unauthorized access. These may include:

  • Unexpected Charges: Purchases or subscriptions you don’t recognize.
  • Alerts from Apple: Notifications of logins from unfamiliar locations.
  • Modified Account Information: Changes to your account details that you didn’t authorize.

Immediate Actions

If you suspect that your Apple ID has been hacked, take action immediately:

  1. Change Your Password: Secure your account with a new, strong password.
  2. Review Account Changes: Check for any unauthorized modifications and revert them.
  3. Contact Apple Support: They can provide guidance and help secure your account.

Securing Your Apple ID

Enable two-factor authentication on your Apple account for an extra layer of security.

Update security questions and answers that are difficult to guess.

Be alert for unsolicited communications asking for personal information.

Recovering Your Account

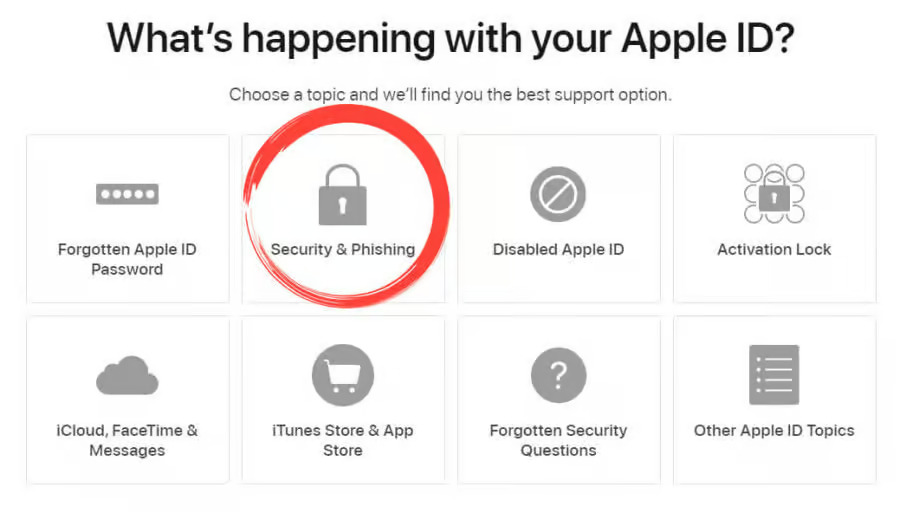
Go to Apple’s Account Recovery Page: Visit iforgot.apple.com to start the recovery process.

  1. Enter Your Apple ID: Input the email address associated with your Apple account.
  2. Confirm Your Identity: Choose the method to verify your identity (answer security questions, receive an email, or use a trusted device).
  3. Follow the Instructions: Complete any additional steps as directed by Apple, such as entering a verification code sent to a trusted device or email.
  4. Reset Your Password: Once your identity is verified, you’ll be prompted to create a new password.
  5. Review Account Details: After resetting, review and update your security settings and account details.
  6. Sign Back Into Your Devices: Use your new password to log back into your Apple devices and services.

Preventive Measures

Maintaining the security of your Apple ID involves regular vigilance:

  • Monitor Account Activity: Check your account regularly for any unusual activity.
  • Use a Unique Password: Ensure it’s strong and not reused across other accounts.
  • Stay Informed: Understand the tactics hackers use, such as phishing scams, and how to avoid them.

Conclusion

In Conclusion, if your Apple ID gets hacked, promptly change your password, enable two-factor authentication, and contact Apple Support. Taking these steps swiftly can help secure your account and minimize any potential impact. Regular vigilance and adopting secure practices are your best defenses against future security breaches. Protecting your Apple ID is crucial for maintaining the safety of your personal information and ensuring a secure experience across Apple’s services.