Your Tech Story

tech hacks

How To Fix If Your Samsung Tablet Is Running Slow?

How To Fix If Your Samsung Tablet Is Running Slow?

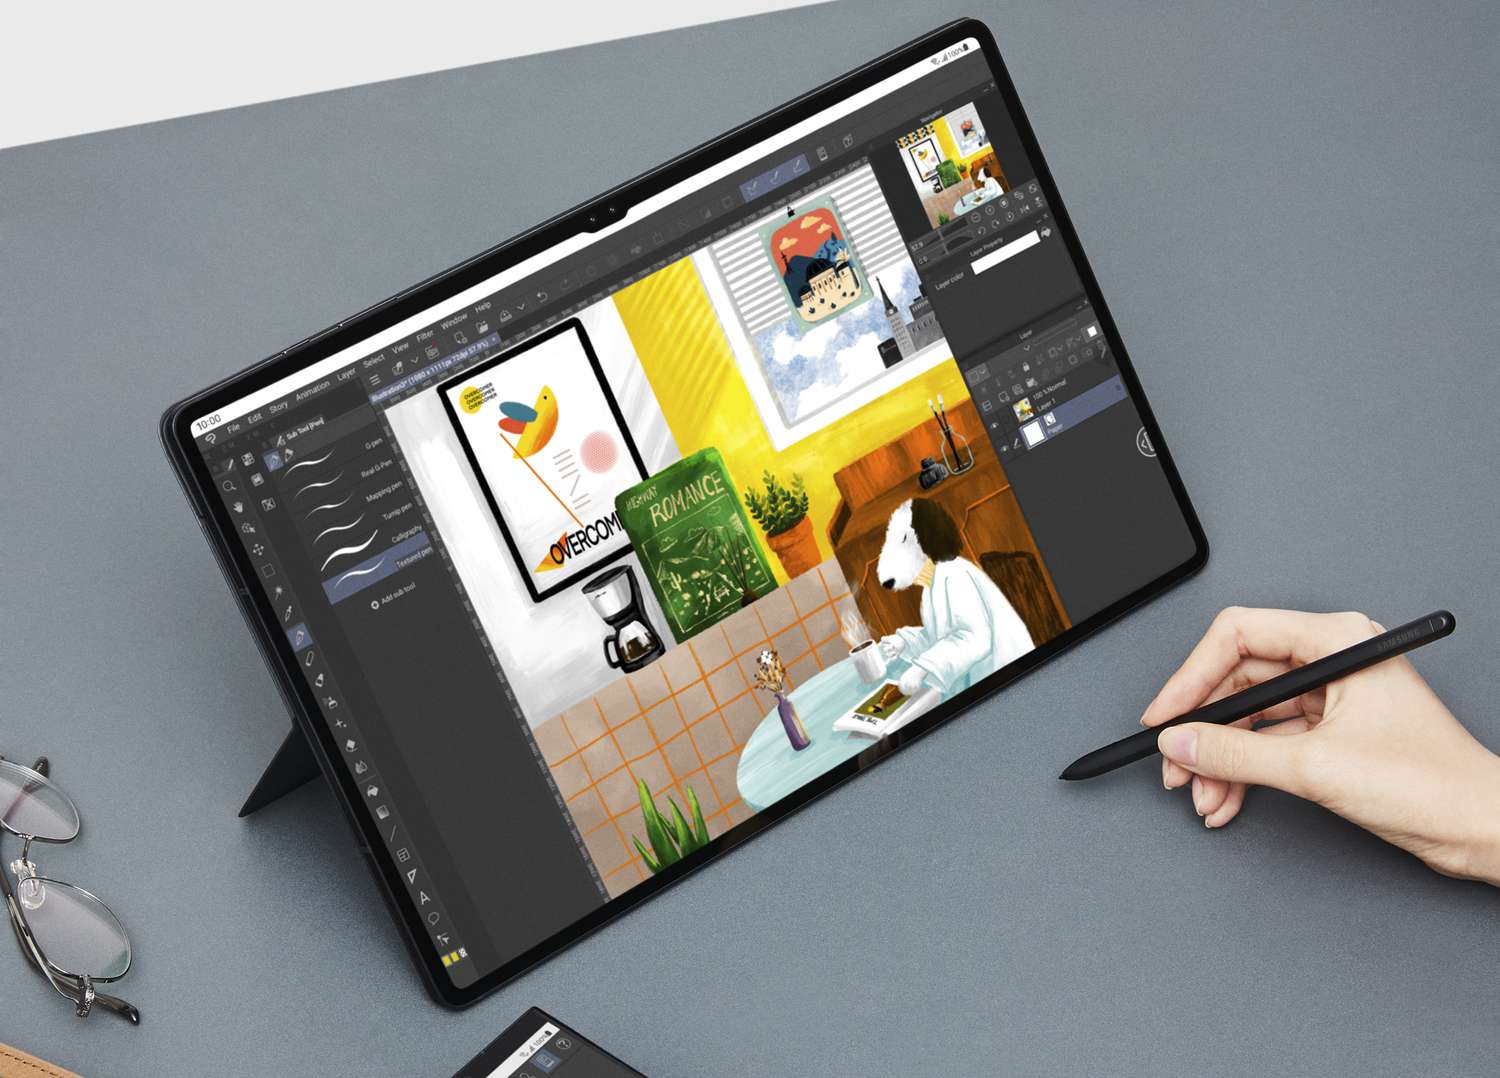
To fix a slow-running Samsung tablet, start by restarting the device to clear temporary files. Update the operating system and apps to their latest versions for optimal performance. Clear cache and delete unnecessary files to free up storage space. Finally, manage background apps to ensure they don’t consume excess resources. These steps can significantly improve the speed and efficiency of your Samsung tablet. This article provides practical solutions to increase the performance of your tablet.

Understanding the Causes

Many factors contribute to a slow Samsung tablet, including outdated software, overloaded storage, and background apps.

Restarting Your Tablet

A simple but effective solution is to restart your tablet. It can clear temporary files and refresh the system.

Clearing Cache and Unnecessary Data

How To Fix If Your Samsung Tablet Is Running Slow?

Image Source: lifewire.com

Clearing cache and unnecessary data is a simple yet effective way to enhance your device’s performance. It involves removing temporary files and data that accumulate over time, freeing up storage space, and improving overall speed and efficiency. Regularly clearing cache can also resolve potential glitches and keep your device running smoothly.

Updating the Operating System

Updating the tablet’s operating system is a crucial process that involves installing the latest software version on your device. This not only brings new features and enhancements but also patches security vulnerabilities, improves performance, and fixes known bugs.

Managing Applications

Regularly updating apps and uninstalling those that are not in use can prevent performance delays.

Optimizing Battery Settings

Optimizing battery settings involves adjusting your tablet’s power usage for enhanced battery life and tablet’s performance. This can include reducing screen brightness, disabling background apps, and activating power-saving modes.

Expanding Storage

Using external storage solutions like SD cards or cloud storage may free up internal memory.

Reducing Screen Brightness and Animations

Lowering screen brightness and reducing animations can speed up the tablet.

Factory Reset

In some cases, a factory reset may be necessary to speed up your tablet. Back up the data before proceeding with this option.

Latest Trends in Tablet Performance

The latest trends in tablet performance focus on enhancing processing speed, improving display quality, and extending battery life.

Conclusion

Regular maintenance and these troubleshooting steps can greatly improve the speed and efficiency of your Samsung tablet.

How to Automatically Delete OTP on Your Android Phone?

How to Automatically Delete OTP on Your Android Phone?

The majority of Android users don’t give much thought to the spam that steadily accumulates in the native messaging application since they prefer using instant messaging services such as WhatsApp and Telegram for messaging their pals. Even if SMS is no longer as common, it is still the sole method to get OTPs on your mobile device. Here are two easy methods to get all of the OTPs in your SMS inbox immediately deleted on your Android phone. 

How to Automatically Delete OTP on Your Android Phone?

Although it’s not a permanent solution, deleting the messages that include OTPs is one technique to combat the persistent spam on your preferred messaging service.

Money-based spam exists, and removing OTPs won’t make a big difference. To control your email, though, there are a few more things you can do.

Use Google Messages to delete OTPs on Android devices

Step 1: Download the Google Messages app and make it the smartphone’s default messaging. This will allow you to use Google Messages to delete OTPs on Android devices automatically.

Step 2: Tap the symbol for your profile in the top-right area of the display.

Step 3: Choose the options for Messages.

Step 4: Click or tap General.

Step 5: Choose Message organisation by swiping down.

Step 6: After a day, flip the switch to enable the auto-deletion of OTPs.

After a day, your previous and subsequent OTPs will be removed.

Make use of the Native messaging app.

Step 1: Open your Android Smartphone’s built-in Messages app.

Step 2: The second step is to click the ellipses in the top-right area of your display and choose Settings. 

Step 3: Press the More settings button. 

Step 4: Flip on the old text deletion toggle switch.

When you get 1000 SMS, this will erase all previous messages including OTPs from your mobile device. 

On the smartphone you are using on Android, these are the best two approaches for automatically deleting OTPs. Turn on “Conversation categories” under Settings to more effectively manage your message inbox. As many different groups as you like can be added. You get to choose which chat threads go into a category once you’ve created it. You may make categories for your friends, family, coworkers, and other students.

Two Ways to Reset Your Forgotten Apple Watch Passcode

Two Ways to Reset Your Forgotten Apple Watch Passcode

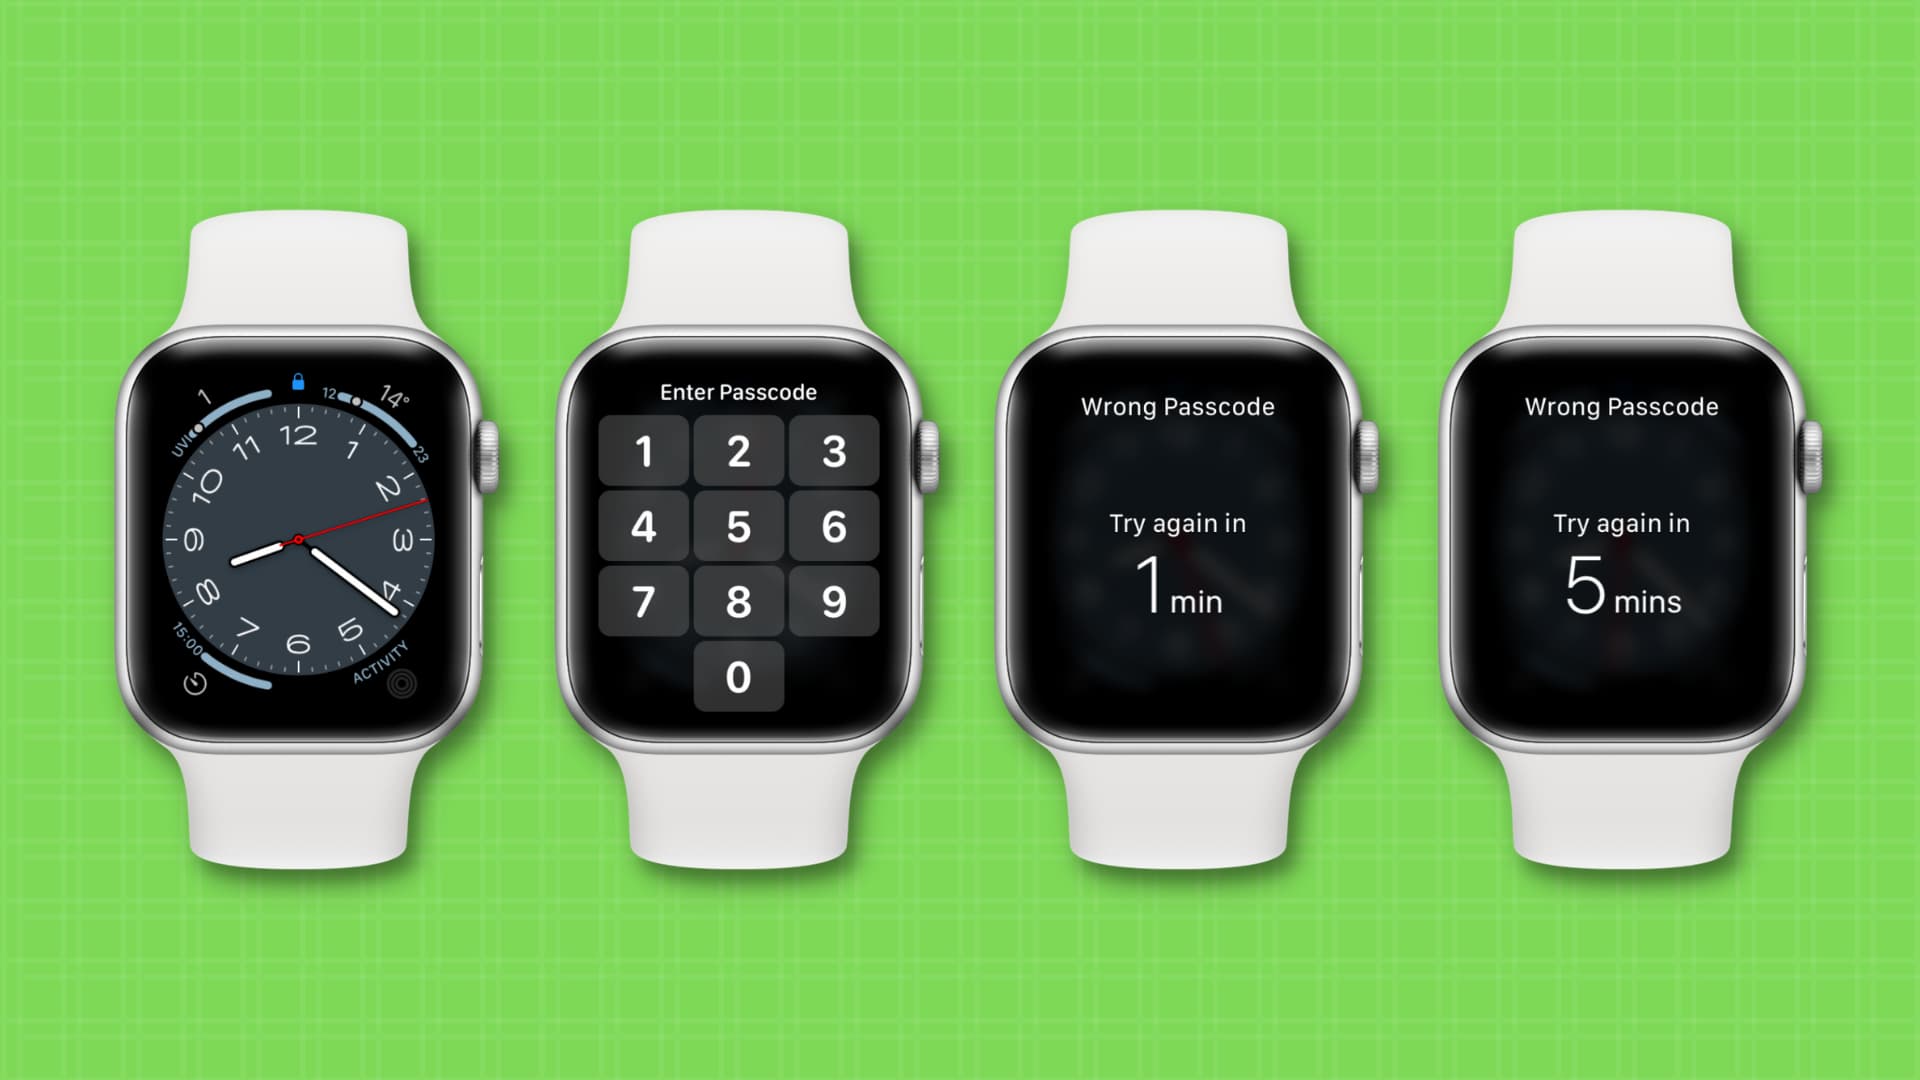
Forgetting your Apple Watch passcode can be troublesome, but don’t worry, resetting it is easier than you think. This article guides you about the top two methods to reset your forgotten Apple Watch passcode.

Understanding Apple Watch Passcode

The Apple Watch passcode is a security measure to protect your data. This is required for features like Apple Pay and unlocking your watch.

Method 1: Using Paired iPhone

Two Ways to Reset Your Forgotten Apple Watch Passcode

Image Source: business-standard.com

The easiest way to reset your passcode is through your paired iPhone. Go to the Apple Watch app, select the ‘My Watch’ tab, and tap ‘General’ > ‘Reset’. Select ‘Erase Apple Watch Content and Settings’ to perform a reset.

Method 2: Without Paired iPhone

If you don’t have your iPhone, you can still reset your Apple Watch. Press and hold the Side button until you see the Power off slider. Press the Digital Crown, then select ‘Erase all content and settings’.

Preparation for Resetting Passcode

Before resetting, ensure your Apple Watch is charged and near your iPhone, if using Method 1.

Troubleshooting Common Issues

If you encounter any problems, restarting your Apple Watch and iPhone may help. Make sure Bluetooth is enabled on your iPhone for connectivity.

Data Backup Considerations

Resetting your Apple Watch will erase all data. Make sure your data is backed up on your iPhone or iCloud.

Restoring Apple Watch Post Reset

After the reset, pair your Apple Watch with your iPhone to restore data and settings from your backup.

Setting a New Passcode

Choose a passcode that is secure but easy to remember. Avoid common numbers like 1234 or 0000.

Apple Support and Assistance

If you are unable to reset your passcode, contact Apple Support for further assistance.

Security Implications of Resetting Passcode

Resetting your passcode ensures that your data will remain safe, especially if your watch is lost or stolen.

Conclusion

Resetting your forgotten Apple Watch passcode is easy. Follow these steps to regain access to your device and maintain its security.

What to do When Your External Hard Drive Doesn't Show Up?

What to do When Your External Hard Drive Doesn’t Show Up?

It’s a common and frustrating problem: You connect your external hard drive to your computer, but it doesn’t show up. This article provides a comprehensive guide on how to troubleshoot and resolve this issue.

Understanding External Hard Drives

External hard drives are portable storage devices used to back up data. They suffer from problems like not being recognized due to various reasons.

Common Reasons for Non-Detection

Drives not showing up can also be caused by hardware problems, outdated drivers, or software conflicts.

Initial Checks and Quick Fixes

What to do When Your External Hard Drive Doesn't Show Up?

Image Source: windowsreport.com

Start with basic troubleshooting: check the USB port, try a different cable, and restart your computer.

Checking Connection and Power Supply

Make sure the drive is properly connected and receiving power, especially for drives that require an external power source.

Updating and Installing Drivers

Detecting outdated or missing drivers can be prevented. Updating or reinstalling the drivers may solve the problem.

Using Disk Management Tool

Windows Disk Management tool helps locate and manage drives. This can be used to identify whether the system recognizes the drive or not.

Checking for Disk Errors

Using a tool like CHKDSK can help identify and repair disk errors that may be causing the problem.

Formatting the Drive

If the drive is detected but not accessible, formatting may be necessary. Note that this will erase all data on the drive.

Recovering Data from Unrecognized Drives

If the drive contains important data, it is recommended to use data recovery tools or services before formatting.

Preventive Measures and Care

Regularly updating software, properly ejecting the drive, and avoiding physical damage can prevent problems.

Conclusion

Dealing with an external hard drive not showing up can be challenging, but following these steps can help resolve the issue in most cases.

How to Download Videos from X (Formerly Twitter)?

How to Download Videos from X (Formerly Twitter)?

Although Twitter debuted as a micro-blogging platform, it has evolved into a massive social media platform that offers a wide variety of information in many formats. The platform, which is now called X, is a hub for original producers who only provide content as well as viral videos. If you frequent X, you have probably seen a video you liked and wanted to show your friends even if they don’t use the platform. Take a look at these short ways to download a 2023 X/Twitter video. 

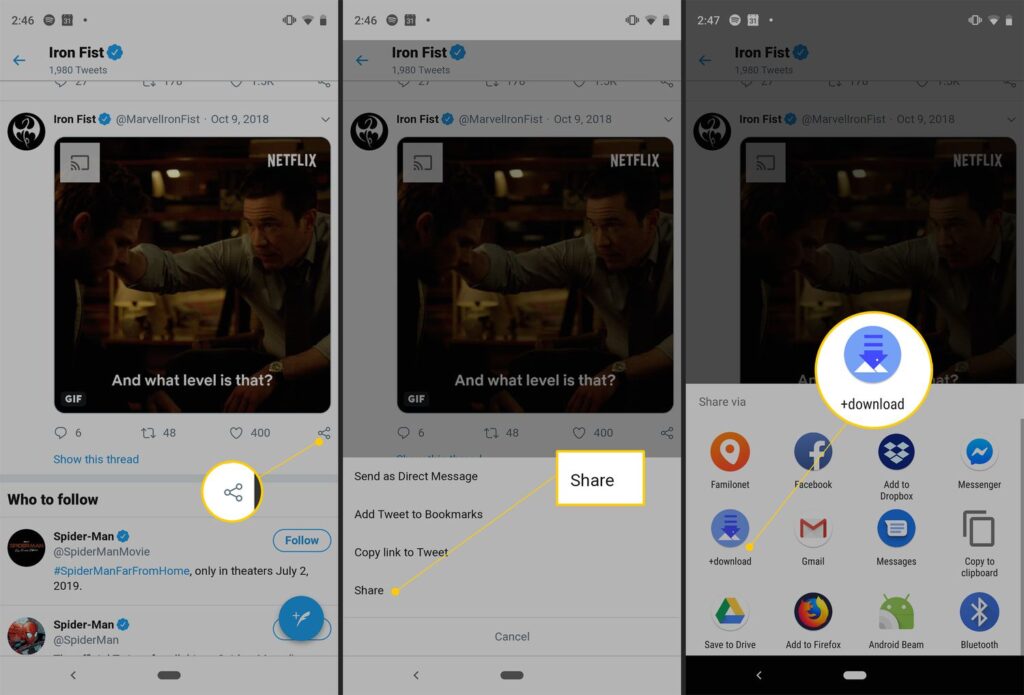
Use the App itself to Download Videos from X (Twitter).

How to Download Videos from X (Formerly Twitter)?

Image Source: lifewire.com

Only Blue members have the ability to download videos from Twitter natively. It’s possible that not every video on the site can be downloaded, though.

Video owners have the authority to determine if other people who use the app are permitted to save the video to their respective devices.

Step 1: On your smartphone, open the X app and choose the video you wish to download.

Step 2: Verify that the video is playing in its entirety.

Step 3: In the upper-right corner of the screen, press the ellipses in step three. 

Step 4: Choose Download video in step four. 

Your device will save the video.

Another Approach is to Download a Video Straight From the X App

A different method exists for downloading a video from X that does not need fullscreen mode. Although there is nothing inappropriate with this strategy, users may occasionally decide not to view videos, particularly if they are in the public eye and also do not have headsets on. Fortunately, X lets you download a video without ever viewing it. This is the method.

Step 1: Open the post with the clip on your phone by using the X app.

Step 2: Hold down the video for a prolonged period of time until a menu appears.

Step 3: Select “Download video.”

Make use of a Third-Party Tool

Even for Twitter Blue members, downloading videos from Twitter to a Desktop is not possible natively, therefore you will want the assistance of a third-party software. Here’s the way to use the Twitter Vid tool to accomplish that.

To Download Movies from X, Use a Chrome Extension.

It might be time-consuming to constantly switch to a third-party software if you frequently save Twitter videos to your computer. You’d be better off with a Chrome addon. You may download any video from Twitter using the extremely useful addon provided by Twitter Vid, the third-party utility we previously highlighted. 

How to Disable Copilot on Windows 11 Top 3 Ways

How to Disable Copilot on Windows 11 Top 3 Ways

In Windows 11, Microsoft purposefully replaced Cortana with a brand-new independent application named Copilot. Help and advice from Windows Copilot are on par with or superior to that of the virtual assistant. Sometimes, though, you might wish to turn off Windows Copilot. This article will examine many approaches to do this.

What are the Benefits of Windows Copilot?

With Windows 11, Copilot is an artificially intelligent assistant that can support you with a variety of activities, taking the place of Cortana. Copilot can help you out with just a few mouse clicks or voice commands, no matter what you require to look up the web, summarise a document, adjust a setting, or incorporate an application.

How to Disable Copilot on Windows 11 Top 3 Ways

Image Source: beebom.com

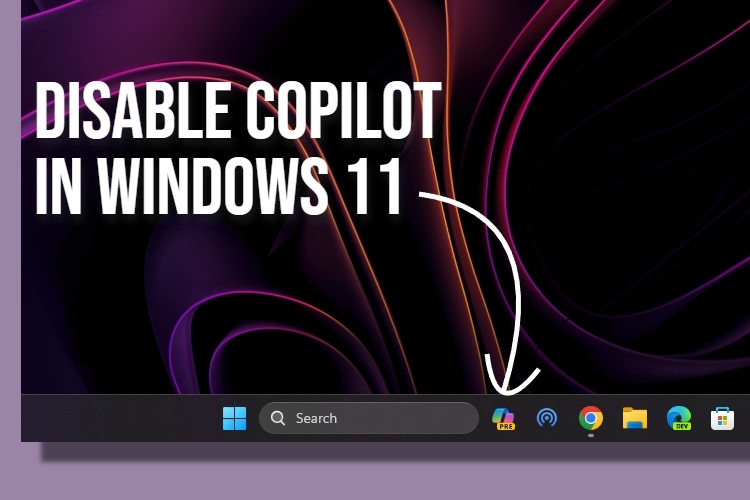
Copilot may be accessed by the Windows + C key shortcut or the taskbar. It will show up on the display as a right-edge sidebar. You have the option to hide it or attach it to the sidebar. Numerous Windows applications, including Paint, Outlook, and Photos, are linked with Copilot.

Follow these steps, Nevertheless, If you still want to delete Microsoft Copilot.

Using Settings, Deactivate Copilot on Windows 11

Step 1: Tap on the Settings application on your laptop or Windows 11 computer.

Step 2: for Personalization, tap on the tab. 

Step 4: Below “Taskbar items,” turn off the Copilot toggle button. 

Turn off Copilot in the Group Policy

Step 1: From the Control Panel, enter Group Policy Editor. Additionally, you may look for it by entering “gpedit” into the taskbar search box.

Step 2: Select Windows Copilot under Configuration>Administrative Templates>Windows Components.

Step 3: Select the button to “Switch off Windows Copilot.”

Step 4: Select “Enabled.”

Step 5: Tap on Apply and then OK.

Step 6: Restart your computer.

Windows Copilot may be Disabled using the Registry Editor.

Step 1: On your Windows 11 desktop or laptop, open the Registry Editor application.

Step 2: Go to HKEY_CURRENT_USER\Software\Policies\Microsoft\Windows in step two.

Step 3: Make right-click on the Windows button and choose New>Key to generate a new key.

Step 4: Give the newly created WindowsCopilot key a name.

Step 5: To generate a new subkey, right-click WindowsCopilot and choose New>DWORD (32-bit) Value from the menu. Put TurnOffWindowsCopilot as the name.

Step 6: Double-tap the subkey TurnOffWindowsCopilot, then set its Number to 1.

Step 7: Press the OK button to restart your system.