Printer
How to Troubleshoot an Epson Printer Not Printing After Refilling Ink?
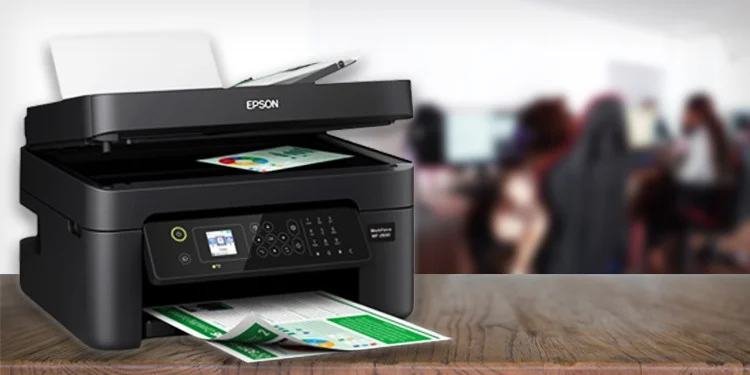
Encountering the challenge of an Epson printer not printing after an ink refill can be both perplexing and inconvenient. In this guide, we will delve into effective troubleshooting steps to identify and resolve the issue, ensuring a seamless printing experience with your Epson printer.

Check Ink Levels
Begin your troubleshooting journey by verifying the ink levels in your Epson printer. Low ink levels could be a potential hindrance to printing. Check the ink status through the printer settings on your computer or the printer display panel.
Ensure Proper Ink Refill
Confirm that the ink cartridges were refilled correctly. Ensure each cartridge is securely in place without leaks or spills. Incorrectly refilled cartridges can disrupt the printing process and cause issues.
Run Printer Self-Test
Initiate a self-test on your printer to determine its operational status. Refer to your printer manual for specific instructions on how to run a self-test. This step aids in pinpointing whether the issue lies with the printer or the computer.
Check for Air Bubbles
Air bubbles in the ink cartridges can impede the printing process. Conduct a nozzle check and head cleaning through the printer software to eliminate air bubbles and ensure a smooth ink flow.
Update Printer Drivers
Outdated or incompatible printer drivers may contribute to the problem. Visit the official Epson website to download and install the latest printer drivers compatible with your operating system. This ensures optimal functionality.
Clean Print Heads
Unclean print heads can result in poor print quality or complete printing failure. Use the printer’s utility software to perform a thorough print head cleaning. Follow the on-screen instructions for a meticulous cleaning process.
Reset Printer Settings
Resetting the printer to default settings can resolve configuration issues. Access the printer settings through the control panel or computer and perform a factory reset. Note that this action may erase customized settings.
Inspect for Paper Jams
Paper jams are common culprits for disrupted printing. Open the printer and inspect for any stuck or crumpled paper. Carefully remove obstructions and ensure the paper path is clear for smooth printing.
Check for Error Messages
Keep an eye out for error messages on the printer display panel or computer. Error messages provide insights into the nature of the problem. Address the specific issues indicated in the messages for effective troubleshooting.
Perform a Test Print
Initiate a test print from your computer to assess whether the issue persists. opt for a simple document or image for testing purposes. This step helps identify whether the problem lies with the printer, computer, or specific files.
Also Read: How To Connect Your Phone to Smartwatch: A Comprehensive Guide
Conclusion
By systematically following these troubleshooting steps, you can effectively resolve the issue of your Epson printer not printing after an ink refill. For model-specific instructions, consult your printer manual, and if the problem persists, consider reaching out to Epson customer support for tailored assistance.
HP DeskJet Ink Advantage Ultra 4826 Printer Now Launched in India: Check Price And Features
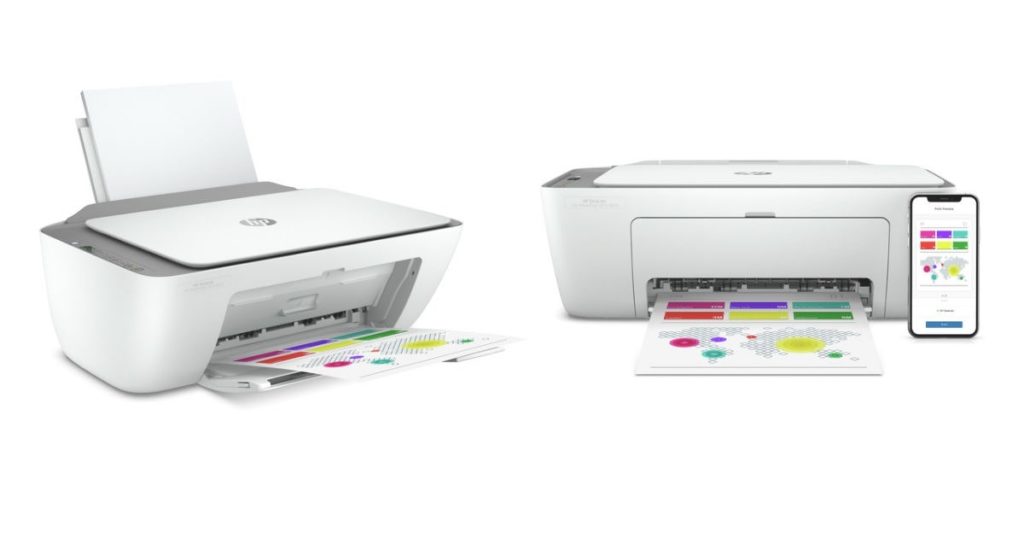
In India, the HP DeskJet Ink Advantage Ultra 4826 has been unveiled. The new HP printer has print, copy, and scan capabilities and several connectivity options, including USB and Wi-Fi. In HP’s test, 2,600 mono pages and 1,400 color pages were printed with the new printer using two full cartridge sets. HP DeskJet Ink Advantage Ultra 4826 printer is compatible with the HP Smart app and is said to be ideal for home and office use. Apple AirPrint, Chrome OS, and Mopria Print Service are all supported.
Specifications And Features
According to the company, the wireless HP DeskJet Ink Advantage Ultra 4826 printer has an LCD display and a print speed of up to 7.5 pages per minute (monochrome) and 5.5 pages per minute (colour).
The printer has built-in Wi-Fi 802.11a/b/g/n and high-speed USB 2.0 connectivity. Storage devices are not supported by the printer. The media sizes supported by the device are A4, B5, A6, and DL envelop. The HP DeskJet Ink Advantage Ultra 4826 printer can print on plain paper, photo paper, brochure paper, envelopes, and other specialty inkjet papers.
Power, cancel job, resume, info, wireless, color copy, and black and white copy are the seven buttons on the control panel. There are also five LED indicator lights for power, ink level, Wi-Fi, resume, and information. The processor runs at 180 MHz.

It is based on the HP Thermal Inkjet print technology, which heatsinks and applies it to a medium using thermal energy or electricity. The new HP printer comes with two full cartridge sets that can print 2,600 black and 1,400 colour pages, as previously stated. According to ISO standards, black and white printing will cost Rs. 0.38 per page, and colour printing will cost Rs. 0.67 per page, as specified by the company. The printer uses contact image sensor (CIS) technology to scan documents. JPEG, TIFF, PDF, BMP, and PNG are among the scan size formats supported.
Windows 10, Windows 7, macOS v10.14 Mojave, macOS v10.15 Catalina, macOS v11 Big Sur, and Chrome OS are all supported by the printer. With the HP DeskJet Ink Advantage Ultra 4826, users can print, scan, and share files using the HP Smart app. It can be connected to Wi-Fi to allow you to share your inkjet printer with all of your devices.
The printer has a maximum sheet input capacity of 60 sheets and a maximum envelop input capacity of five envelops. The printer comes with a 60-sheet paper input tray. Color copies are made with dye-based ink, while black copies are made with pigment-based ink. Besides having 64MB of memory, the new HP printer supports Apple AirPrint, Mopria Print Service, Chrome OS, and the HP Smart app. The print languages used by the HP DeskJet Ink Advantage Ultra 4826 are HP PCL 3 GUI, HP PCLm (HP Apps/UPD), and URF (AirPrint). Without a stand, the printer measures 424x410x245mm and weighs 3.42kg.
Price And Availability
On HP’s official website, the HP DeskJet Ink Advantage Ultra 4826 is available at an introductory launch price of Rs. 9,499 for a limited time. The device is also available for Rs. 8,999 on Amazon. The printer is only available in one color: White. The product also comes with a one-year limited hardware warranty from HP.
