Your Tech Story

iphone tips

Guide to Activating LED Flash Notifications on Your iPhone 15, 14, and 13

Guide to Activating LED Flash Notifications on Your iPhone 15, 14, and 13

In the ever-evolving landscape of mobile technology, Apple’s iPhones have consistently led the way in terms of accessibility features. One such feature available in the iPhone 15, 14 and 13 models is LED flash notification. This tool could be a game-changer for users who need visual cues for incoming notifications.

What Are LED Flash Notifications on iPhone?

Guide to Activating LED Flash Notifications on Your iPhone 15, 14, and 13

Image Source: tomsguide.com

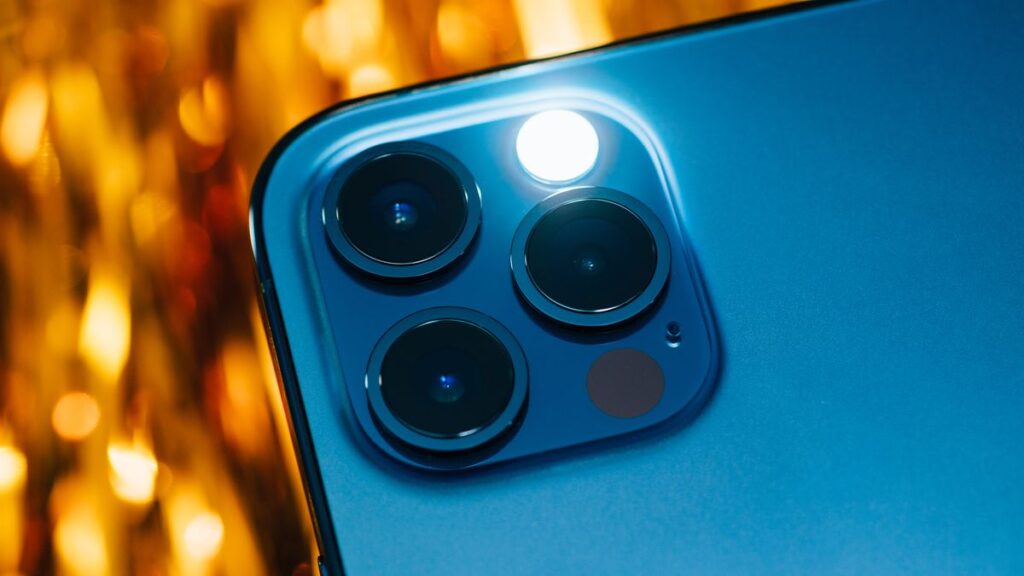
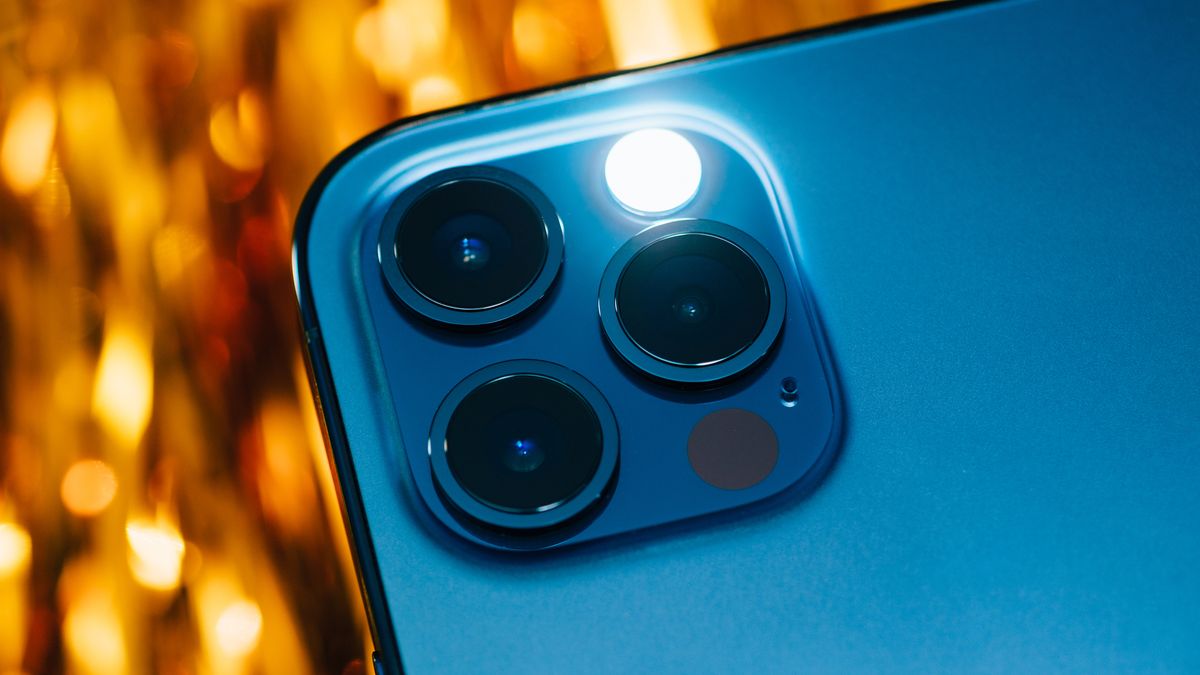
LED flash notifications use the iPhone’s camera flash to provide visual alerts for incoming calls, messages, and notifications. This feature is especially beneficial in noisy environments or for hearing impaired users.

Benefits of Using LED Flash Notifications

The primary benefit of LED flash notifications is that they provide a visual indicator of notifications, which is an excellent option for users who can’t always hear their phone’s ringtone or vibration.

Step-by-Step Guide to Turn On LED Flash Notifications

Turning on LED flash notifications is a simple process that can significantly enhance your experience with your iPhone, whether you have the latest iPhone 15 or older models like the 14 and 13.

  1. Open your phone ‘Settings’

  2. Scroll down and tap on ‘Accessibility.’

  3. Under the ‘Hearing’ section, find and tap on ‘Audio/Visual.’

  4. Toggle on ‘LED Flash for Alerts.’

Personalizing Your Notification Experience

Customization is important to get the most out of LED flash notifications. While the intensity of the LED flash cannot be changed, users can adjust the timing and frequency of the flash through the notification settings.

Understanding the Impact on Battery Life

While convenient, it’s important to note that using the LED flash for notifications can have a minor impact on your iPhone’s battery life.

Advanced Tips for Maximizing the Use of Flash Notifications

Combine flash notifications with other accessibility features like vibration alerts to make sure you never miss important notifications. Combining LED flash notifications with a screen flash or vibration can enhance the notification experience for all users, especially those with specific accessibility needs.

Troubleshooting Common Issues with Flash Notifications

Sometimes, users may face the issue of LED flash notifications not working as expected. Restarting the device or double-checking the settings can often solve these problems.

Integrating LED Flash Notifications into Daily iPhone Use

Incorporating LED flash notifications into your daily routine can ensure you stay connected and informed, no matter your surroundings or personal needs.

How to Setup Find My on iPhone, iPad, and Mac

How to Setup Find My on iPhone, iPad, and Mac

How to Setup Find My on iPhone, iPad, and Mac

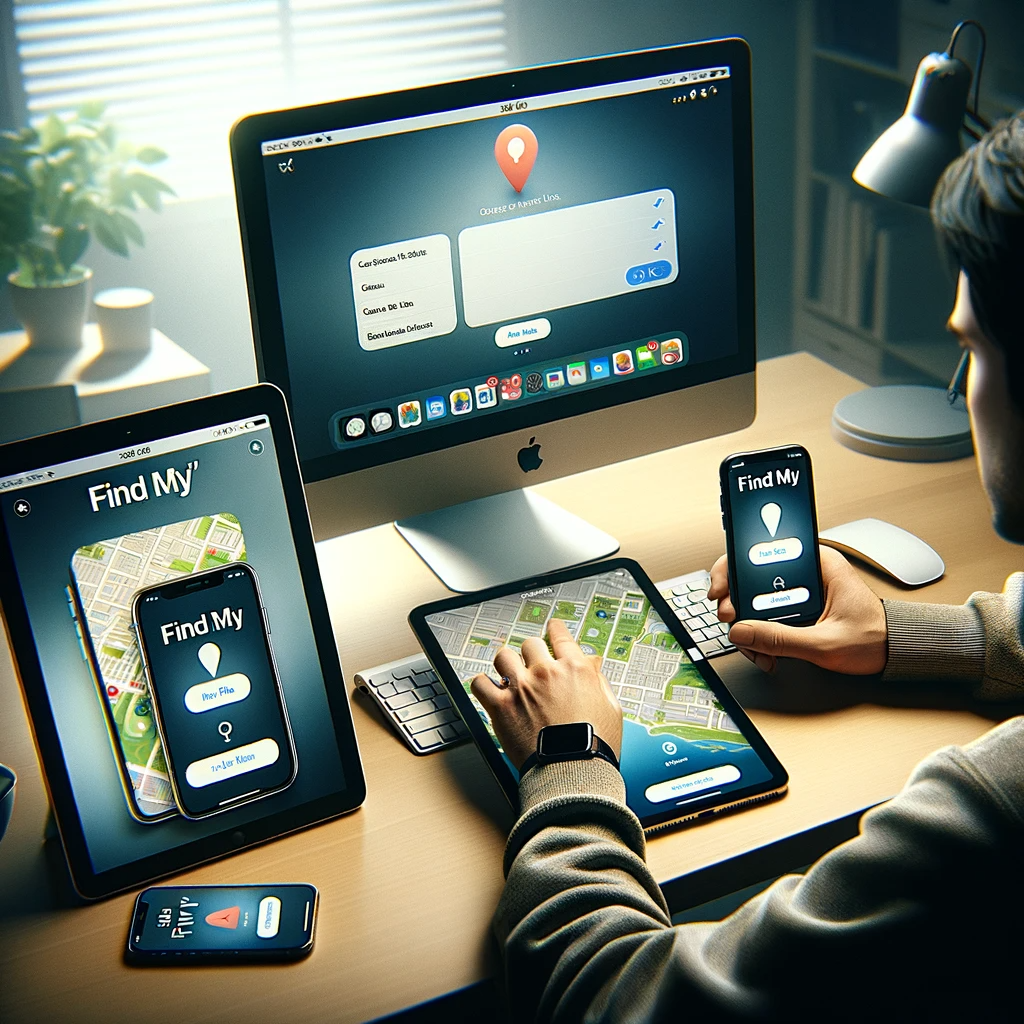
When it comes to tracing lost or stolen devices and guaranteeing the protection of your priceless Apple items, Apple’s Find My function is a lifesaver. For location monitoring, remote data deletion, and device security, Find My provides a uniform solution, independent of the device—an iPhone, iPad, Mac, AirPods, or even third-party accessories. Here’s a step-by-step tutorial for configuring Find My on your Mac, iPhone, and iPad.

Open the Find My App:

Make sure the Find My app is installed on your smartphone before starting the setup procedure. Download it from the App Store if not.

  • Turn on Find My on your iPad and iPhone.
  • Launch the iPhone’s Settings app.
  • Click or tap your Apple ID name, then choose “Find My.”
  • If you want your friends and family to be aware of where you are, enable “Find My [Device]” and “Share My Location”.
  • Turn on “Find My Network” to locate a dead iPhone and turn on “Send Last Location” in cases when the battery is running low.
  • Retain Location Services turned on under the Privacy & Security menu.

Include Accessories to Locate My Device:

The setup process is simple for Beats, Apple Watch, and AirPods products:

Both AirPods and AirPods Pro

  • Open Settings, select Bluetooth
  • Then press the Info button next to the AirPods that are connected.
  • Choose “Show in Find My Network.”

Apple Watch

  • Navigate to Settings on your Apple Watch
  • Touch your name
  • Choose the name of your watch
  • Then pick “Find My Watch.”
  • Verify that “Find My Network” is turned on.

Find My on a Mac:

While Mac Find My works similarly, make sure location services are turned on:

  • On your Mac, open the Settings app.
  • To activate Location Services
  • Choose Security & Privacy
  • Then select the Privacy tab.

You have now successfully set up Find My on your iPhone, iPad, and Mac by following these thorough instructions. This strong feature guarantees that even third-party accessories are trackable, giving users piece of mind about device security. Find My now provides assistance for lost iPhones and disconnected AirPods.

Utilise Apple’s Find My to simplify the tracking of your Apple gadgets and devices and to protect your digital surroundings.

How to find or track your iPhone if it’s Switched off?

How to find or track your iPhone if it’s Switched off?

Although losing your iPhone might be a distressing event, there is a strong fix offered by Apple’s Find My network. In addition to the regular tracking features, some iPhone models now come with a function that lets users locate their device even while it’s offline or turned off. This is a short instruction explaining how to activate and make use of this sophisticated feature.

Turn on Find My iPhone:

How to find or track your iPhone if it’s Switched off?

Image Source: quora.com

  • After navigating to Settings, tap on your user name and choose ‘Find My.’
  • Turn on ‘Find My iPhone,’ ‘Find My Network,’ and ‘Send Last Location.’
  • When the iPhone is turned off, it may be tracked using the ‘Find My Network’ feature.

Power Off Banner:

  • Upon activation, your iPhone will display a banner verifying that it is “Findable After Power Off” when it is turned off.
  • The iPhone appears on other devices running the Find My app and for users who have enabled Family Sharing to share their location.

Find the iPhone:

  • Launch the Find My app on a different Apple device.
  • Only possible on iPhones supporting Ultra Wideband, such as the iPhone 11 and subsequent devices (except iPhone SE); turn-by-turn directions are used to retrieve the iPhone from the location shown on a map.

Set Up Lost Mode:

  • Open the Find My app and select Lost Mode if you can’t find the iPhone right away.
  • After choosing the gadget, scroll to “Mark As Lost,” then hit “Activate.”
  • Lost Mode limits access to device information, and disables notifications, but permits calls or FaceTime calls. 
  • If passcodes are not enabled, create a passcode, enter contact details, and leave a note for the lock screen.

iPhones in Pending Mode When Offline:

  • The smartphone displays “Pending” on the Find My map.
  • The personalised message appears on the lock screen upon charging.
  • When the device reconnects, privacy is protected by Lost Mode.

Time Limitations:

  • After turning off, locate the iPhone for up to 24 hours or put it in power reserve mode for five hours. The device’s location is disclosed by the Find My app after it has returned online.

Through these procedures and the sophisticated features of Apple’s Find My network, iPhone owners may increase their chances of recovering a stolen or misplaced device, even if it has been turned off or is offline. Take use of these capabilities to empower yourself and enjoy a more stress-free and secure iPhone ownership experience.