Your Tech Story

Tech tips

Recover Your Old Hotmail Account: Top 3 Methods

Recover Your Old Hotmail Account: Top 3 Methods

If you’re a sentimentalist who used to subscribe to Hotmail in the early 2000s, going back to your old mailbox may help you remember the good old days. Even though Hotmail as a stand-alone service was discontinued in 2013 and replaced with Outlook, it may still be feasible to retrieve your old emails. These are the best three methods for getting back into and using your former Hotmail account.

What Happened to Hotmail?

Recover Your Old Hotmail Account: Top 3 Methods

Image Source: guidingtech.com

In 2013, Hotmail changed its name and became Outlook. While email addresses of current users were kept private, new registrations on theย hotmail.comย domain were not permitted. Since then, Outlookโ€”now equipped with many more featuresโ€”has become Microsoft’s main email client.

Using Microsoft’s recovery form, integrating with Outlook, or importing to Gmail are some of the ways to save a bit of online history while taking you back to your old Hotmail communications.

Microsoft's Account Recovery Form:

Make sure your account is enabled for two-step authentication before using this approach.

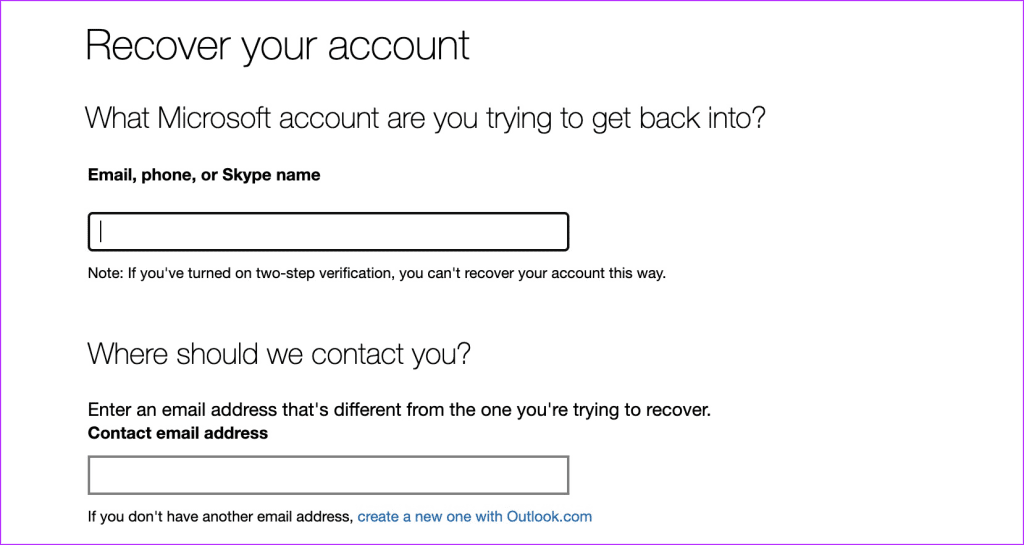
  • Step 1: Go to the Microsoft Account Recovery Form by opening your web browser.
  • Step 2: Type your present email address in the second field and your Hotmail email in the first.
  • Step 3: Hit Next after entering the CAPTCHA.

Once submitted, Microsoft will guide you through the recovery process within the next 24 hours.

Use Outlook to Log into Your Hotmail Account:

It’s simple to connect your previous Hotmail account to Outlook.

  • Step 1: turn on Microsoft Outlook on your computer.
  • Step 2: Under Account Information, go to File and choose Add Account.
  • Step 3: Type your password and email address into Hotmail.

Outlook will automatically link with your Hotmail account, which you may access from the sidebar.

Log into Your Hotmail Account Using Gmail:

You may combine your Hotmail accounts into Gmail if that’s how you choose to communicate.

  • Step 1: Use your computer to log into your Gmail account.
  • Step 2: Choose See all settings by clicking the gear icon in the upper right corner.
  • Step 3: Select the Import tab under Accounts.
  • Steo 4: Select Import from another address.
  • Step 5: To import your emails, sign in to your Hotmail account and follow the on-screen directions.
  • All of your Hotmail emails will take some time to load, but once they do, you can easily access them from Gmail’s sidebar.
How to Keep Your Kids off Wi-Fi and Take Control of Your Internet

How to Keep Your Kids off Wi-Fi and Take Control of Your Internet

How to Keep Your Kids off Wi-Fi and Take Control of Your Internet

Image Source: pcmag.com

As our kids become more and more engrossed in the digital world, worries about improper content exposure, cyberbullying, and online threats have intensified. Only 23% of parents, nonetheless, proactively keep an eye on their kids’ internet use. This may be addressed by following this brief advice, which explains how to take charge of your home internet and give your children a safer online experience.

Router for Parental Control

Put web filters on every device: Invest in a parental control router to act as your house internet’s choke point and impose online filters on all of your children’s gadgets.

Control via your router: To reduce tampering, deactivate wireless remote administration, put the router away from children, and enable site prohibitions.

Plan Outtime for Internet Blackouts:

Encourage balance by establishing clear guidelines and planning regular internet blackout times to promote family time and offline activities.

Personalise downtime: Choose the best times to limit internet usage to improve family time and sleeping patterns.

Ban Unsecured Wi-Fi Networks:

Perform a Wi-Fi search to find and ban networks that might be dangerous for your kids.

Engage in conversation with your neighbours: Bring up the significance of internet safety and ask them to protect their Wi-Fi networks.

Parental Controls for Mobile Devices:

Aura is a family safety software that lets you set time restrictions, monitor and block particular websites and applications, and get notifications concerning cyberbullying.

iOS devices: To manage access and schedule downtime, use Apple’s Screen Time settings.

Android devices: Use Google Family Link to monitor and manage use online.

Game Console Parental Controls:

Set deadlines: Establish time limits for gaming underย the American Academy of Paediatrics’ recommendations.

Make use of safe gaming resources: Turn on parental controls on game consoles to keep an eye out for offensive and cyberbullying content.

Don't Leave Devices in Common Areas:

Establish ground rules for the home: No electronics in the bedrooms during certain hours, unless used for homework.

Shared workspace: To provide a regulated atmosphere, set up a shared study room for family activities and gadget charging.

Promote Social Media Conduct That Is Responsible:

Determine maturity: Before giving your child access to social media, determine whether they are ready.

Privacy awareness: To reduce hazards, teach kids how to share personal information online responsibly.

To combat cyberbullying:ย teach kids the consequences of their actions online, encourage compassion, and provide them withย the resources they need to file reports.

While parental controls are useful tools, developing an open line of communication with your children on safe internet usage is just as important if you want to earn their trust. Parents may actively participate in creating a safe and responsible internet environment for their children by putting these strategies into practice.

How to Start a YouTube Channel for Vlogging Like a Pro

How to Start a YouTube Channel for Vlogging Like a Pro

Starting a YouTube channel for vlogging can be an exciting venture. Be it a hobby or a career path, these tips will guide you in creating a successful and professional vlogging channel.

Defining Your Niche

Identify what you’re passionate about and what you can consistently create content on. A specific niche helps attract a dedicated audience

Understanding Your Audience

Know who your target audience is. It is important to understand their interests and preferences to create relevant and engaging content.

Creating High-Quality Content

Quality is important in vlogging. Focus on creating clear, entertaining, and informative content that adds value to your audience.

Investing in the Right Equipment

How to Start a YouTube Channel for Vlogging Like a Pro

Image Source: amberscript.com

Although you don’t need high-end gear to start with, investing in a good camera, microphone, and lighting setup can significantly improve video quality.

Mastering Video Editing

Learning basic video editing skills can greatly improve your content. Use editing software to add effects, music, and graphics to your video.

Optimizing for SEO

Use relevant keywords, catchy titles, and descriptions to make your videos more discoverable on YouTube.

Building an Online Presence

Promote your channel on social media platforms and join online communities. This helps in building a wider audience base.

Engaging with Your Audience

Respond to comments, solicit feedback, and engage your audience in your content. Engagement increases audience loyalty and channel growth.

Consistency and Scheduling

Maintain a consistent posting schedule. Regular video uploads keep your audience engaged and also attract new viewers.

Monetizing Your Channel

Once your channel meets YouTube’s eligibility criteria, explore different monetization options like ads, sponsorships, and merchandise.

Analyzing Performance Metrics

Use YouTube Analytics to analyze metrics like views, watch time, and subscriber growth to refine your strategy.

Collaborating with Other YouTubers

Collaboration can bring your channel to a wider audience. Partner with other YouTubers to create joint content.

Staying Updated with YouTube Trends

Stay informed about the latest trends and updates on YouTube. Adapting to changes can help keep your content relevant.

Conclusion

Starting a YouTube channel requires passion, dedication, and strategy. By following these tips, you can start a successful vlogging journey.

Unlocking the Secrets of Apple's New Journal App in iOS 17

Unlocking the Secrets of Apple’s New Journal App in iOS 17

Apple’s Journal App in iOS 17 is a game-changer for anyone looking to document their thoughts, ideas, and daily experiences. This comprehensive guide will introduce you to the app’s intuitive interface, showing you how to create, personalize, and organize your journal entries. Learn to enhance your writing with advanced text features, add multimedia for a richer experience, and integrate seamlessly with other iOS apps. Whether you’re documenting memories, tracking goals, or seeking a mindful escape, the Journal App in iOS 17 is your perfect companion, blending functionality with creativity for an enriching journaling journey.

Navigating the Interface

Familiarize yourself with the user-friendly interface, which includes key features such as entry lists, search functions, and settings.

Creating Your First Journal Entry

Unlocking the Secrets of Apple's New Journal App in iOS 17

Image Source: tomsguide.com

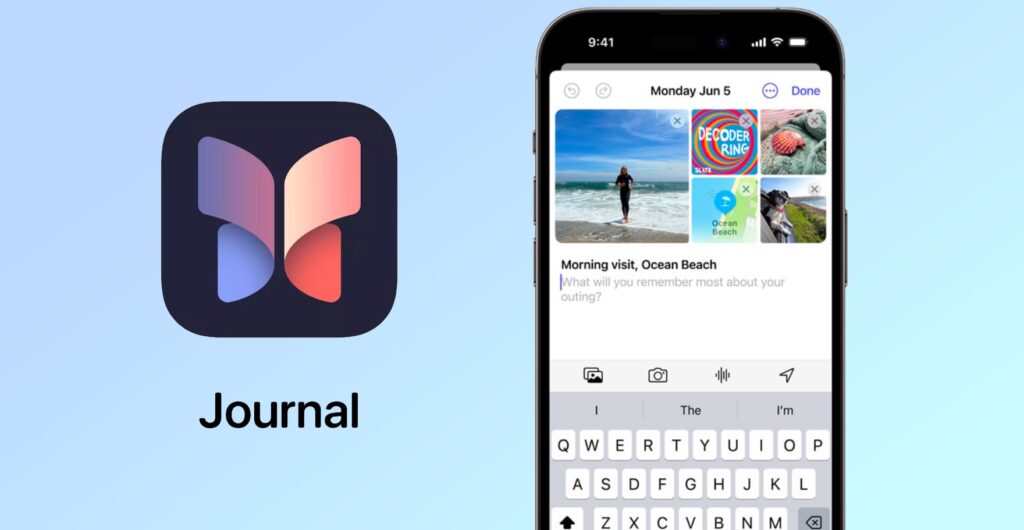
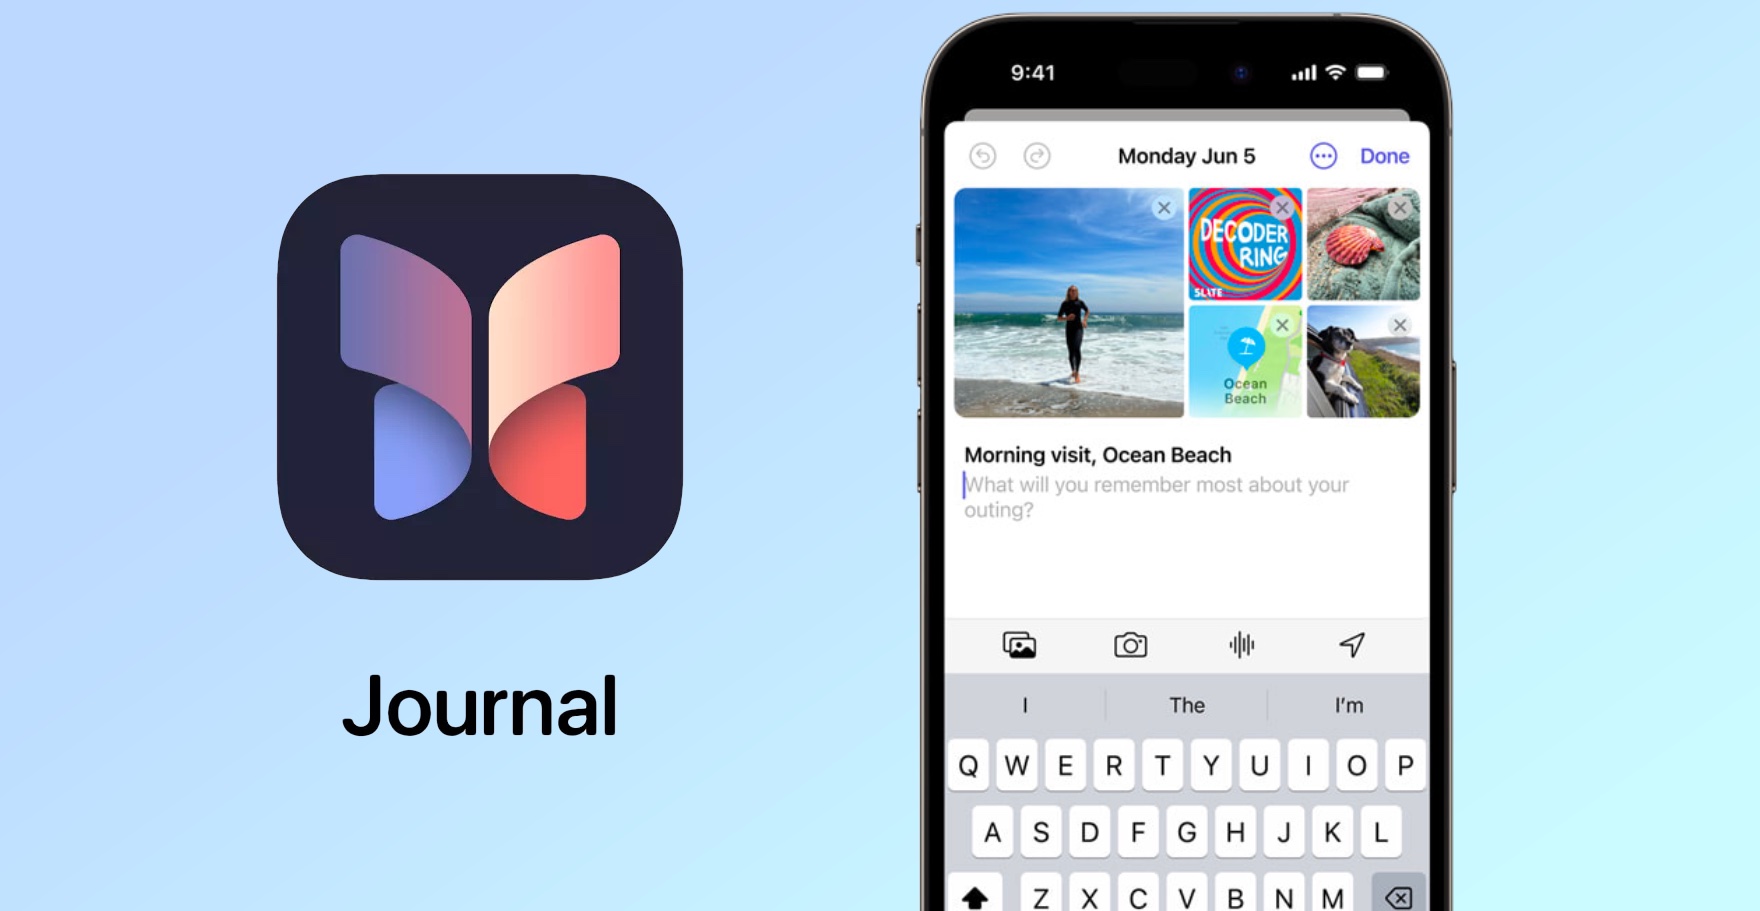
Let’s create your first entry. I’ll guide you through a simple process to start your journaling journey. Discover how to effortlessly input your thoughts, emotions, or daily experiences, customizing each entry with text styles, colors, and multimedia enhancements. Whether you’re chronicling a special moment, jotting down ideas, or simply recording your day, Apple’s Journal App makes it intuitive and enjoyable, setting the stage for a rich, personalized journaling experience on your iOS device.

Utilizing Advanced Text Features

Apple’s Journal app goes beyond basic journaling with its range of advanced text features, allowing you to create entries that are as unique as your experiences. Dive deeper into a variety of text customization options, including diverse fonts, styles, and colors to creatively express your ideas and stories.

Adding Media to Your Entries

This feature allows you to bring your stories to life with vivid visuals and sounds. Whether it’s a memorable photo, an inspirational video clip, or a piece of audio that captures the essence of your day, embedding media in your journal entries enriches your storytelling, making each page not only It becomes a record of your life, but also a living tapestry of memories.

Using Tags and Categories

Learn to efficiently organize your entries using tags and categories for easy retrieval and reference.

Integrating with Other iOS Apps

Maximize your journaling experience by syncing your entries with other iOS apps like Calendar and Reminders.

Customizing Your Journal Experience

Customize your journal with theme, font, and layout options to match your personal style.

Privacy and Security in the Journal App

Understand the privacy and security features of the app to keep your personal entries safe and secure.

Using the Journal App for Productivity and Mindfulness

Explore how the Journal App can be a tool for increasing productivity and mindfulness in your daily life.

Conclusion

Apple’s Journal App in iOS 17 offers a fantastic platform for capturing your life’s moments. Dive in and start exploring its vast potential!

The Ultimate Guide to Connecting Your Surface Pro to a Monitor

The Ultimate Guide to Connecting Your Surface Pro to a Monitor

Connecting the Surface Pro to a monitor is a straightforward process that significantly expands your visual workspace. Whether for increased productivity, better multitasking, or better entertainment experiences, connecting your Surface Pro to an external monitor is a game-changer. This simple but impressive process involves identifying the correct port on your device (such as USB-C or Mini DisplayPort), selecting a compatible monitor, and using the appropriate cable or adapter. Once connected, you can easily adjust display settings like resolution and orientation to suit your needs. Ideal for professionals, creative people, and tech enthusiasts, this setup unlocks the full potential of your Surface Pro, turning it into a more powerful and versatile workstation.

Understanding Surface Pro Ports

Understanding the ports on your Surface Pro is key to maximizing its functionality, especially when it comes to connecting external devices like a monitor. Here’s a description of the common ports you’ll find on the various Surface Pro models.

Choosing the Right Monitor

The Ultimate Guide to Connecting Your Surface Pro to a Monitor

Image Source: gechic.com

Not all monitors are created equal. When selecting a monitor for your Surface Pro, it’s important to consider a variety of factors to ensure you get the most out of your dual-screen setup. Consider size, resolution, and port compatibility.

Types of Cables and Adapters

You’ll probably need a cable or adapter to connect. We’ll explore HDMI, DisplayPort, and USB-C options.

Configuring Display Settings on Windows

Once you’ve successfully connected your Surface Pro to a monitor, the next step is to fine-tune your display settings to ensure an optimal viewing experience. Here’s how to adjust key settings like resolution, orientation, and others.

Benefits of a Dual Monitor Setup

Discover the transformative power of a dual monitor setup! Embrace the vastness of extended screen space that not only doubles your digital workspace but also boosts your productivity. Whether for professional work, creative projects, or even to enhance your entertainment experience, learn why upgrading to two monitors could be a game-changer in your daily digital life.

Customizing Your Workspace

Organize your digital workspace effectively. Here’s how to manage Windows and apps on multiple screens.

Surface Pro Docking Station: Expanding Your Options

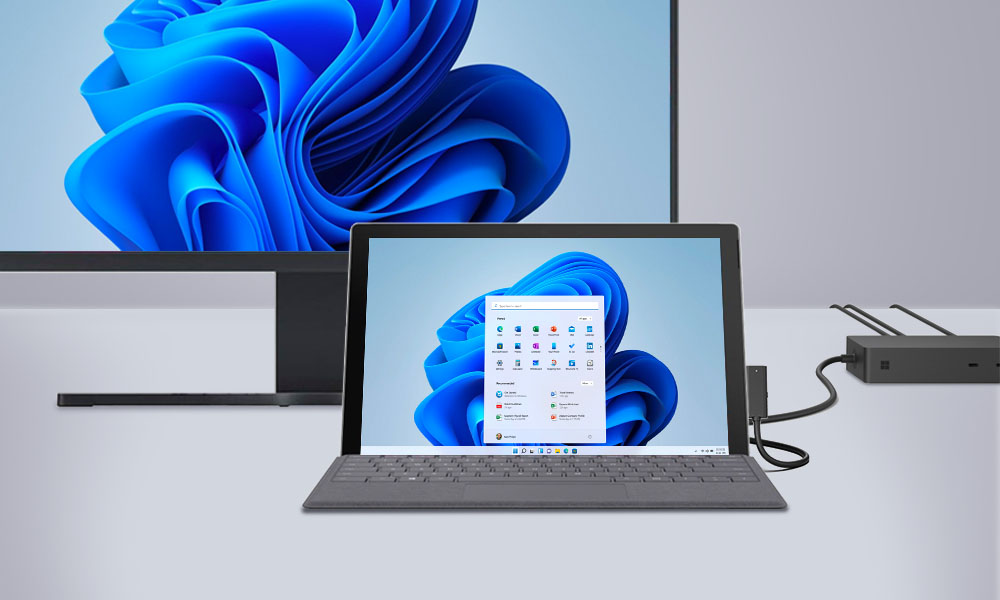
For even more connectivity, consider using the Surface Pro Docking Station.

Wireless Display Options

Prefer to go wireless? We’ll discuss Miracast and other wireless display methods.

Surface Pro in Professional Environments

The Surface Pro shines in professional environments, offering a seamless blend of portability, power, and versatility. Its lightweight design and robust performance make it an ideal choice for business professionals on the go. With features like a high-resolution touchscreen, detachable keyboard, and stylus support, it easily adapts to different work scenarios. The compatibility of the Surface Pro turns it into a desktop-like experience when needed.

Conclusion

Extending your Surface Pro’s display to a monitor opens up a world of possibilities. Whether for work or play, this is a simple but effective upgrade.