Your Tech Story

Tech tips

How to Add Your Videos and Photos to Google Maps Places in 4 Easy Ways

How to Add Your Videos and Photos to Google Maps Places in 4 Easy Ways

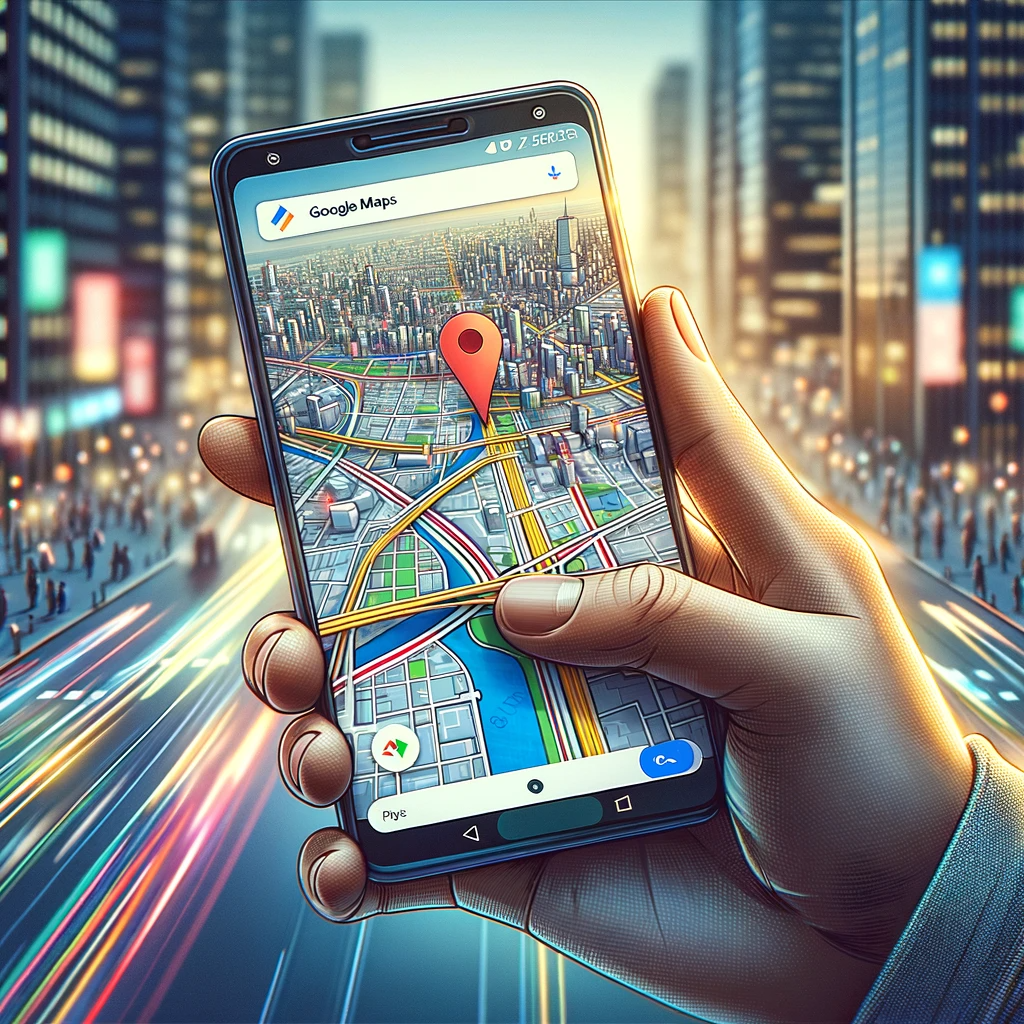
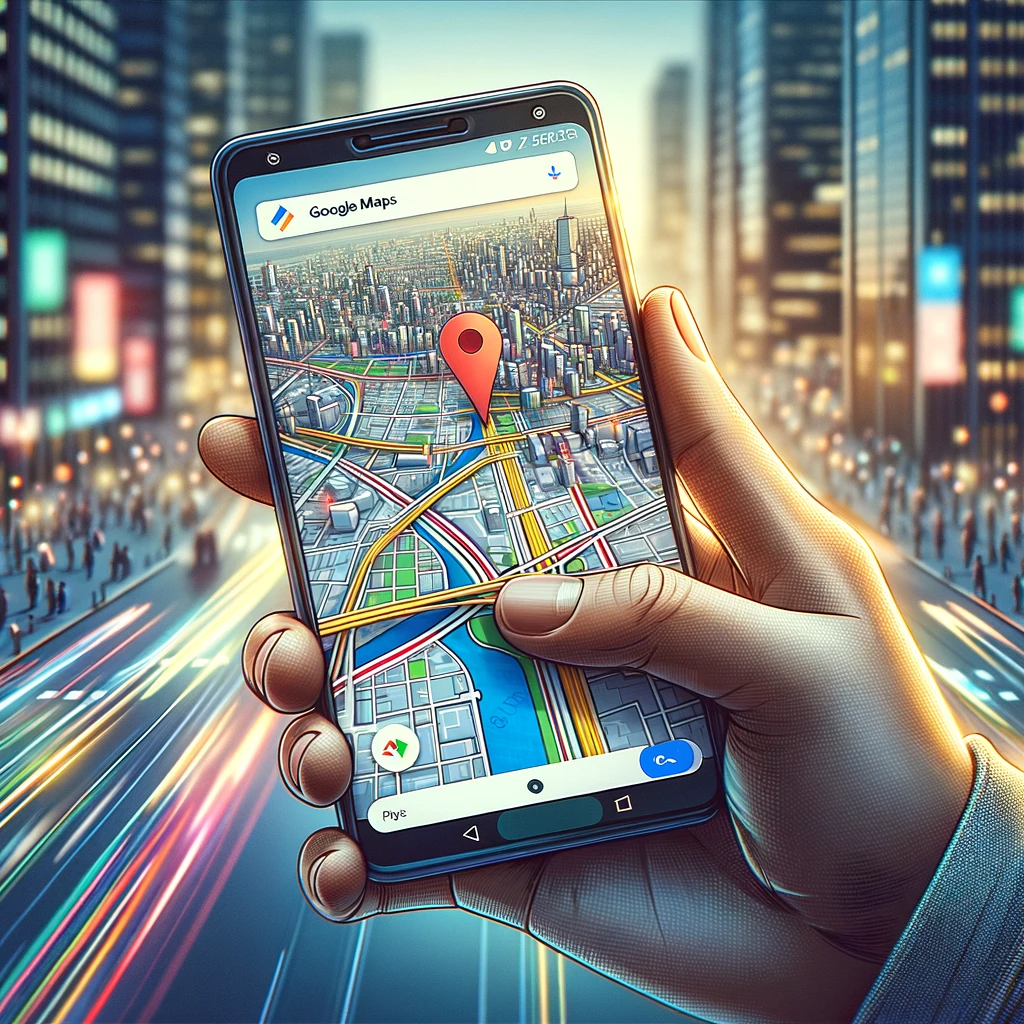
With the option to include photos and videos in place of textual recommendations, improving your Google Maps ratings has even more effect. This gives your opinion more prominence and offers helpful visual information about places. These are the best 4 methods for quickly and easily adding images or videos to any Google Maps location.

Through the Android Google Maps app

How to Add Your Videos and Photos to Google Maps Places in 4 Easy Ways
  • Open the Google Maps application on your Android gadget.
  • Look for the place you wish to add media to.
  • Slider will come up once you tap on the location.
  • After that, select “Post a photo update.”
  • Choose the preferred images or videos.
  • In the upper right corner of the screen, select the “Post” option.

Using Google Maps on a computer

  • Launch your browser, then go to https://www.google.com/maps.
  • Look for the place you want to improve.
  • After swiping down, select “Add a photo.”
  • Select an image from Google Photos or send one from your computer.
  • After selecting the desired image, click “Select.”

Using the Android Google Photos App

  • Open the Photos application on your Android mobile device.
  • Open the image you wish to connect to a certain place.
  • Press “Share.”
  • Click on “Add to Maps.”
  • In the upper part of the screen, tap “Select a place”.
  • Select “Somewhere else?” and type the name of the location.

Using the iPhone Google Maps App

  • Launch the iPhone app Google Maps.
  • Look for where you want to go.
  • Open the location’s page when it has been chosen.
  • After swiping down, select “Add a photo update.”
  • Choose a photo from the gallery on your iPhone.
  • In the upper right corner, click the “Post” button.

Conclusion

Recall that all of your contributions—including media and reviews—are linked to your profile and are available to everyone. Viewers of the Google Maps app may access profiles under the ‘Contributor’ section. Make sure your photographs are no more than 5MB, and your films should not exceed 75MB. This allows you to submit HD videos at a quality of 720p.

By using these easy steps, you can improve your ratings and provide useful visual material to Google Maps, which will improve the user experience for people all across the world.

How to Use a Laptop as a Second Monitor?

How to Use a Laptop as a Second Monitor?

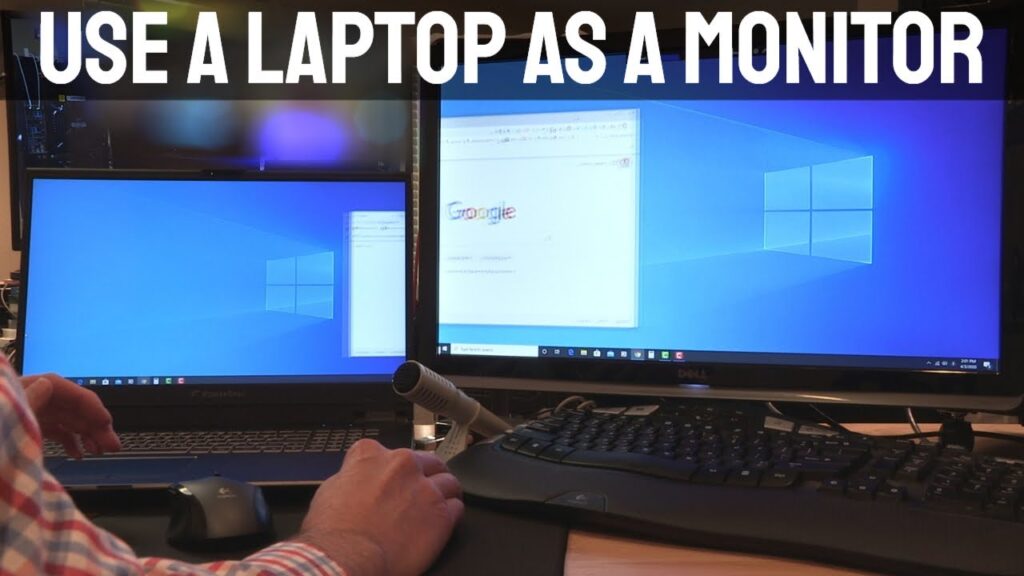
The world of digital workplaces is constantly evolving, and the use of multiple monitors is becoming increasingly common. An innovative way to expand your screen real estate is to use a laptop as a second monitor. This article will guide you through the process, helping you increase your productivity and efficiency.

Before diving into setup, it’s important to understand what a second monitor is and how it can benefit you. A second monitor allows you to extend or duplicate your main screen, allowing more room for multitasking and organization.

Requirements for Setting Up a Laptop as a Second Monitor

How to Use a Laptop as a Second Monitor?

Image Source: youtube.com

To get started, you will need a primary computer (desktop or laptop), a secondary laptop, and appropriate cables or a stable Wi-Fi connection. Software compatibility is also important; Make sure both devices support the software required for dual-screen setup.

Step-by-Step Guide: Windows to Windows Setup

If you’re using two Windows devices, the process is straightforward:

  1. Connect both devices with a same Wi-Fi network.

  2. On your primary Windows device, go to ‘Settings’ > ‘System’ > ‘Projecting to this PC’.

  3. Adjust settings as needed.

  4. On your secondary laptop, use the ‘Connect’ app to link to the primary device.

Connecting a Mac to a Windows Laptop

For cross-platform setup, third-party software like Space Desk can facilitate the connection. Install the software on both devices, making sure they are on the same network, then follow the application’s instructions to establish the connection.

Using a Mac Laptop as a Second Monitor for Another Mac

Mac users can use Apple’s Sidecar feature:

1. Make sure both Mac devices are compatible with Sidecar.

2. Connect them with the same Apple ID.

3. Access the Sidecar settings on your primary Mac to connect to the secondary laptop.

Third-Party Applications to Consider

Applications like Synergy, Space Desk, and Duet Display are excellent for setting up dual monitor systems, providing flexibility and cross-platform compatibility.

Troubleshooting Common Issues

Common problems include connectivity issues, resolution mismatch, and lag. Restarting both devices, checking network stability, and updating drivers and software can often resolve these problems.

The Role of Network Connectivity

A stable and fast Wi-Fi connection is important, especially for a wireless setup. An Ethernet connection can also be used for a more stable link if supported.

Security Considerations

When using dual monitors, especially with third-party software, make sure your network is secure and that you are using trusted applications to prevent unauthorized access.

Conclusion

Using a laptop as a second monitor is a cost-effective and efficient way to expand your digital workspace. Whether you are a professional, student, or just an ordinary user, the benefits of a dual monitor setup are undeniable.

How to Add Multiple Facebook Accounts on iPhone – Step-by-Step Guide

How to Add Multiple Facebook Accounts on iPhone – Step-by-Step Guide

Navigating the world of social media often requires the juggling of multiple individuals, especially on platforms like Facebook. For iPhone users, managing multiple Facebook accounts is not a hassle. Whether for personal use, business, or a combination of both, this guide will help you efficiently add multiple Facebook accounts to your iPhone.

How to Add Multiple Facebook Accounts on iPhone – Step-by-Step Guide

Image Source: youtube.com

Before adding multiple accounts, make sure you have the latest version of the Facebook app installed on your iPhone. It can be checked and updated through the App Store. Having an updated app ensures a smoother process and access to the latest features.

Step 1: Accessing Your Primary Facebook Account

Start by logging into your primary Facebook account. Open the app and enter the login credentials. Once logged in, familiarize yourself with the Facebook interface, which is the key to navigating through the subsequent steps.

Step 2: Navigating to Account Settings

To add a second account, you’ll need to access the Settings menu. Tap on the three horizontal lines at the bottom right corner of the screen, and scroll down to find ‘Settings & Privacy’. Click on this section to view more information.

Step 3: Enabling the Account Switcher Feature

In the Settings menu, find the ‘Account Switcher’ feature under the ‘Security’ section. If not already enabled, you’ll see an option to turn it on. This feature is important for managing multiple accounts.

Step 4: Adding a New Facebook Account

Once the account switcher is activated, select ‘Add account’. Enter the login details of the secondary account you want to add. You’ll need to confirm this new account to link it to your device.

Step 5: Switching Between Accounts

To switch between your accounts, simply go back to the account switcher. Here, you can easily choose which account you want access to, making the transition between profiles smooth and quick.

Step 6: Managing Account Notifications

For each account, you can customize the notifications to suit your needs. This step is important to maintain balance and avoid notification overload, especially when managing multiple profiles.

Step 7: Logging Out of Accounts

To log out of any account, go to the account switcher again. This ensures that you maintain privacy and security, especially when accessing Facebook on shared devices.

Tips for Efficient Account Management

Organization is required to manage multiple accounts efficiently. Check each account regularly for updates and notifications. Also, consider setting specific times to connect with each profile to avoid excessive screen time.

Troubleshooting Common Issues

If you encounter issues like difficulty switching accounts or login issues, a simple restart of the app or your iPhone can often resolve these glitches. Also, make sure that your internet connection is good.

Security Considerations

Security should be a top priority when managing multiple accounts. Use strong and unique passwords for each account, and consider enabling two-factor authentication for security.

Conclusion

This step-by-step guide will simplify the process of managing multiple Facebook accounts on your iPhone. Adopt these features to improve your social media experience, but always use them responsibly.

How to Connect Your AirPods to Your Mac?

How to Connect Your AirPods to Your Mac?

Learn the quick and easy steps to seamlessly connect your AirPods to your Mac! This brief guide provides a straightforward method of pairing your AirPods with your Mac, ensuring a hassle-free setup. Whether it’s for music, meetings, or movies, improve your listening experience on your Mac with this simple, user-friendly process. Perfect for both first-time AirPod users and seasoned Apple enthusiasts, this guide ensures that your AirPods and Mac work together in perfect harmony.

What You Need Before You Start

Before diving into the connection process, ensure your Mac is updated to the latest macOS version and your AirPods are charged. Also, make sure Bluetooth is enabled on your Mac.

Step-by-Step Guide to Connecting AirPods to Mac

  1. Open the lid of your AirPods case, with the AirPods inside, and hold it next to your Mac.

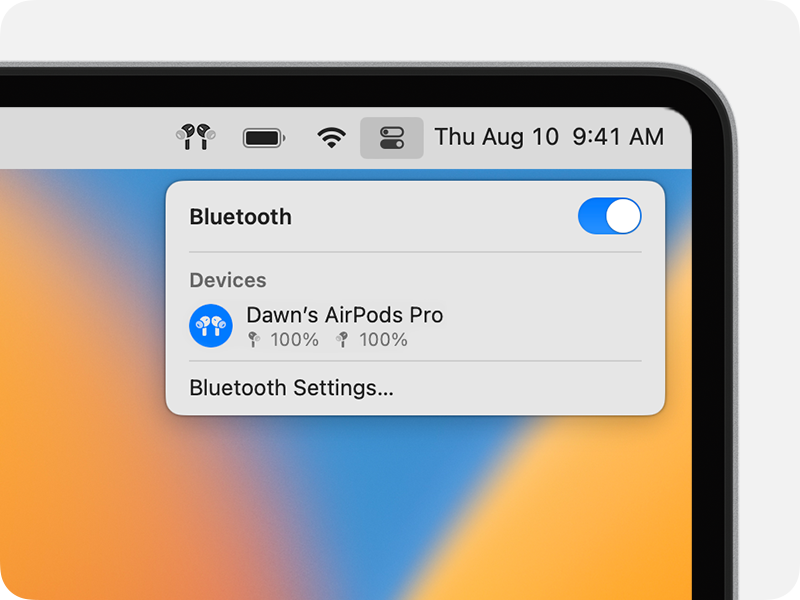
  2. On your Mac, click on the Bluetooth icon in the menu bar and select ‘Open Bluetooth Preferences.’

  3. Your AirPods appear in the list of devices. Click ‘Connect’ to establish the connection.

Troubleshooting Common Connection Issues

How to Connect Your AirPods to Your Mac?

Image Source: support.apple.com

If you are facing issues like your AirPods not appearing in the Bluetooth list or the connection is unstable, here are some solutions:

1. Restart both your Mac and AirPods.

2. Reset your AirPods by pressing the Setup button on the case.

Optimizing Your AirPods Experience on Mac

To improve your experience, customize the sound settings on your Mac to suit your preferences. You can adjust volume, and balance, and even set an equalizer for a more personalized audio experience.

Using AirPods with Multiple Apple Devices

One of the great features of AirPods is the ability to seamlessly switch between your Apple devices. Make sure all your devices are signed in to the same iCloud account for seamless switching.

Customizing AirPod Settings on Your Mac

Personalize your AirPods experience by changing the double-tap functionality through Bluetooth settings on your Mac. You can set it to activate Siri, play/pause music, or skip tracks.

The Role of iCloud in Connecting AirPods to Mac

iCloud plays a vital role in syncing your AirPods across all your Apple devices. This ensures that your AirPods automatically connect to whatever device you’re using.

Benefits of Connecting AirPods to Mac

Connecting your AirPods to your Mac offers many benefits like high-quality audio for music and calls, convenience, and the ability to use Siri hands-free.

Upcoming Features for AirPods and Mac

Apple is constantly updating AirPods and Mac with new features. Stay tuned for updates like better battery life, improved connectivity, and new sound features.

How to Find Your Apple ID on iPhone, iPad, or Mac?

How to Find Your Apple ID on iPhone, iPad, or Mac?

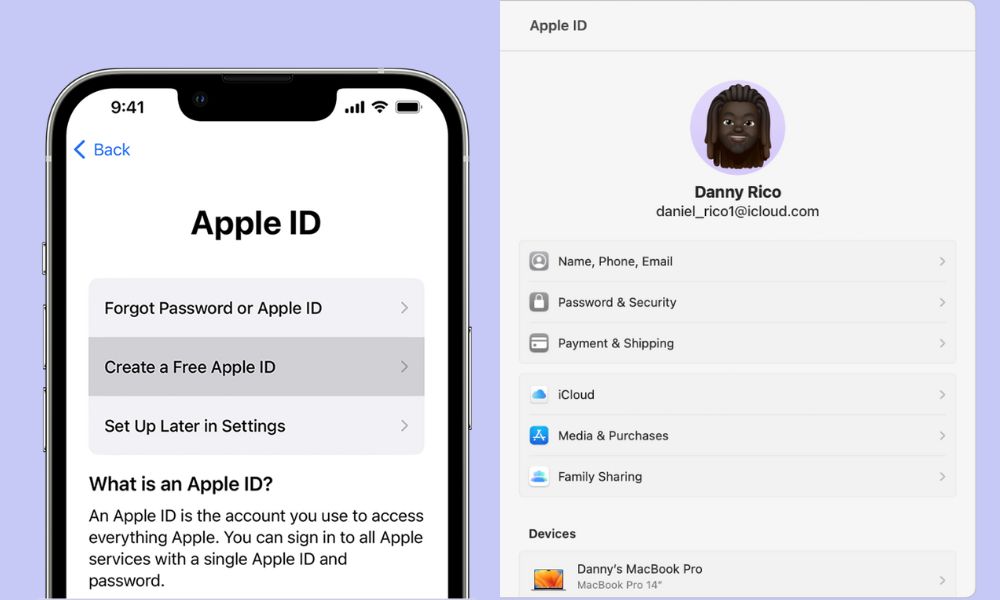
Apple ID is the gateway to access Apple services and sync your devices. This article guides you how to find your Apple ID on various Apple devices including iPhone, iPad, and Mac.

What is an Apple ID?

How to Find Your Apple ID on iPhone, iPad, or Mac?

Image Source: technowize.com

Apple ID is your account to access Apple services like App Store, iCloud, iMessage, FaceTime, and others. This usually includes your email address and a password.

Finding Your Apple ID on iPhone

Finding your Apple ID on your iPhone is a straightforward process. Here are some simple steps to help you locate your Apple ID:

  1. Open Settings: Unlock your iPhone and tap on the ‘Settings’ app. The icon usually looks like a gear and is typically located on your home screen.

  2. Access Your Profile: At the top of the Settings menu, you will see your name along with a photo if you have set one up. This is your Apple ID profile. Tap on it.

  3. View Your Apple ID: Once you tap on your profile, the next screen will display your name and other details. At the top of this screen, you will see your Apple ID. It is usually an email address.

  4. Additional Apple ID Information: On this screen, you can also see other information linked to your Apple ID, such as iCloud, iTunes & App Store, and more. Tapping on these will provide you with more details about your account and services associated with your Apple ID.

Finding Your Apple ID on iPad

Accessing your Apple ID on an iPad is a simple process. Here’s how you can do it:

  1. Open Settings: Start by tapping the ‘Settings’ icon on your iPad. This icon typically looks like a gear and is usually found on the home screen.

  2. Tap on Your Profile: At the very top of the Settings menu, you’ll see your name and, possibly, a photo if you’ve added one. This section is your Apple ID profile. Tap on it to access your Apple ID information.

  3. View Apple ID Details: After tapping on your profile, you will be taken to a screen displaying your name and other personal details. Right at the top, you will find your Apple ID, which is usually your email address.

  4. Manage Your Apple ID: If you wish to change settings related to your Apple ID, such as updating your password, modifying payment information, or adjusting your privacy settings, you can do so from this screen.

Finding Your Apple ID on Mac

Locating your Apple ID on a Mac is a simple and quick process. Follow these steps to find it:

  1. Click on the Apple Menu: Begin by clicking on the Apple logo located at the top left corner of your Mac’s screen. This will open a drop-down menu.

  2. Select ‘System Preferences’: From the drop-down menu, choose ‘System Preferences’. This option is usually the second one in the list.

  3. Open Apple ID Settings: In the ‘System Preferences’ window, look for the ‘Apple ID’ option. It’s typically located near the top right corner. Click on it.

  4. View Your Apple ID: Once you click on ‘Apple ID’, a new window will open showing your Apple ID details. Your Apple ID, which is usually your email address, will be displayed at the top of this window.

Securing Your Apple ID

Securing your Apple ID is essential to protect your personal data and access to various Apple services. Key measures include creating a strong, unique password, enabling two-factor authentication, and being vigilant about phishing attempts. Regularly changing your password, updating security questions, and monitoring connected devices also enhance security. It’s important to avoid sharing your Apple ID credentials and to use trusted devices for logging in. By taking these steps, you can significantly reduce the risk of unauthorized access and ensure the safety of your digital Apple ecosystem.

Conclusion

Your Apple ID is a crucial part of your experience with Apple devices and services. Knowing how to find and manage it ensures seamless use of Apple’s ecosystem.

Top 2 Ways to Track a Samsung Phone When It Is Switched Off

Top 2 Ways to Track a Samsung Phone When It Is Switched Off

Losing a Samsung phone can be a frustrating experience, especially when it’s switched off so it can’t be traced. However, advancements in technology have made it possible to track phones even in such scenarios. This article explores the top two ways to detect when a Samsung phone is turned off.

Understanding Samsung's Tracking Features

Samsung phones come equipped with several built-in features that can help locate a lost device, even if it is not active.

Method 1: Using Find My Mobile

Top 2 Ways to Track a Samsung Phone When It Is Switched Off

Image Source: cnet.com

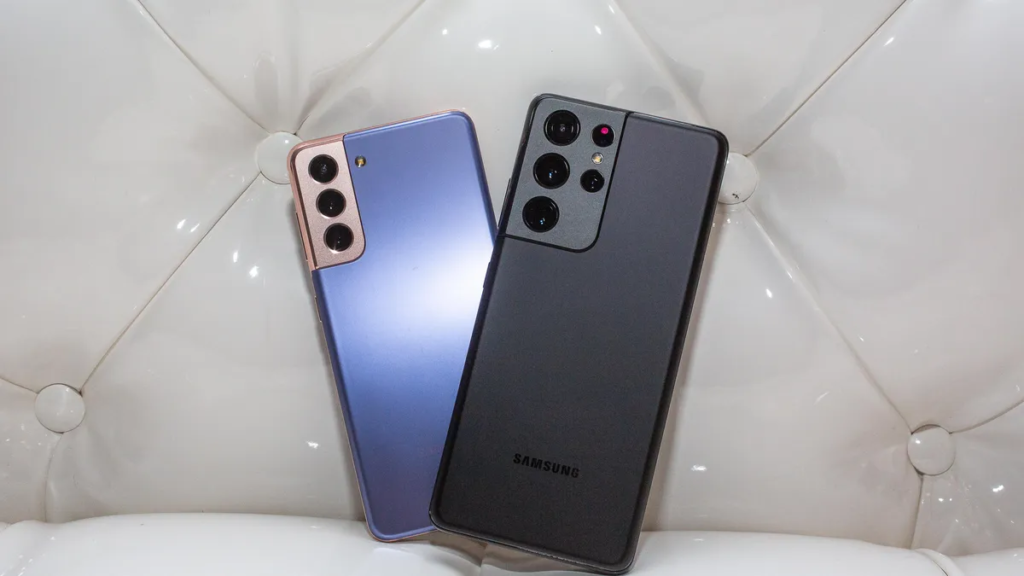
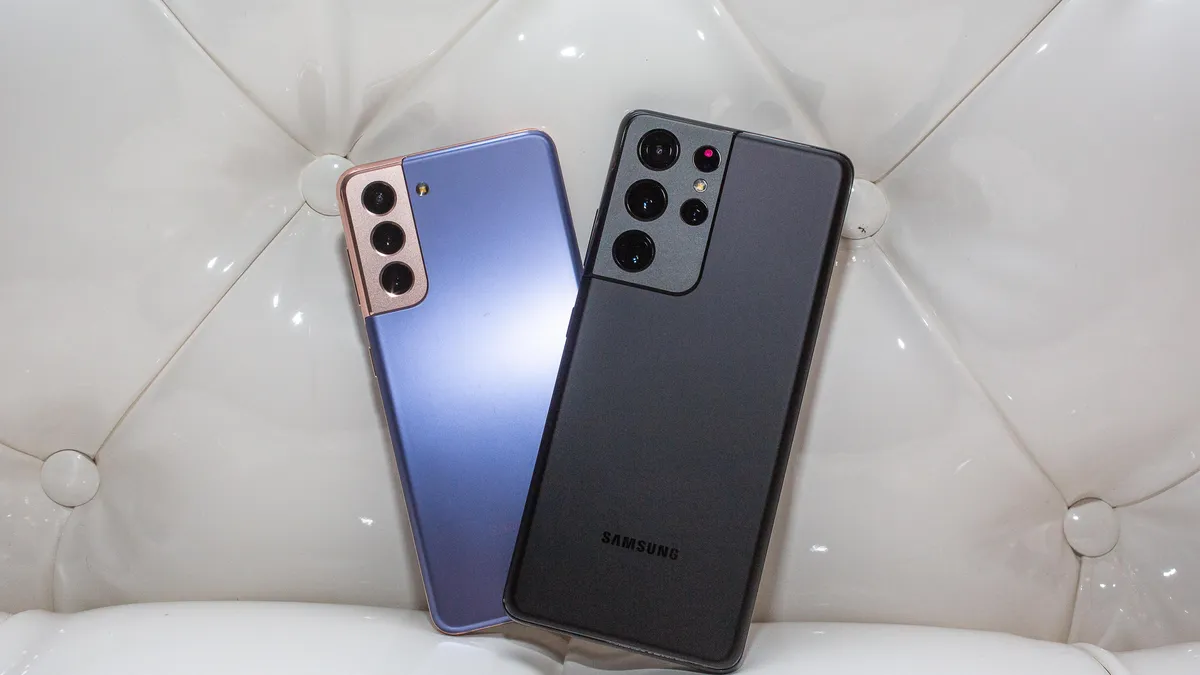
Samsung’s Find My Mobile service is a reliable way to track a phone. This feature must be already enabled on your device. You can access Find My Mobile through Samsung’s website, log in with your Samsung account, and locate your phone on a map.

Method 2: Leveraging Google's Find My Device

Google’s Find My Device service also supports Samsung phones. For this, your phone must be linked to your Google account. You can access this service through the website or app and use it to track the last known location of your phone.

Setting Up Tracking Features

To ensure that these services work effectively, it is important to install them correctly. This includes turning on location services and making sure that your Samsung and Google accounts are synced with your device.

Privacy Concerns and Considerations

Although tracking a phone is beneficial, it is important to be aware of privacy concerns. Always use these features responsibly and within legal boundaries.

What to do if you can't track your Samsung phone?

If tracking attempts fail, contact your network provider for assistance and consider remotely locking or wiping your device to protect your data.

The Role of Network Providers in Tracking

Network providers can sometimes help track a phone based on the last known cell tower it was connected to.

Technological Innovations in Phone Tracking

The field of mobile tracking is constantly evolving, with new technologies emerging to enhance tracking capabilities.

Conclusion

Although tracking a locked Samsung phone has its own challenges, the described methods provide viable solutions for locating your device and protecting your data.