Your Tech Story

Tech Tips

How to Connect 2 Monitors to One PC?

How to Connect 2 Monitors to One PC?

Have you ever felt cramped on your single monitor, struggling to juggle multiple applications? The solution is simpler than you think: connecting two monitors to your PC. This manual will guide you step by step, guaranteeing a smooth and effortless setup.
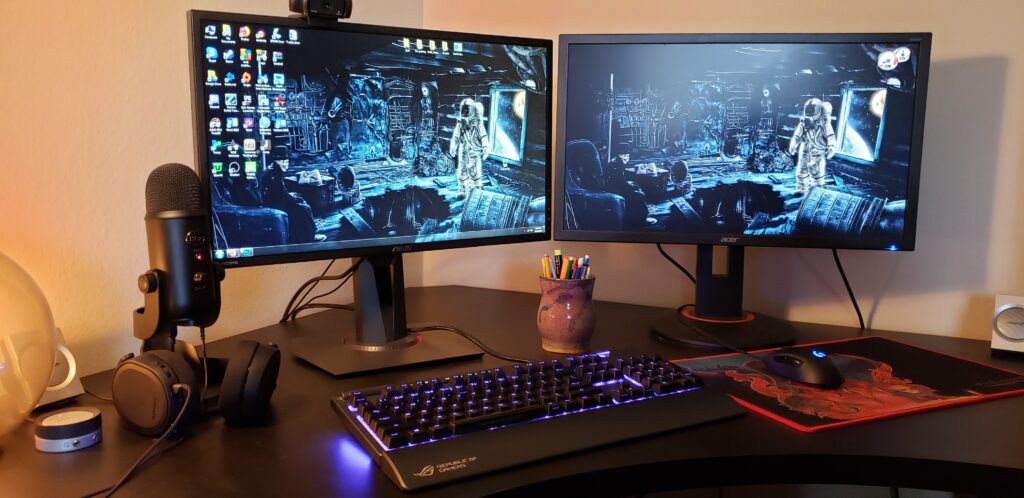
Image Source – pcgamer.com

Understanding Your PC’s Graphics Capabilities

First things first, let’s dive into your PC’s capabilities. Can it support dual monitors? Check your graphics card details and available ports – this will dictate what you can do.

Types of Monitor Connections

Monitor connectivity options encompass a range of ports, including HDMI, DisplayPort, VGA, DVI, and USB-C/Thunderbolt. HDMI is renowned for high-definition multimedia, while DisplayPort offers versatility. VGA and DVI, though older, remain viable for certain setups. USB-C/Thunderbolt is a modern, multifunctional choice, providing power and data transfer alongside video capabilities. Each port boasts unique strengths, catering to diverse user preferences and device compatibility.

Step-by-Step Guide to Connecting Two Monitors

Ready to set up? Here’s a step-by-step guide:

Prepare Your Monitors: Ensure they have compatible ports.

Make the Connections: Plug each monitor into your PC.

Configure Display Settings: Tailor the settings to your needs in your operating system.

Troubleshooting Common Issues

Ran into a snag? Below are a few typical challenges and their solutions:

Monitor Not Detected: Check connections and reboot.

Resolution Issues: Adjust settings in your operating system.

Performance Considerations: Ensure your PC can handle the extra load.

Maximizing Productivity with Dual Monitors

Dual monitors are about more than just extra screen space. They’re a gateway to enhanced productivity. Learn how to effectively use them for multitasking.

Also Read: How To Fix If Your Samsung Tablet Is Running Slow?

Advanced Setups

For those wanting more, explore advanced setups like docking stations and multi-graphics card configurations.

Conclusion

Embracing a dual monitor setup can revolutionize your computing experience. It’s not just about more screen space; it’s about transforming how you work and play.
How To Fix If Your Samsung Tablet Is Running Slow?

How To Fix If Your Samsung Tablet Is Running Slow?

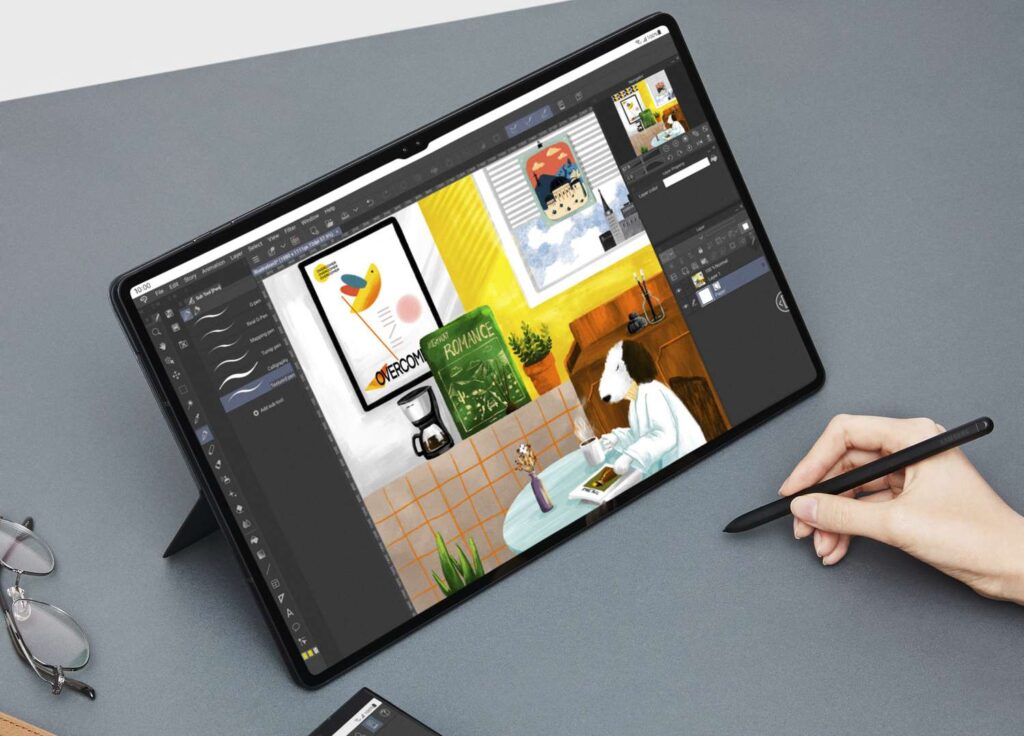
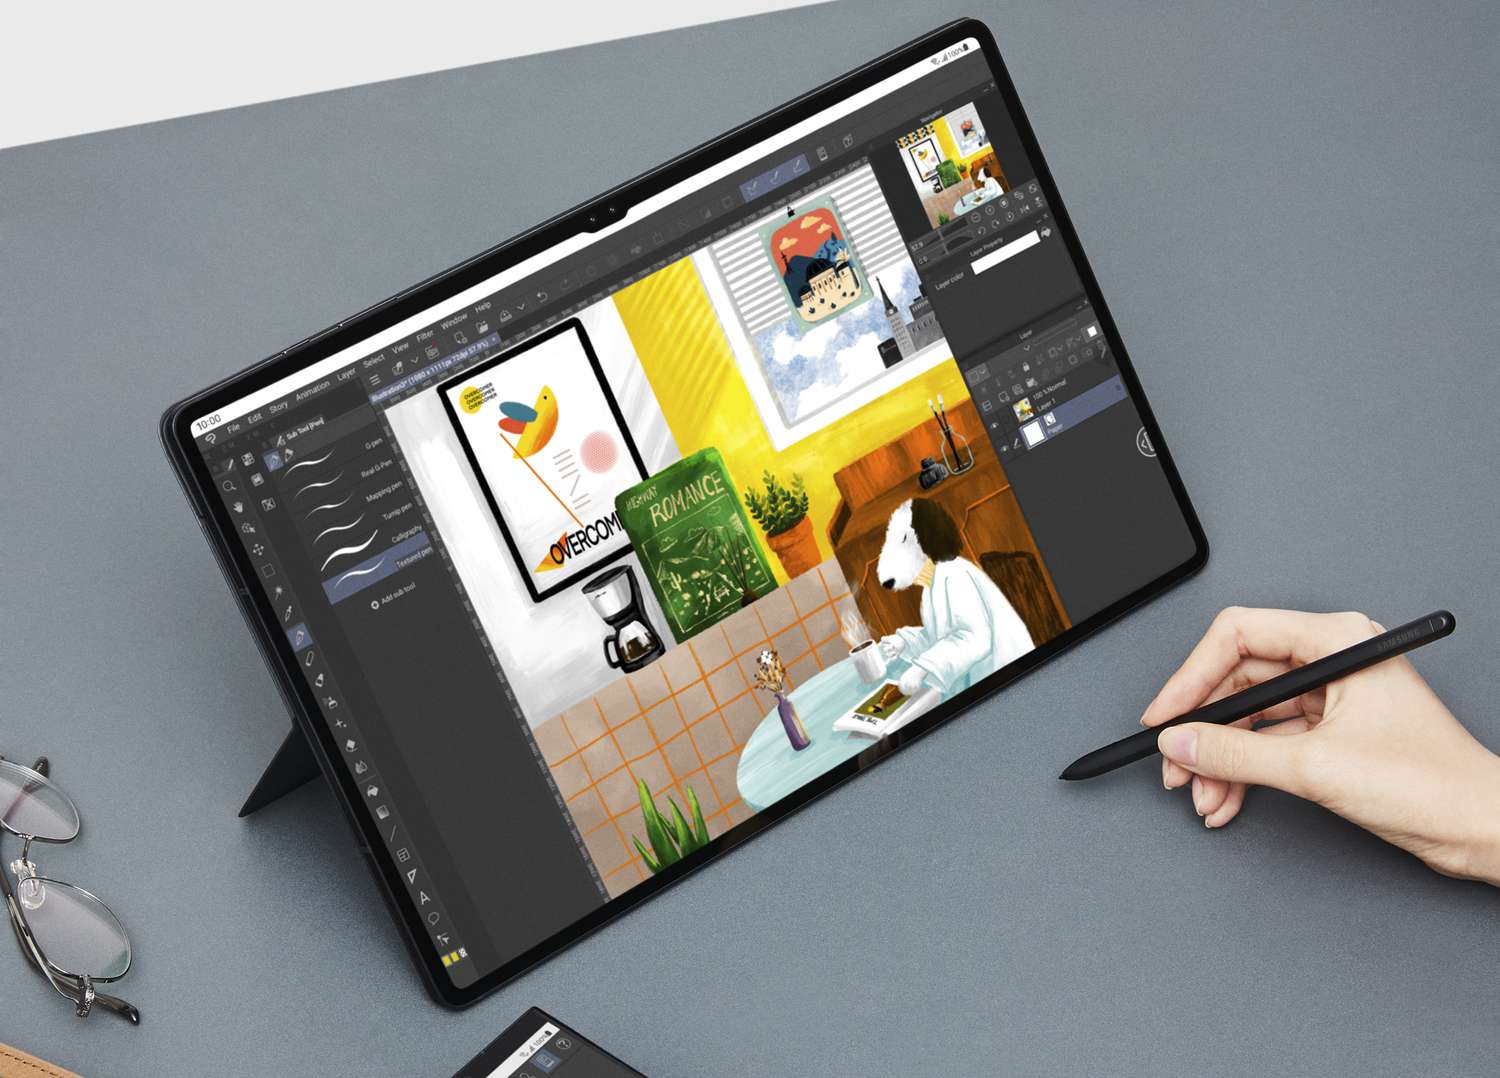
To fix a slow-running Samsung tablet, start by restarting the device to clear temporary files. Update the operating system and apps to their latest versions for optimal performance. Clear cache and delete unnecessary files to free up storage space. Finally, manage background apps to ensure they don’t consume excess resources. These steps can significantly improve the speed and efficiency of your Samsung tablet. This article provides practical solutions to increase the performance of your tablet.

Understanding the Causes

Many factors contribute to a slow Samsung tablet, including outdated software, overloaded storage, and background apps.

Restarting Your Tablet

A simple but effective solution is to restart your tablet. It can clear temporary files and refresh the system.

Clearing Cache and Unnecessary Data

How To Fix If Your Samsung Tablet Is Running Slow?

Image Source: lifewire.com

Clearing cache and unnecessary data is a simple yet effective way to enhance your device’s performance. It involves removing temporary files and data that accumulate over time, freeing up storage space, and improving overall speed and efficiency. Regularly clearing cache can also resolve potential glitches and keep your device running smoothly.

Updating the Operating System

Updating the tablet’s operating system is a crucial process that involves installing the latest software version on your device. This not only brings new features and enhancements but also patches security vulnerabilities, improves performance, and fixes known bugs.

Managing Applications

Regularly updating apps and uninstalling those that are not in use can prevent performance delays.

Optimizing Battery Settings

Optimizing battery settings involves adjusting your tablet’s power usage for enhanced battery life and tablet’s performance. This can include reducing screen brightness, disabling background apps, and activating power-saving modes.

Expanding Storage

Using external storage solutions like SD cards or cloud storage may free up internal memory.

Reducing Screen Brightness and Animations

Lowering screen brightness and reducing animations can speed up the tablet.

Factory Reset

In some cases, a factory reset may be necessary to speed up your tablet. Back up the data before proceeding with this option.

Latest Trends in Tablet Performance

The latest trends in tablet performance focus on enhancing processing speed, improving display quality, and extending battery life.

Conclusion

Regular maintenance and these troubleshooting steps can greatly improve the speed and efficiency of your Samsung tablet.

How to Automatically Delete OTP on Your Android Phone?

How to Automatically Delete OTP on Your Android Phone?

The majority of Android users don’t give much thought to the spam that steadily accumulates in the native messaging application since they prefer using instant messaging services such as WhatsApp and Telegram for messaging their pals. Even if SMS is no longer as common, it is still the sole method to get OTPs on your mobile device. Here are two easy methods to get all of the OTPs in your SMS inbox immediately deleted on your Android phone. 

How to Automatically Delete OTP on Your Android Phone?

Although it’s not a permanent solution, deleting the messages that include OTPs is one technique to combat the persistent spam on your preferred messaging service.

Money-based spam exists, and removing OTPs won’t make a big difference. To control your email, though, there are a few more things you can do.

Use Google Messages to delete OTPs on Android devices

Step 1: Download the Google Messages app and make it the smartphone’s default messaging. This will allow you to use Google Messages to delete OTPs on Android devices automatically.

Step 2: Tap the symbol for your profile in the top-right area of the display.

Step 3: Choose the options for Messages.

Step 4: Click or tap General.

Step 5: Choose Message organisation by swiping down.

Step 6: After a day, flip the switch to enable the auto-deletion of OTPs.

After a day, your previous and subsequent OTPs will be removed.

Make use of the Native messaging app.

Step 1: Open your Android Smartphone’s built-in Messages app.

Step 2: The second step is to click the ellipses in the top-right area of your display and choose Settings. 

Step 3: Press the More settings button. 

Step 4: Flip on the old text deletion toggle switch.

When you get 1000 SMS, this will erase all previous messages including OTPs from your mobile device. 

On the smartphone you are using on Android, these are the best two approaches for automatically deleting OTPs. Turn on “Conversation categories” under Settings to more effectively manage your message inbox. As many different groups as you like can be added. You get to choose which chat threads go into a category once you’ve created it. You may make categories for your friends, family, coworkers, and other students.

How to Install or Update the WiFi Driver on Windows 11

How to Install or Update the WiFi Driver on Windows 11

It is important to ensure that your WiFi driver is up to date in Windows 11 to maintain a stable and fast internet connection. This article will guide you through different ways to install or update your WiFi driver.

Understanding WiFi Drivers

WiFi driver is software that enables your operating system to communicate with your wireless network adapter. They play a vital role in ensuring optimal internet connectivity.

Method 1: Using Windows Update

How to Install or Update the WiFi Driver on Windows 11

Image Source: allthings.how

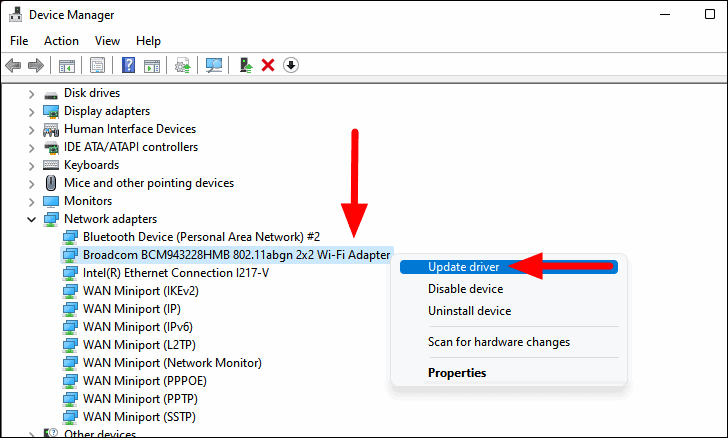
The easiest way to update your WiFi driver is through Windows Update. This section will guide you in accessing and using Windows Update for driver installation.

Method 2: Device Manager

Device Manager in Windows 11 allows you to manually update your WiFi driver. This method involves locating the network adapter and updating its driver.

Method 3: Manufacturer’s Website

For the latest driver versions, it is recommended to visit the manufacturer’s website. This section explains how to find and install drivers from official sources.

Method 4: Third-Party Software

Third-party software can automate the process of finding and installing the latest drivers. However, it is important to choose reliable software for system security.

Troubleshooting Driver Installation Issues

Common issues like installation failures or compatibility issues and their solutions will be discussed in this section.

Verifying Driver Installation

After installation, it is important to verify that the new driver is working correctly. This includes checking the driver version and testing the WiFi connection.

Optimizing WiFi Performance Post-Update

Tips to enhance your WiFi performance, such as adjusting network settings, will be provided after the driver update.

Preventive Measures for Future

Maintaining driver updates is essential for uninterrupted internet connectivity. This section suggests practices such as using reliable sources for regular checks and updates.

Future Updates and Features in Windows 11

Looking ahead, this section discusses what to expect from Windows 11 in terms of driver support and updates.

Conclusion

Concluding the article, the importance of keeping WiFi drivers updated in Windows 11 for optimal internet performance is emphasized.

How to Find, Download, and Change Wallpaper on Apple Watch

How to Find, Download, and Set the Latest Wallpapers on Apple Watch

Personalizing your Apple Watch extends beyond functionality—it’s about adding a touch of your unique style. Whether you’re a tech-savvy enthusiast or just starting, customizing your watch face with your favorite wallpapers is a breeze. Here are three top methods to find, download, and set the latest wallpapers on your Apple Watch.

Turn Your Apple Watch Face into a Carousel of Pictures

How to Find, Download, and Change Wallpaper on Apple Watch

Image Source: techrepublic.com

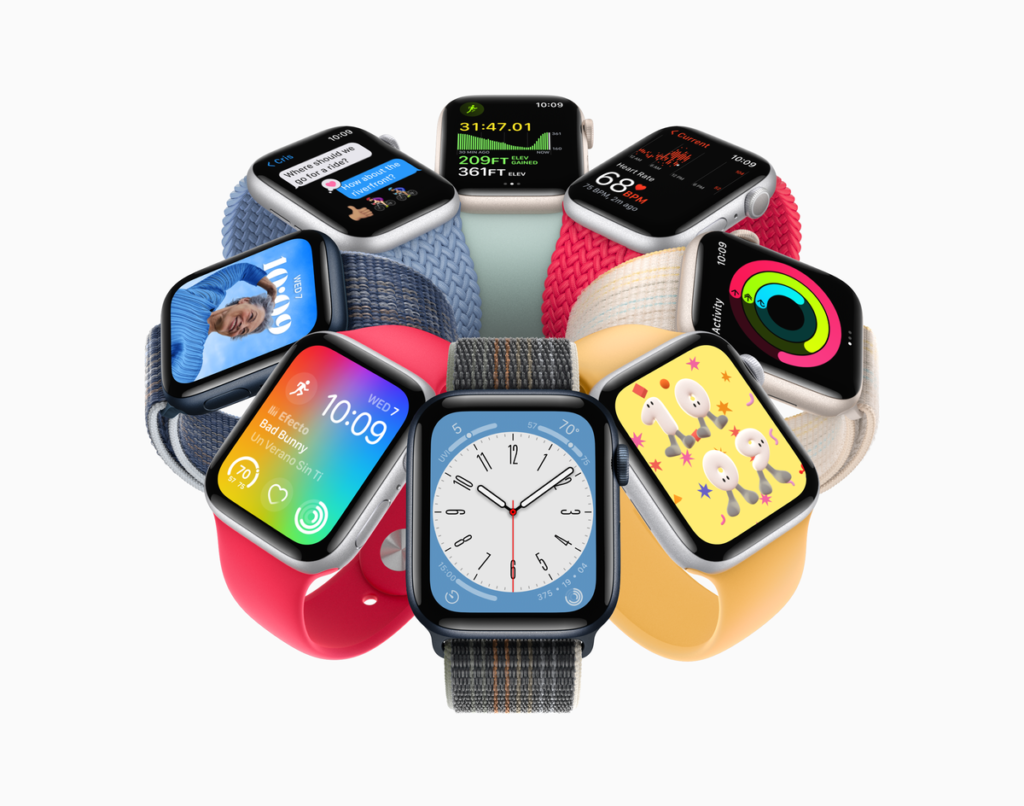
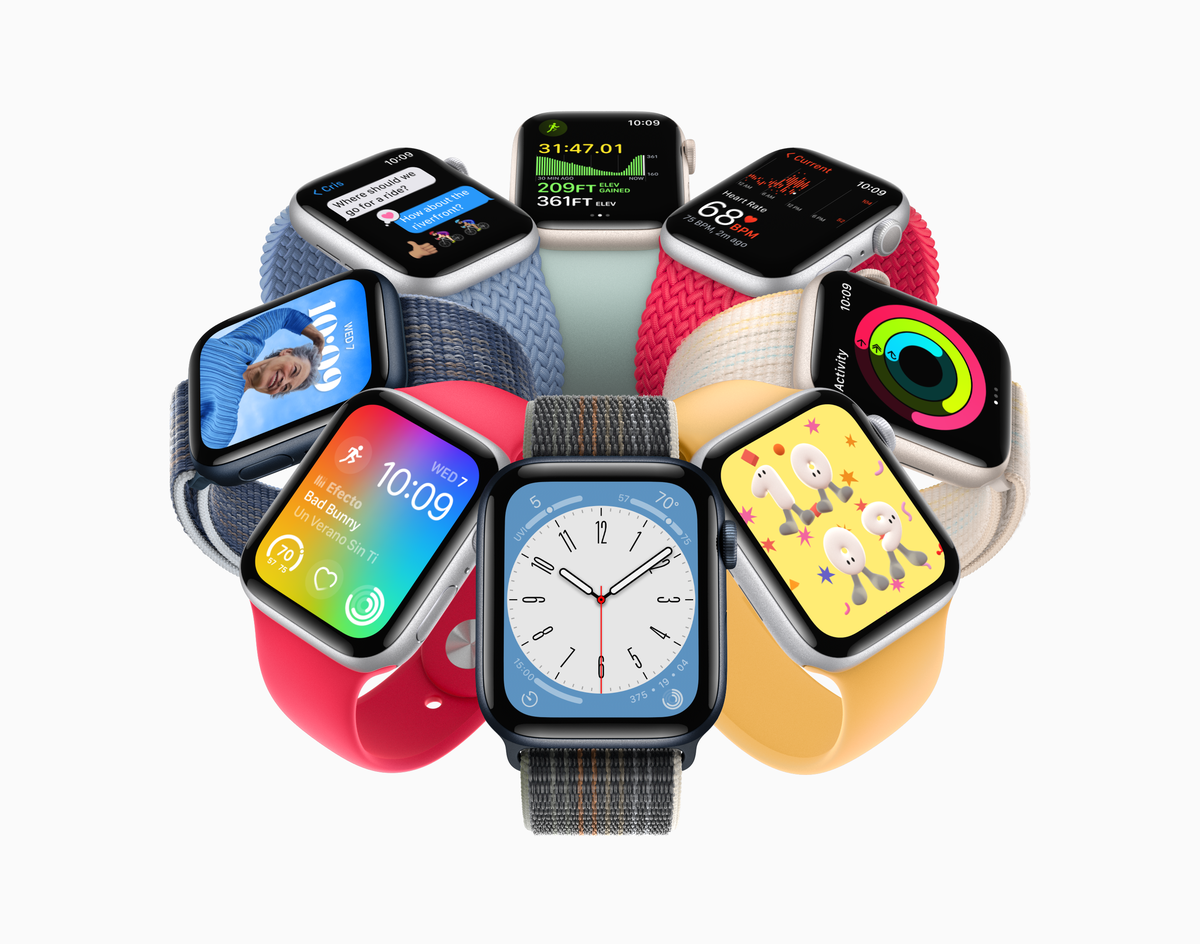
The Face Gallery in the Watch app offers a diverse range of presets for every taste. But why stop there? Add your personal touch by selecting any image from your iPhone’s gallery to set as your watch face. Better yet, create a dedicated album of images to cycle through every time you raise your wrist.

Set Your Photos as the Wallpaper on Your Apple Watch

1. Album Creation: In the Photos app, make a new album and populate it with your chosen images.

2. Customization in Watch App: Open the Watch app, access ‘Face Gallery,’ then ‘Photos,’ and choose your newly created album.

3. Fine-Tune Display: Adjust the time position, add complications, and finalize by tapping ‘Add.’ Rearrange your preferred faces in the ‘My Faces’ section for quick access.

Create Your Own Watch Face

1. Select Image: Pick a photo in the Photos app and tap the Share icon.

2. Craft Watch Face: Choose ‘Create Watch Face,’ apply effects, add complications, and save your creation.

Use Facer

1. App Installation: Download ‘Watch Faces by Facer’ from the App Store.

2. Exploration and Customization: Browse Facer’s collection, select a face, load it onto the Watch app, and personalize it with your preferred complications before saving.

Personalizing your Apple Watch’s wallpaper doesn’t demand excessive time or effort. It’s about infusing your creativity and style effortlessly. Try different apps, effects, and customization options to elevate your watch face. Share your favorite apps for discovering Watch Faces with others to inspire their customization journey.

The Apple Watch isn’t just a gadget; it’s a canvas for your personal expression. With these methods, your watch becomes a true reflection of your style and individuality.

How to Fix Your Phone When it Says Google Play Services Keeps Stopping?

How to Fix Your Phone When it Says Google Play Services Keeps Stopping?

How to Fix Your Phone When it Says Google Play Services Keeps Stopping?

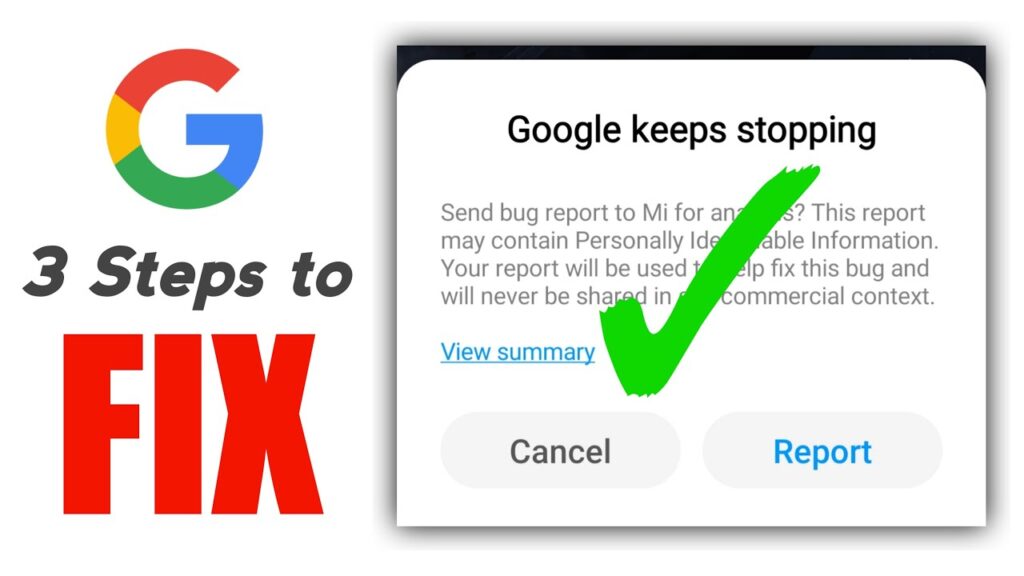
On Android smartphones, the “Google keeps stopping” issue is a prevalent problem that can arise when doing several tasks, including installing apps, browsing news, or performing Google searches. This error is frequently linked to a caching issue, which makes the Google application or background operation malfunction and interferes with planned operations such as searching or using the app.

There are several ways to solve this problem:

1. Restart Android:

If the error is transient and brought on by a minor issue with a particular app, service, or shared source, all it takes is a quick restart of the smartphone or tablet to fix it.

2. Clean the Google App's Cache:

It is believed that the cache within the app is the cause of the issue. Getting rid of the cache could prove a useful fix. Go to Settings > Apps > Google. Then, press the three-dot menu and choose “Uninstall updates.”

3. Uninstall the Latest App Upgrades:

Users can fix the problem by uninstalling Google app upgrades. To accomplish this, navigate to Settings > Applications > Google, click the three-dots menu, and choose “Uninstall updates.”

4. Uninstall WebView Updates:

The Android system tool WebView is another possible source of the problem. Look for “Android System WebView” in the application’s settings to find out how to delete upgrades for WebView.

5. Stop or Remove Problematic Apps:

Users can attempt to stop or remove an app if they believe it is the cause of the issue. To accomplish this, long press the application’s icon, choose “App info,” then “Force stop” or just “Uninstall.”

6. Update Android:

The issue may occasionally be brought on by software upgrades, such as system and app updates. Updating Android can be essential, and users can try to fix the problem by downloading and installing the most recent updates.

7. Factory Reset Android:

This may be required if the fault continues. Before continuing, users should make sure all information has been stored. To accomplish this, navigate to Settings > System > Reset options, then choose “Erase all data (factory reset).”

It’s crucial to remember that while Google app issues are uncommon, they may be fixed with simple maintenance procedures like cleaning the cache as well as removing and reinstalling upgrades. The last option might be to perform a factory reset if the problem continues. It is advised that users upgrade their Android smartphones often and monitor upgrades from Google that could fix bugs like this.