Your Tech Story

how to

The Ultimate Guide to Connecting Your MacBook to Your TV Wired and Wirelessly

The Ultimate Guide to Connecting Your MacBook to Your TV Wired and Wirelessly

The Ultimate Guide to Connecting Your MacBook to Your TV Wired and Wirelessly

Image Source: digit.in

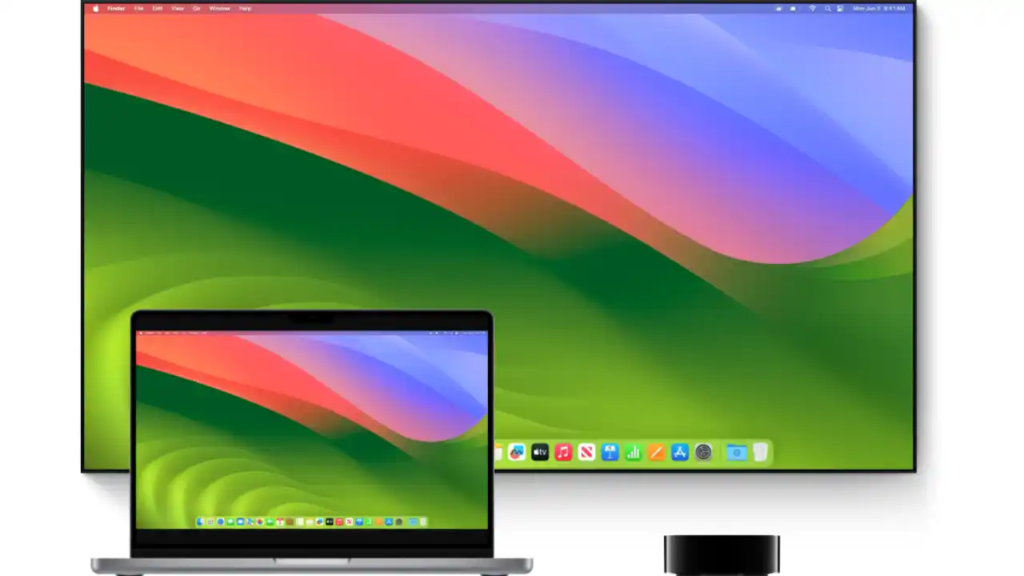
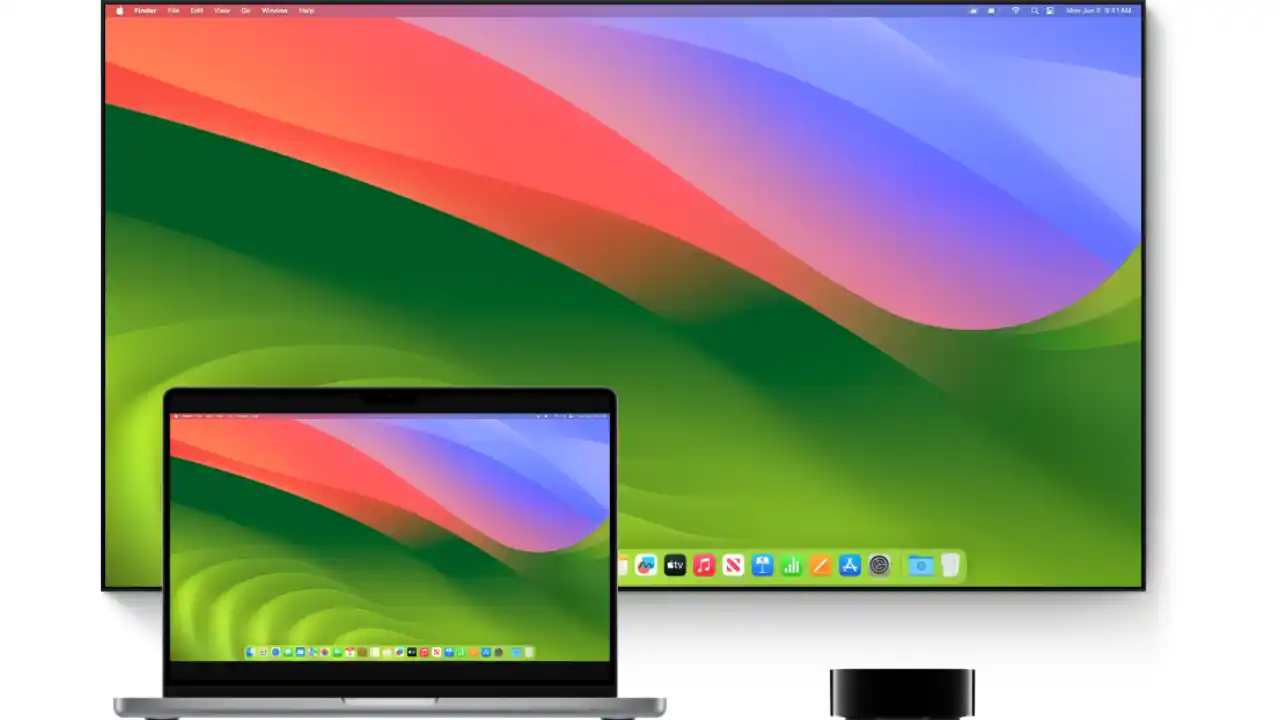
Connecting a MacBook to a TV can improve your viewing experience, whether streaming a favorite movie, sharing photos with friends, or presenting a project. With the development of technology, there are many ways to establish this connection, wired and wirelessly. This article will guide you through different ways to connect your MacBook to a TV, ensuring that you can easily enjoy your content on the big screen.

Wired Connection: HDMI and Adapters

HDMI Connection

The most straightforward method is using an HDMI cable, which provides a high-quality audio and video signal.

  1. Check your MacBook and TV for HDMI ports. If your MacBook doesn’t have an HDMI port, you’ll need a USB-C to HDMI or a Thunderbolt to HDMI adapter.

  2. Connect the HDMI cable to both your MacBook and TV.

  3. Switch to the correct HDMI input on your TV, and your MacBook’s screen should appear on the TV.

Thunderbolt or USB-C to HDMI

For newer MacBooks with Thunderbolt 3 or USB-C ports:

  1. Acquire a compatible adapter if your MacBook doesn’t have an HDMI port.

  2. Connect the adapter to your MacBook, and then connect the HDMI cable from the adapter to your TV.

  3. Select the correct HDMI source on your TV to view your MacBook’s display.

Wireless Connection: Apple TV and AirPlay

Using Apple TV and AirPlay

AirPlay provides a seamless way to connect your MacBook to your TV wirelessly, provided you have an Apple TV.

  1. Ensure your MacBook and Apple TV are on the same Wi-Fi network.

  2. Click the AirPlay icon in the menu bar on your MacBook

  3. Select your Apple TV from the list, and your screen will mirror to the TV.

Third-Party Software Solutions

If you don’t have an Apple TV, several third-party software solutions can mirror your MacBook to your TV over Wi-Fi.

  • Download a reputable mirroring software on your MacBook, such as AirParrot or Reflector.

  • Follow the software instructions to connect to your TV.

Troubleshooting Common Connection Issues

Ensure all cables and adapters are securely connected if there’s no signal.

Check Wi-Fi connectivity for wireless connections.

Adjust the TV’s input source if your MacBook’s screen doesn’t immediately appear.

Conclusion

Connecting your MacBook to your TV, whether through a wired or wireless setup, can greatly enhance your viewing experience. By following the steps outlined in this guide, you can easily share your MacBook’s screen with your TV, bringing your favorite content to life on the big screen.

FAQs

Can I connect my MacBook to any TV?  Yes, as long as the TV has an HDMI port or supports wireless connections like AirPlay.

Do I need an Apple TV for a wireless connection?  While Apple TV is the most seamless way to connect wirelessly, third-party software can also mirror your MacBook to your TV without it.

Why isn’t my MacBook screen appearing on the TV?  Check your HDMI or adapter connections, ensure you’re on the correct TV input source, or verify Wi-Fi connectivity for wireless methods.

Can I extend my MacBook display instead of mirroring it?  Yes, both wired and wireless methods allow you to extend your desktop for more workspace.

Is there a difference in video quality between wired and wireless connections?  Wired connections generally offer more stable and higher-quality video playback, while wireless connections offer flexibility and convenience.

How to Set ChatGPT as Your Android's Voice Assistant

How to Set ChatGPT as Your Android’s Voice Assistant

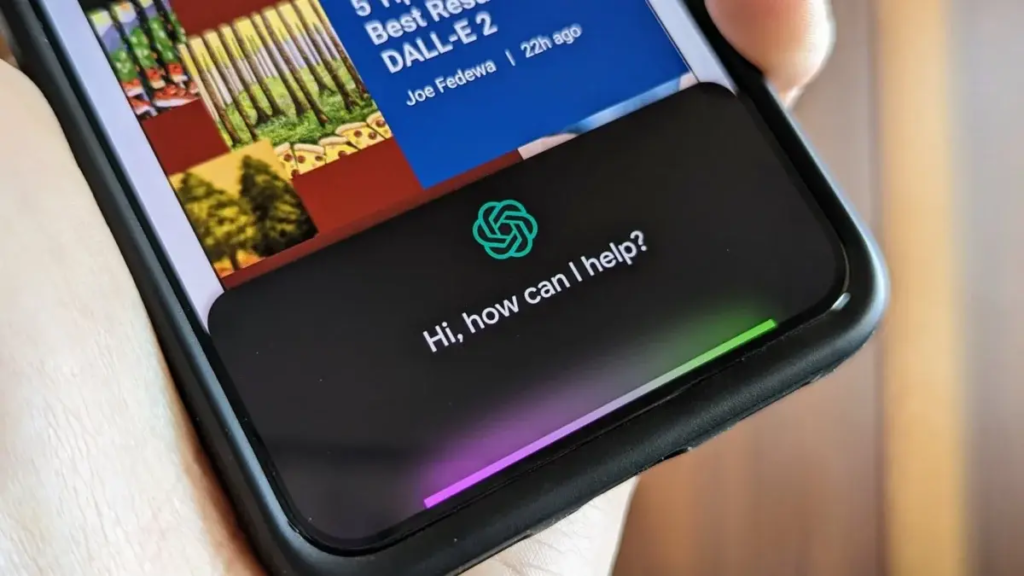
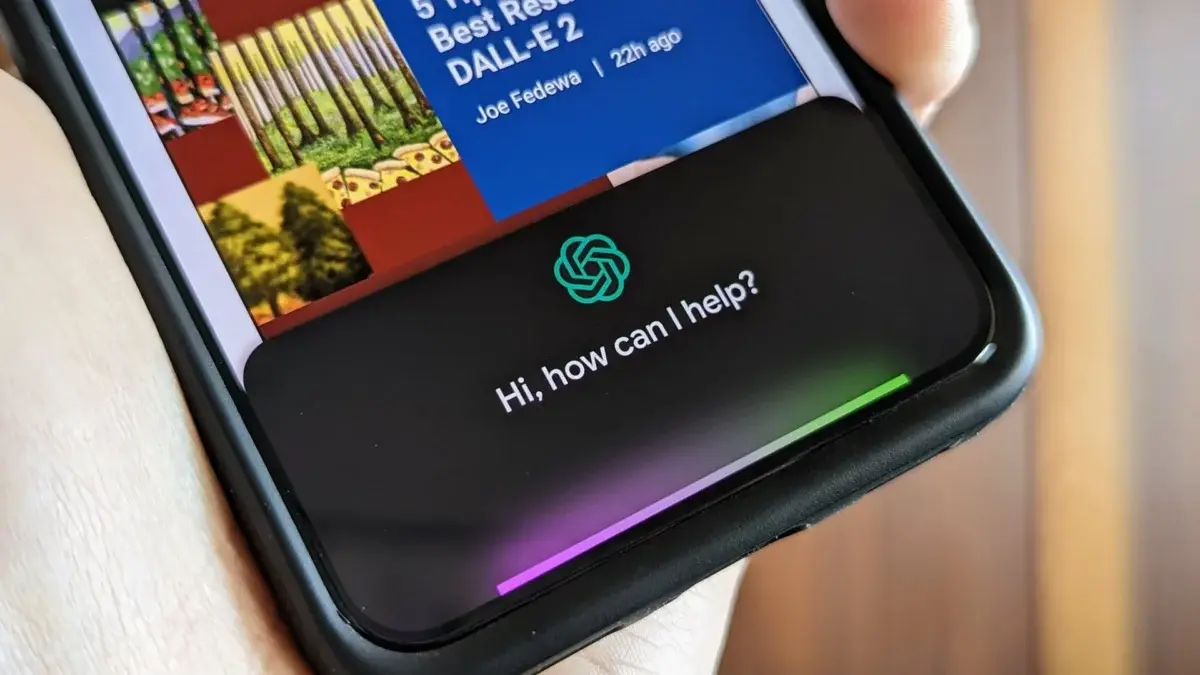
In the era of virtual assistants, having the flexibility to choose your preferred option is crucial. While many default voice assistants come pre-installed on Android devices, you can now opt for ChatGPT as your primary voice assistant. With its advanced language capabilities and personalized interactions, ChatGPT offers a unique experience tailored to your needs. Follow these simple steps to set up ChatGPT as your default voice assistant on Android.

Before diving into the setup process, let’s briefly explore what ChatGPT offers. Developed by OpenAI, ChatGPT is an artificial intelligence model trained to generate human-like text based on the input it receives. It excels in understanding context, maintaining conversations, and providing relevant responses across various topics. By integrating ChatGPT as your default voice assistant, you can leverage its natural language processing abilities for tasks ranging from answering queries to scheduling reminders.

Enabling ChatGPT Accessibility

How to Set ChatGPT as Your Android's Voice Assistant

Image Source: gizchina.com

To begin, ensure that you have the ChatGPT app installed on your Android device. If you haven’t already done so, download it from the Google Play Store and complete the setup process. Once installed, navigate to your device’s settings and select the “Accessibility” option. Here, you’ll find a list of installed accessibility services. Locate ChatGPT and toggle the switch to enable it. This grants ChatGPT the necessary permissions to function as your default voice assistant.

Setting ChatGPT as Default

After enabling ChatGPT accessibility, return to the main settings menu and select “Apps & notifications.” From the list of installed apps, choose your current default voice assistant (e.g., Google Assistant). Within the app settings, look for the “Open by default” option and tap on it. Here, you’ll see a prompt asking if you want to clear the default settings for the selected app. Confirm this action to reset the default voice assistant.

Configuring ChatGPT Preferences

With the default settings cleared, trigger ChatGPT by pressing the designated voice assistant button or using the voice command, “Hey ChatGPT.” ChatGPT will prompt you to set it as your default voice assistant. Follow the on-screen instructions to grant ChatGPT the necessary permissions and customize its preferences according to your preferences. You can specify language preferences, personalize wake words, and configure other settings to enhance your ChatGPT experience.

Testing ChatGPT Integration

Once configured, it’s time to put ChatGPT to the test. Activate ChatGPT using the designated trigger phrase and interact with it as you would with any other voice assistant. Ask questions, request assistance with tasks, or engage in casual conversation to experience ChatGPT’s capabilities firsthand. As you continue to use ChatGPT, it will adapt to your preferences and provide more personalized responses over time.

By setting ChatGPT as your default voice assistant on Android, you gain access to a powerful AI-driven companion capable of understanding and responding to your needs with human-like accuracy. Whether you’re seeking information, managing tasks, or simply engaging in conversation, ChatGPT offers a seamless and intuitive experience tailored to you. Follow the steps outlined above to integrate ChatGPT into your Android device and elevate your virtual assistant experience.

How to Set a Sleep Timer on Amazon Music

How to Set a Sleep Timer on Amazon Music

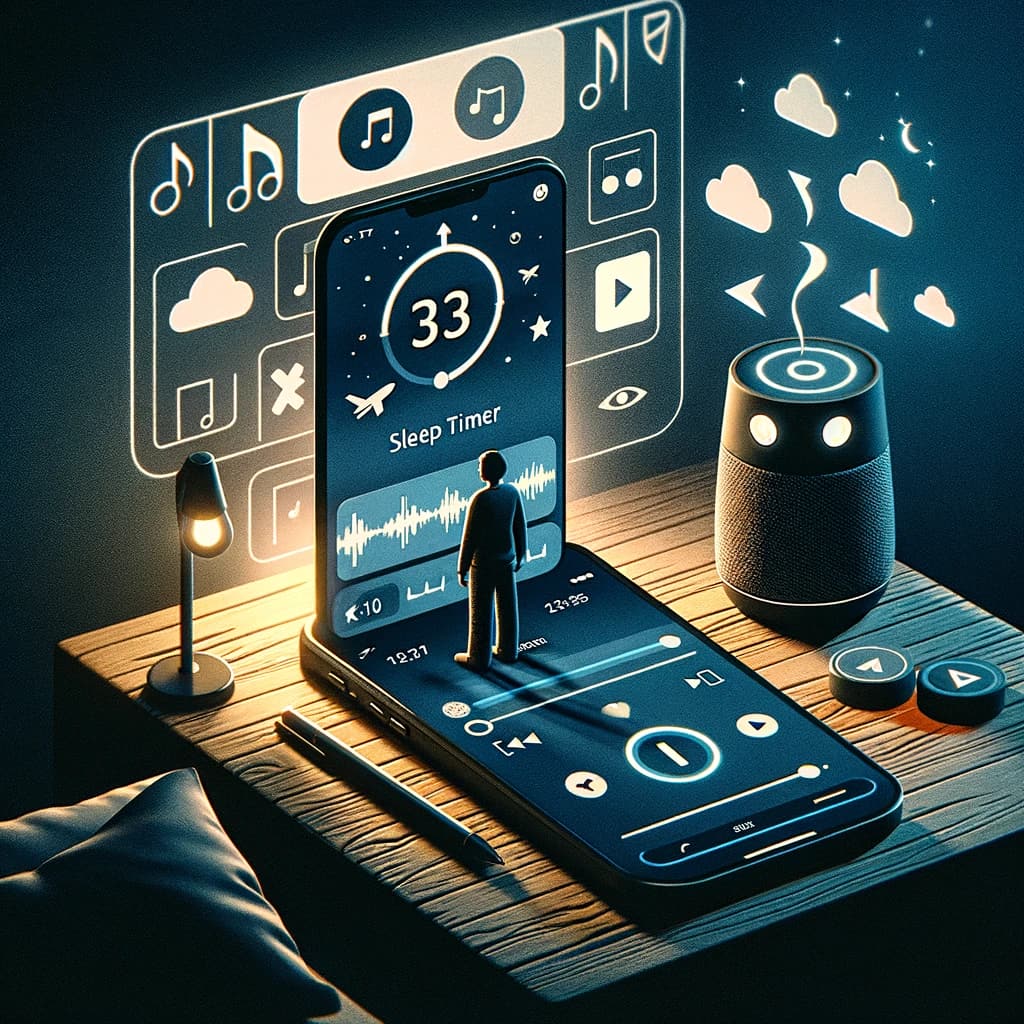
Setting a sleep timer on Amazon Music can enhance your listening experience by automatically pausing music when you go to sleep. This feature is especially useful for people who enjoy sleeping to their favorite tunes but don’t want the music to keep playing all night. Here’s a step-by-step guide on how to set a sleep timer on Amazon Music, ensuring a peaceful and energy-efficient end to your day.

Why Use a Sleep Timer?

How to Set a Sleep Timer on Amazon Music
  • Save battery life on your mobile device or energy on your smart speaker.

  • Prevent music from playing all night, which can disrupt sleep cycles.

  • Fall asleep to your favorite songs without worrying about turning off the music manually.

Currently, Amazon Music does not have a built-in sleep timer feature within the app. However, you can use the sleep timer functionalities of your smartphone or through voice commands on smart speakers like Amazon Echo.

Step-by-Step Guide to Setting Up a Sleep Timer

  • Android: Use the built-in clock app’s timer feature. Set the timer for your desired duration, then select “Stop playing” as the action to be done at the end of the timer. This will stop the music when the timer runs out.

  • iOS: Similar to Android, use the Clock app, go to the Timer tab, set your desired time, tap on “When Timer Ends,” scroll down and select “Stop Playing,” then start your timer.

  • Speaker Users: If you’re using an Amazon Echo device, you can set a sleep timer with a voice command. Simply say, “Alexa, set a sleep timer for [duration].” Alexa will confirm that the sleep timer has been set and will stop playing music when the time is up.

Conclusion

While Amazon doesn’t offer a sleep timer feature directly within the Music app, a straightforward solution is to use the sleep timer functionality of your smartphone or smart speaker. This feature is invaluable for those who enjoy relaxing music while sleeping but don’t like to keep it playing all night long.

FAQs

  1. Can I set a sleep timer directly in the Amazon Music app?

    • No, Amazon Music does not currently offer a sleep timer feature within the app. However, you can use your device’s built-in functionalities or voice commands on smart speakers.

  2. Will using a sleep timer stop playback on all devices?

    • The sleep timer will only affect the device on which it is set. If you’re streaming music on multiple devices, you’ll need to set a timer on each one individually.

  3. Can I use the sleep timer with any Amazon Music subscription?

    • Yes, the sleep timer functionality, through device settings or voice commands, works regardless of your Amazon Music subscription type.

  4. Is it possible to extend the sleep timer if I’m not yet asleep when it ends?

    • Yes, you can extend the sleep timer by setting a new timer on your device or asking your smart speaker to set a new sleep timer.

  5. Does the sleep timer feature work with other music streaming apps?

    • Yes, using your device’s built-in timer or smart speaker voice commands for a sleep timer should work with most music streaming apps, not just Amazon Music.

How To Stop Contact Sharing On iPhone iOS 17

How To Stop Contact Sharing On iPhone iOS 17

In an era where data privacy is more important than ever, it is essential to understand how to manage your personal information on devices like the iPhone. iOS 17 introduces various features to enhance user experience and privacy controls, including the ability to manage contact sharing. This guide will walk you through the steps to turn off contact sharing on your iPhone, ensuring that your data will remain private and secure.

Understanding Contact Sharing on iOS 17

What is Contact Sharing?

How To Stop Contact Sharing On iPhone iOS 17

Image Source: beebom.com

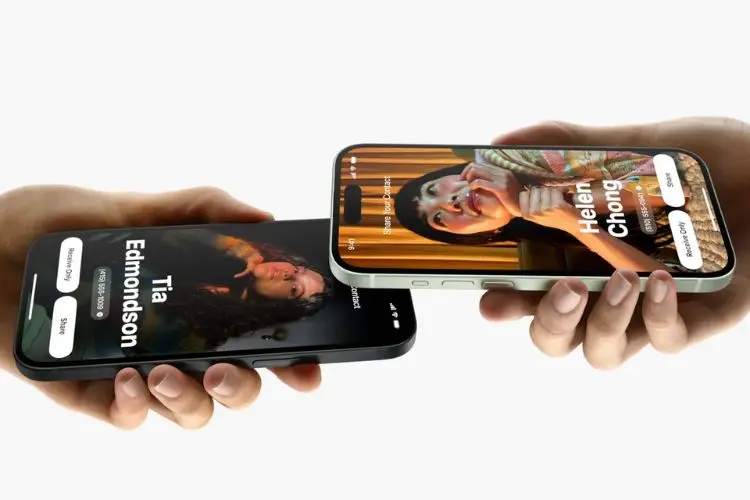
Contact sharing on iOS 17 allows users to seamlessly share their contact information with other iOS devices. The feature is designed to facilitate an easy exchange of information, but raises privacy concerns for many.

How Does It Work?

The feature uses Apple’s ecosystem to sync contact information across devices owned by the user or shared with family and friends. While convenient, this can inadvertently lead to over-sharing of personal data.

The Importance of Managing Contact Sharing

Privacy Concerns

With the increasing risk of data breaches, managing who has access to your contact information is important. Turning off contact sharing can be a proactive step toward protecting your privacy.

Data Management

Controlling contact sharing helps manage your digital footprint, ensuring that only intended recipients have access to your contact details.

Step-by-Step Guide to Turn Off Contact Sharing

  1. Open the ‘Settings’ app on your iPhone.

  2. Scroll down and select ‘Contacts’.

  3. Tap on ‘Share My Contact Info’.

  4. Toggle the switch to ‘Off’ to disable contact sharing.

Ensure the changes are saved before exiting Settings. Your contact information will no longer be shared automatically.

Troubleshooting Common Issues

If you encounter any issues, restarting your device or checking for iOS updates may help resolve the issue. Turning off contact sharing may impact convenience but significantly increases privacy and security.

Conclusion

Controlling contact sharing on your iPhone is an important aspect of managing your privacy and security in the digital age. iOS 17 provides tools to customize these settings, ensuring users can take advantage of connectivity without compromising their personal information. Remember, taking charge of your digital footprint is not only about protecting your data, but also protecting your peace of mind.

The Rise of Deepfakes: Why They're Spreading and How to Stop Them

The Rise of Deepfakes: Why They’re Spreading and How to Stop Them

Deepfakes are all over the internet now; they are pictures, sounds, and videos of people in situations they never went to or speaking things they never said. These altered works of art frequently include the face of a well-known person superimposed on the body of another. Artificial intelligence has made it incredibly easy to create these misleading media, which has resulted in their widespread distribution on a variety of channels. Deepfakes have become a powerful weapon with far-reaching effects, used to deceive people and damage public persons’ reputations.

Taking On Deepfakes: Present Initiatives

The Rise of Deepfakes: Why They're Spreading and How to Stop Them

Deepfakes present a challenge to governments and regulatory agencies, who are working to reduce their spread and lessen the negative impacts they cause. The US Federal Communications Commission (FCC) has outlawed the use of artificial intelligence (AI) voices in robocalls in response to incidents like an audio deepfake that mimicked US President Joe Biden during the presidential primary in New Hampshire. Only a few states have passed legislation against deepfake pornography, due to the lack of federal statutes that directly address the issue.

The Danger to Society: Consequences and Issues

Deepfake technology has far-reaching consequences that go beyond simple media manipulation; it seriously jeopardises both human welfare and society integrity. Examples include explicit deepfake photos of Taylor Swift that have gone viral on social media, highlighting the risk of privacy violation and reputational damage. Actress Xochitl Gomez has brought attention to the prevalence of sexually explicit deepfakes that feature kids, which raises ethical and legal questions about content regulation and protecting the vulnerable.

The Development of Technology for Deepfakes

Deepfake technology has changed over time, moving from its academic roots to a broader market thanks to open-source code and generative artificial intelligence systems. What formerly required genuine vocal performances and existing video material is now simply necessary to follow basic textual directions, highlighting the skill and accessibility of modern deepfake techniques. The ease of accessibility has made it possible for digital forgeries to spread across a variety of internet channels, making it more difficult to discern between modified and genuine material.

Techniques for Detection and Prevention

Deepfake detection methods are being developed by both big giants and startups. By utilising machine learning algorithms and digital watermarking techniques, businesses such as Intel Corp. and Sensity AI are developing innovative approaches to media content identification and authentication. Although these developments present potential ways to counteract deepfakes, the continuous threat they represent calls for further investigation, cooperation, and attention to protect people from being exploited and to preserve the integrity of digital material.

To sum up, even if deepfakes are still becoming more common, governments, tech corporations, and civil society need to work together to develop policies that will effectively combat this rising threat and maintain the credibility of digital media.

How to Use Your Apple Watch's Walkie-Talkie Feature for Instant Communication

How to Use Your Apple Watch’s Walkie-Talkie Feature for Instant Communication

The Apple Watch’s Walkie-Talkie mode was covertly introduced in 2018 and is a feature that is frequently overlooked. But whether your friends and family live across the room or on the other side of the world, this useful communication tool may completely change the way you remain in touch with them. This is how to make full use of it.

Uninterrupted Communication Without Limitations

How to Use Your Apple Watch's Walkie-Talkie Feature for Instant Communication

Image Source: laptopmag.com

Similar to the vintage walkie-talkies of the past, this software enables audio chats to take place instantly with contacts who own an Apple Watch. The finest aspect? It works seamlessly even with Wi-Fi-only models—as long as your iPhone is close by—and does not require a cellular connection.

Configuring the App for Walkie-Talkies

Make sure you satisfy the prerequisites to utilise the Walkie-Talkie mode: both you and your contact must have iPhones running iOS 12.4 or later and Apple Watches running WatchOS 5.3 or later. It only takes a minute to set up.

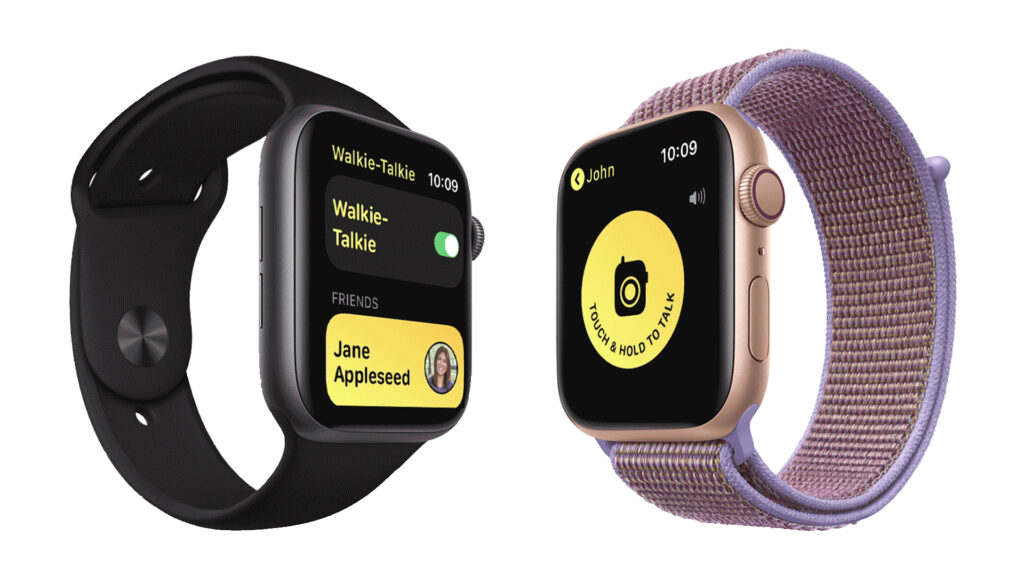
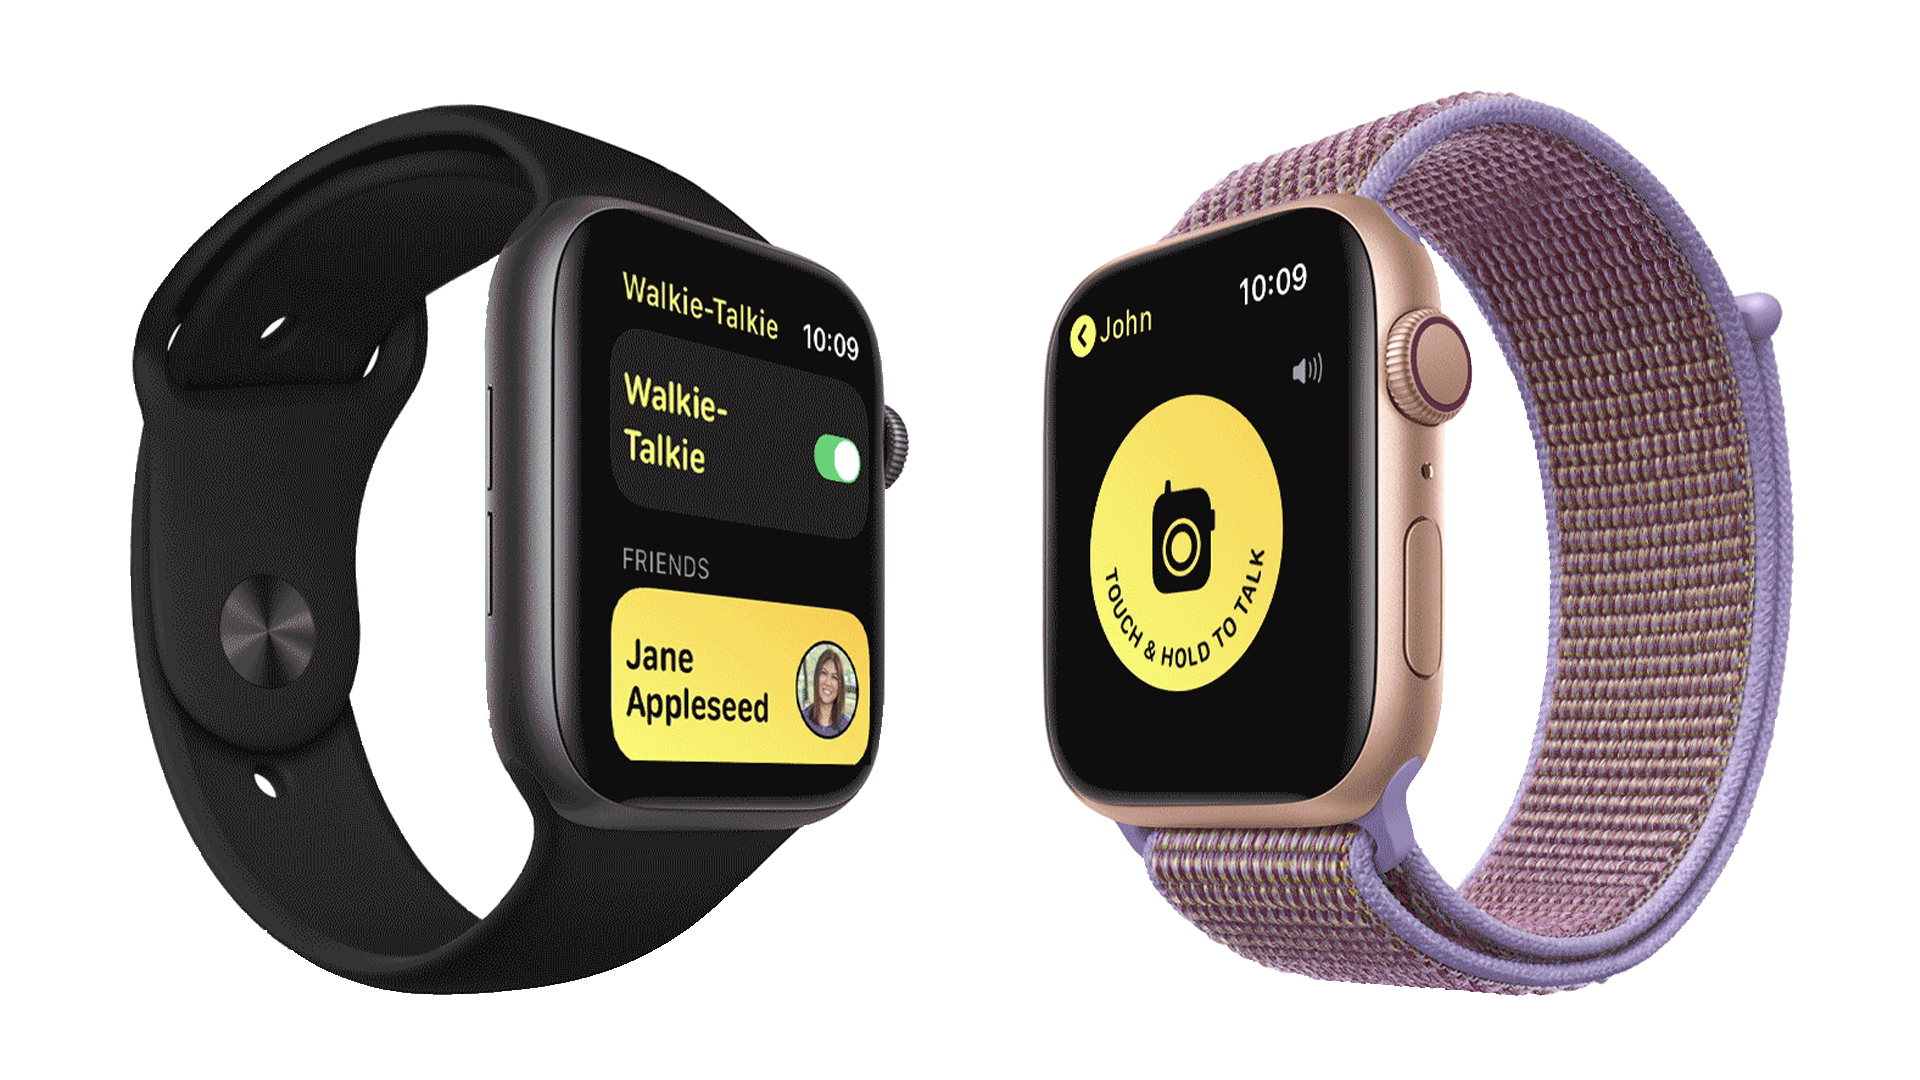
Launch the app and send a friend request: From the App List on your Apple Watch, select the Walkie-Talkie app. To add a contact for the first time, press “Add Friends” and choose from your contact list.

Connect with Your Contacts: Your contacts will show up on your list of friends as soon as they accept the invitation. Press their name to start a discussion. Note: Establishing a connection could take some time.

To initiate conversation, press and hold the “Touch & Hold to Talk” button while speaking into your watch. When you’re done talking, release the button. After a brief tone, your voice will be sent to the recipient’s Apple Watch.

Toggle Accessibility Options: In the Apple Watch Settings app, turn on “Tap to Talk” if you’d rather have one-tap access. This makes conversation even more convenient by enabling you to switch the microphone on and off with a single tap.

Using the Walkie-Talkie Application

Pressing the Digital Crown on your Apple Watch will exit the Walkie-Talkie app. This ensures that the programme is always operating in the background and that you are always ready for talks. If there are moments when you just want quiet, see the FAQ section for details on how to temporarily disable the app.

Discover the hidden treasure of the Apple Watch’s Walkie-Talkie mode, which is really easy to use and convenient. This tool adds a nostalgic yet contemporary touch to communication on the go, whether you’re coordinating activities at home or staying in contact during outdoor adventures.