Your Tech Story

How to Disable Copilot on Windows 11 Top 3 Ways

How to Disable Copilot on Windows 11 Top 3 Ways

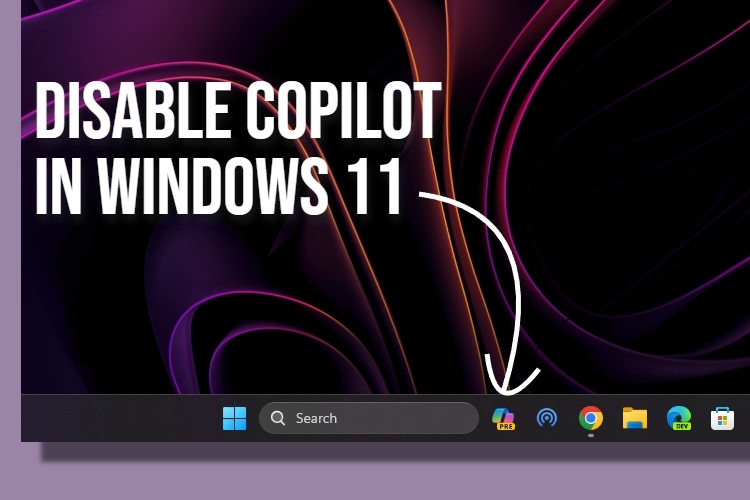
In Windows 11, Microsoft purposefully replaced Cortana with a brand-new independent application named Copilot. Help and advice from Windows Copilot are on par with or superior to that of the virtual assistant. Sometimes, though, you might wish to turn off Windows Copilot. This article will examine many approaches to do this.

What are the Benefits of Windows Copilot?

With Windows 11, Copilot is an artificially intelligent assistant that can support you with a variety of activities, taking the place of Cortana. Copilot can help you out with just a few mouse clicks or voice commands, no matter what you require to look up the web, summarise a document, adjust a setting, or incorporate an application.

How to Disable Copilot on Windows 11 Top 3 Ways

Image Source: beebom.com

Copilot may be accessed by the Windows + C key shortcut or the taskbar. It will show up on the display as a right-edge sidebar. You have the option to hide it or attach it to the sidebar. Numerous Windows applications, including Paint, Outlook, and Photos, are linked with Copilot.

Follow these steps, Nevertheless, If you still want to delete Microsoft Copilot.

Using Settings, Deactivate Copilot on Windows 11

Step 1: Tap on the Settings application on your laptop or Windows 11 computer.

Step 2: for Personalization, tap on the tab. 

Step 4: Below “Taskbar items,” turn off the Copilot toggle button. 

Turn off Copilot in the Group Policy

Step 1: From the Control Panel, enter Group Policy Editor. Additionally, you may look for it by entering “gpedit” into the taskbar search box.

Step 2: Select Windows Copilot under Configuration>Administrative Templates>Windows Components.

Step 3: Select the button to “Switch off Windows Copilot.”

Step 4: Select “Enabled.”

Step 5: Tap on Apply and then OK.

Step 6: Restart your computer.

Windows Copilot may be Disabled using the Registry Editor.

Step 1: On your Windows 11 desktop or laptop, open the Registry Editor application.

Step 2: Go to HKEY_CURRENT_USER\Software\Policies\Microsoft\Windows in step two.

Step 3: Make right-click on the Windows button and choose New>Key to generate a new key.

Step 4: Give the newly created WindowsCopilot key a name.

Step 5: To generate a new subkey, right-click WindowsCopilot and choose New>DWORD (32-bit) Value from the menu. Put TurnOffWindowsCopilot as the name.

Step 6: Double-tap the subkey TurnOffWindowsCopilot, then set its Number to 1.

Step 7: Press the OK button to restart your system.

Leave a Comment

Your email address will not be published. Required fields are marked *